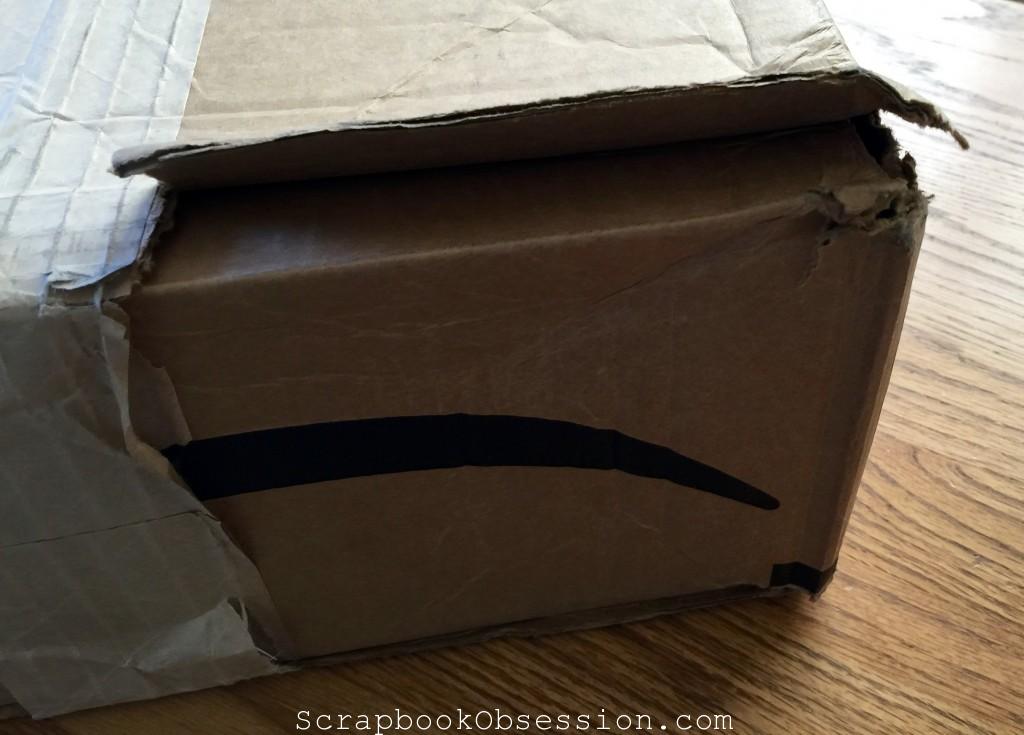
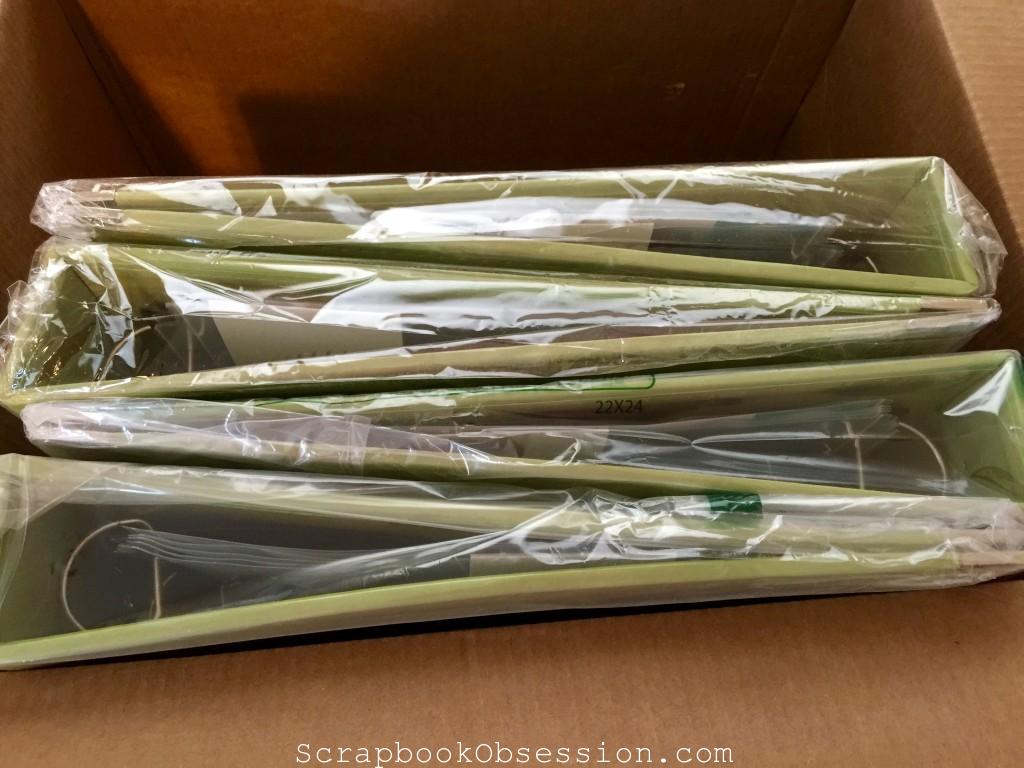
Yep, this is how my box arrived for a recent shipment of {2} WRMK Kiwi 12×12 albums from Amazon. I’m an Amazon Associate which means I recommend them and their products to you on this blog. It means I believe in their company and their products. So, man, this was disappointing!
Just because I’m an affiliate doesn’t mean I’m not going to share this with you. Gotta’ be real, yo’s.
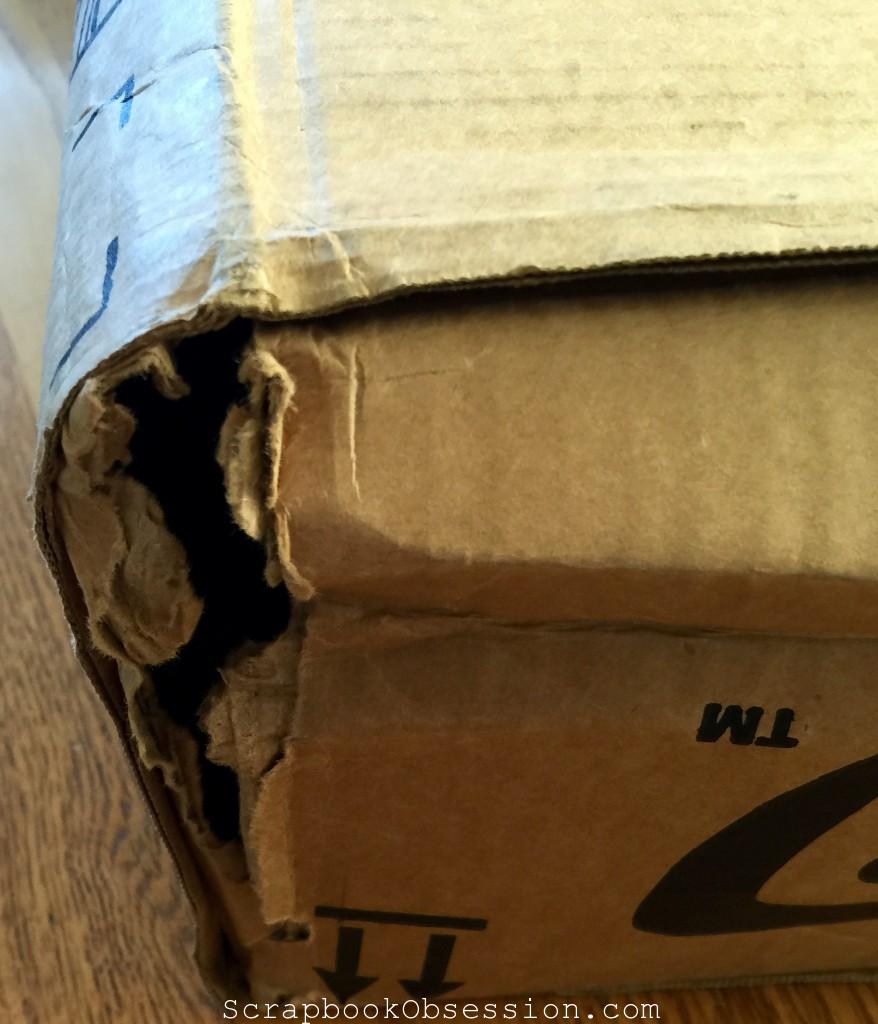
So a full-on hole in the corner. Gee, do ya’ suppose my albums are gonna’ be dirty or damaged?
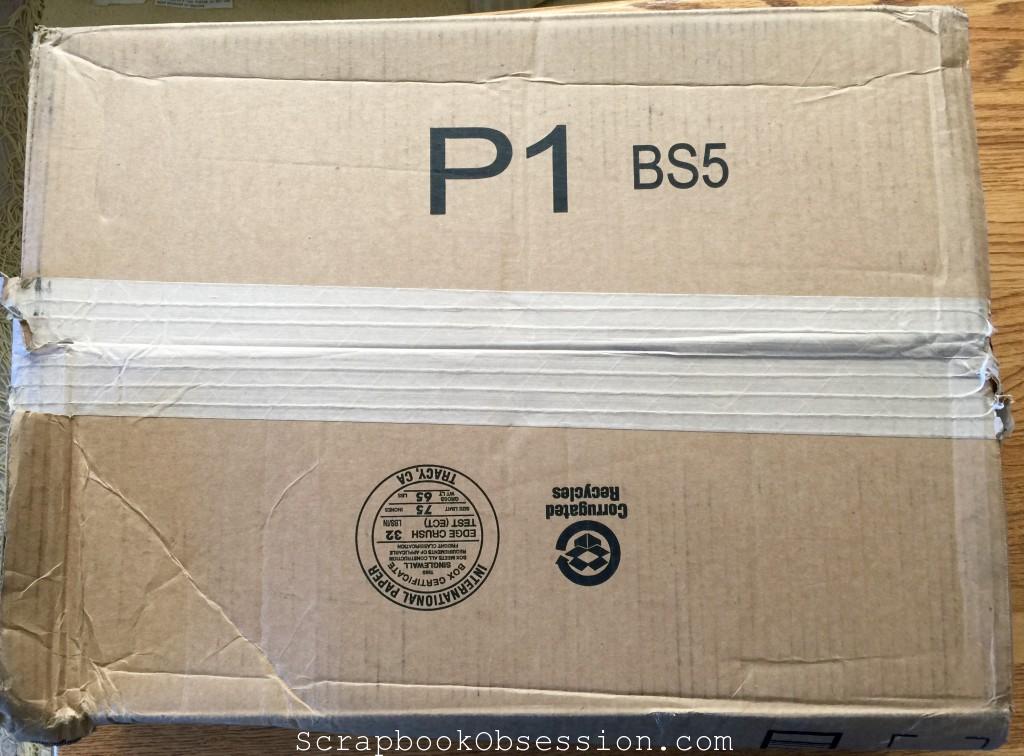
Here’s the overall condition of the box. I took a ton of photos as I opened it because I figured I’d need documentation for the return.
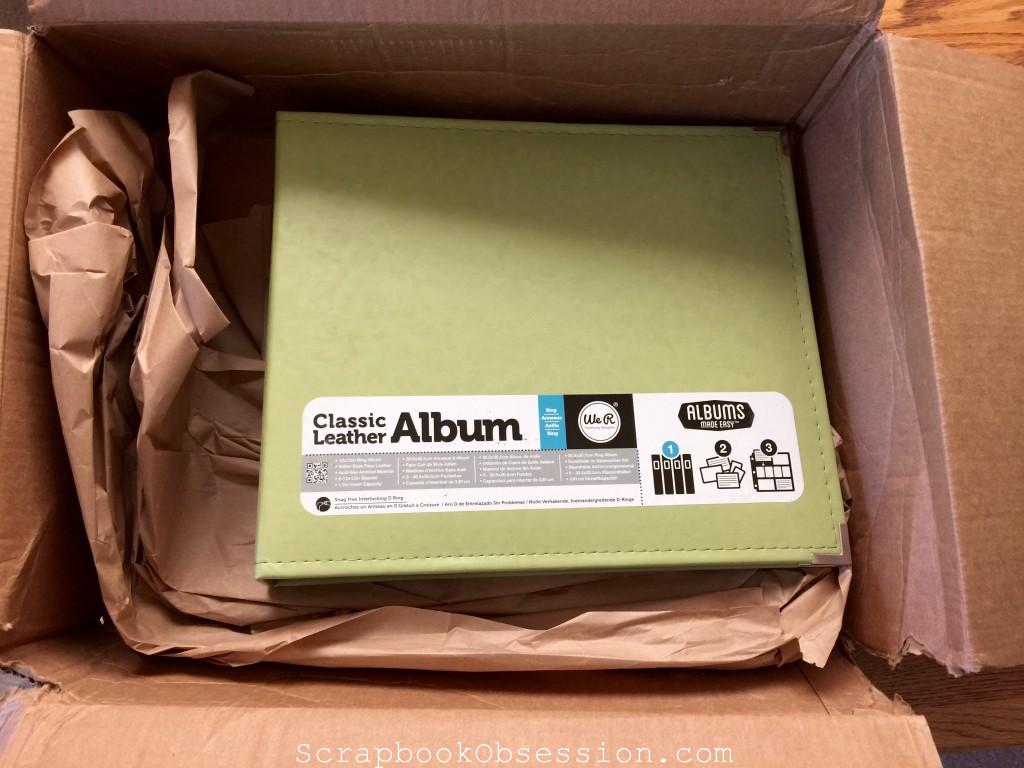
Yeah, two large albums in a larger box with nothing except this pathetic excuse for padding.
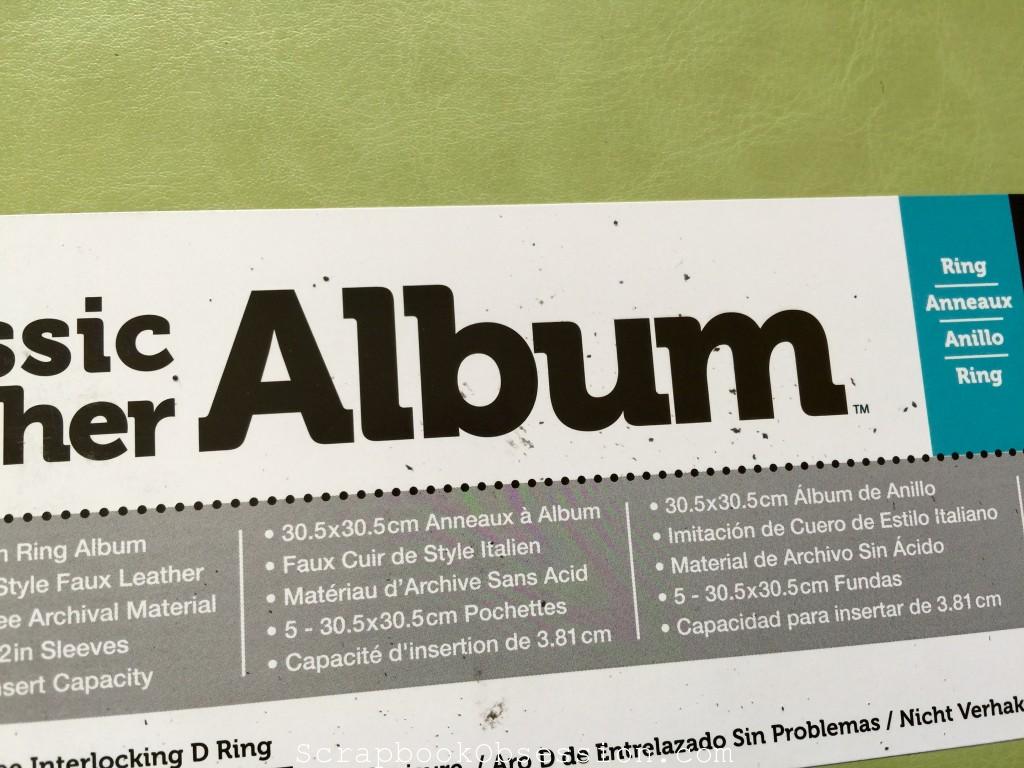
They weren’t individually wrapped so all the dirt that got into the box did things like stick to the labels . . .
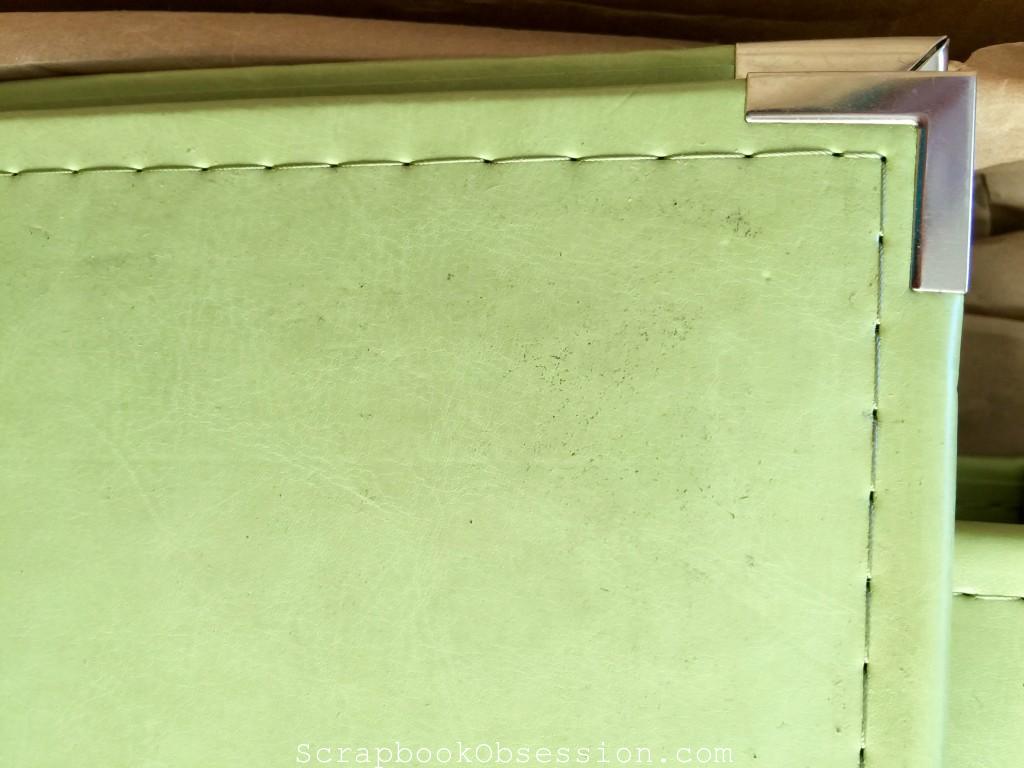
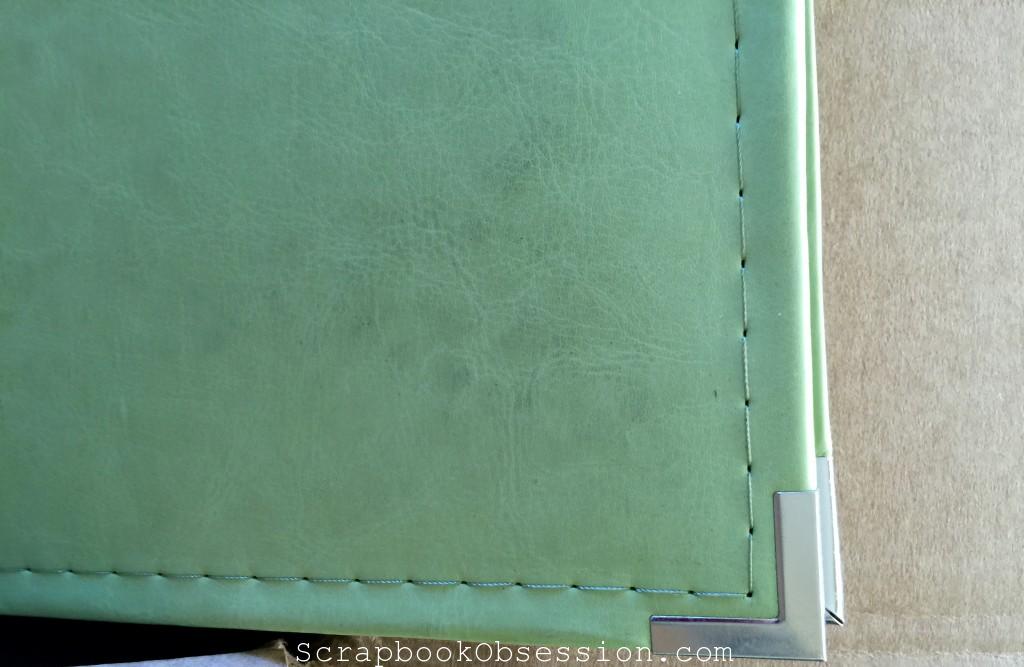
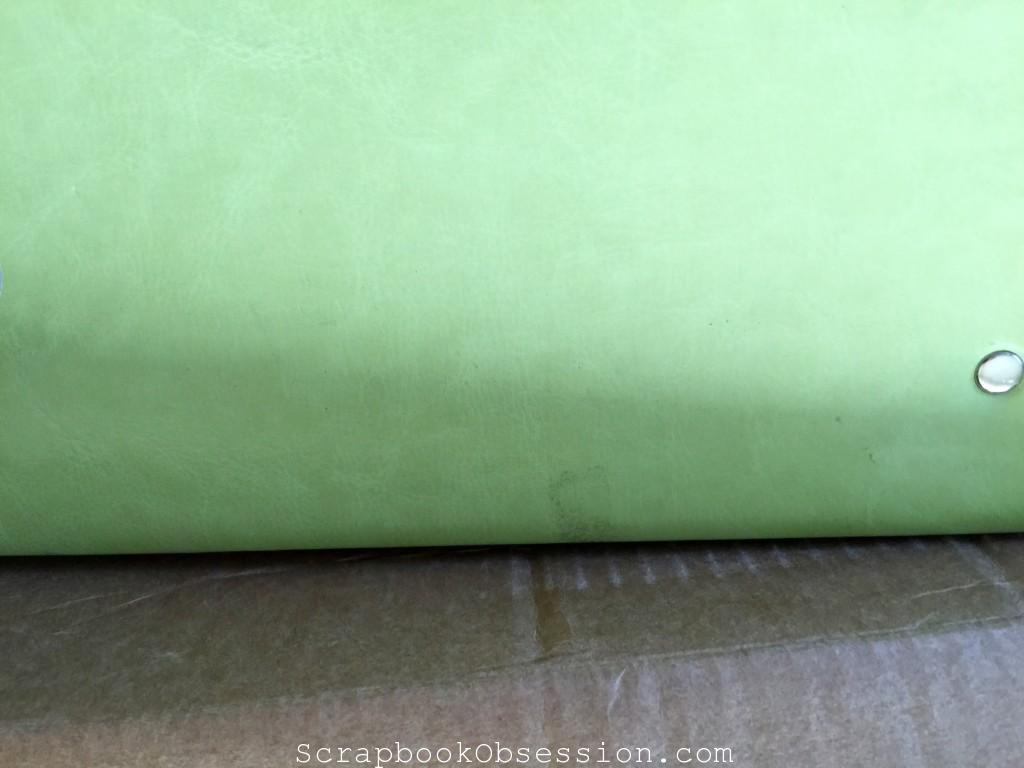
. . . and get alllll over the 2 albums.
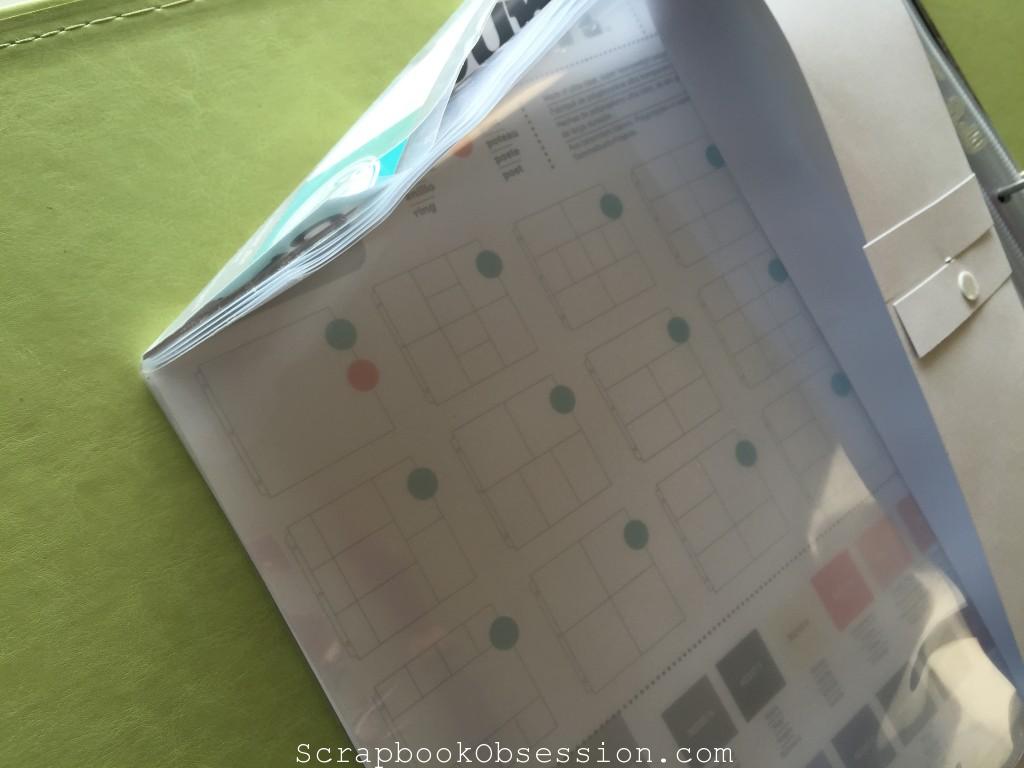
The page protectors inside were ruined.
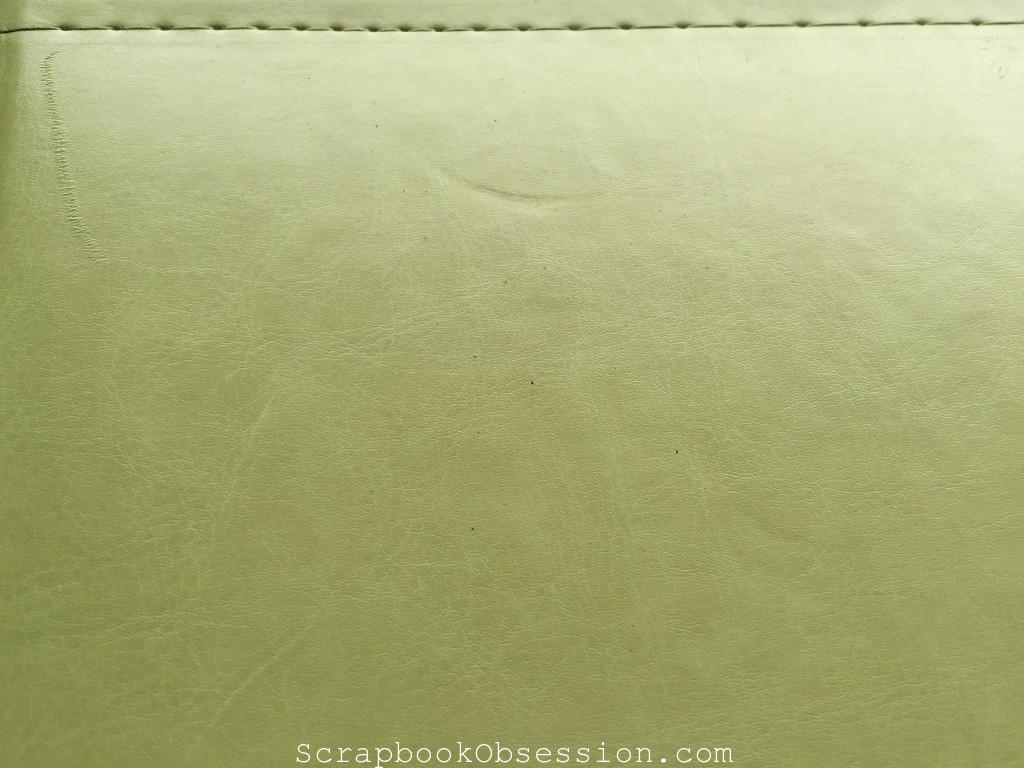
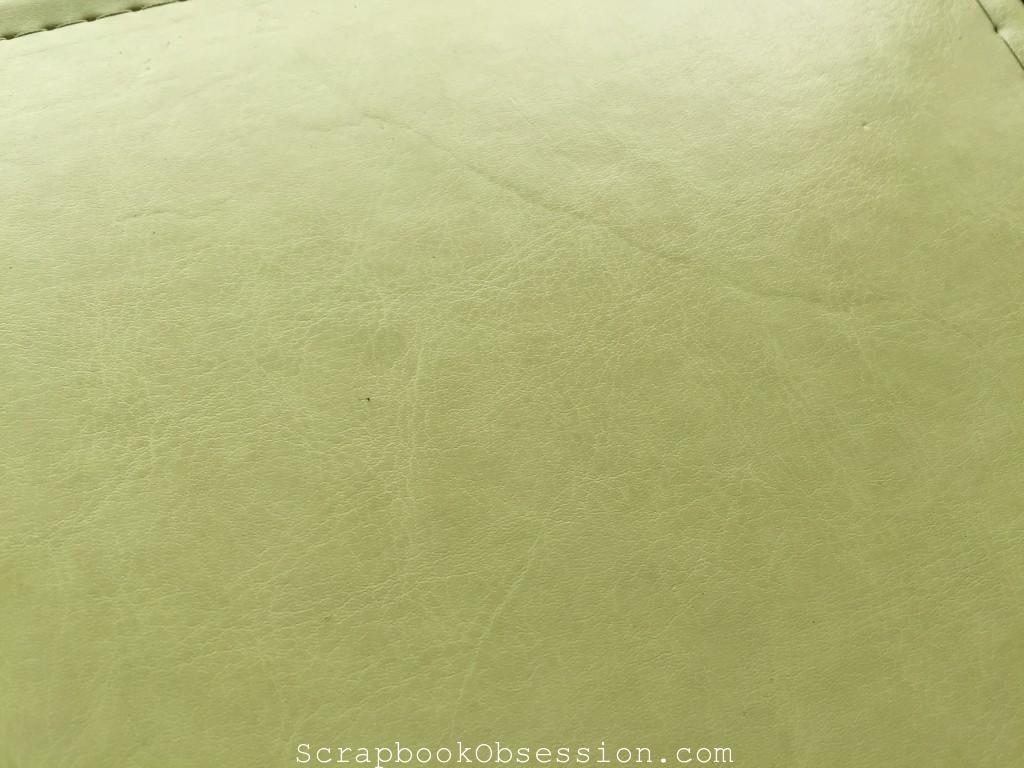
There were gouges on the surfaces . . .
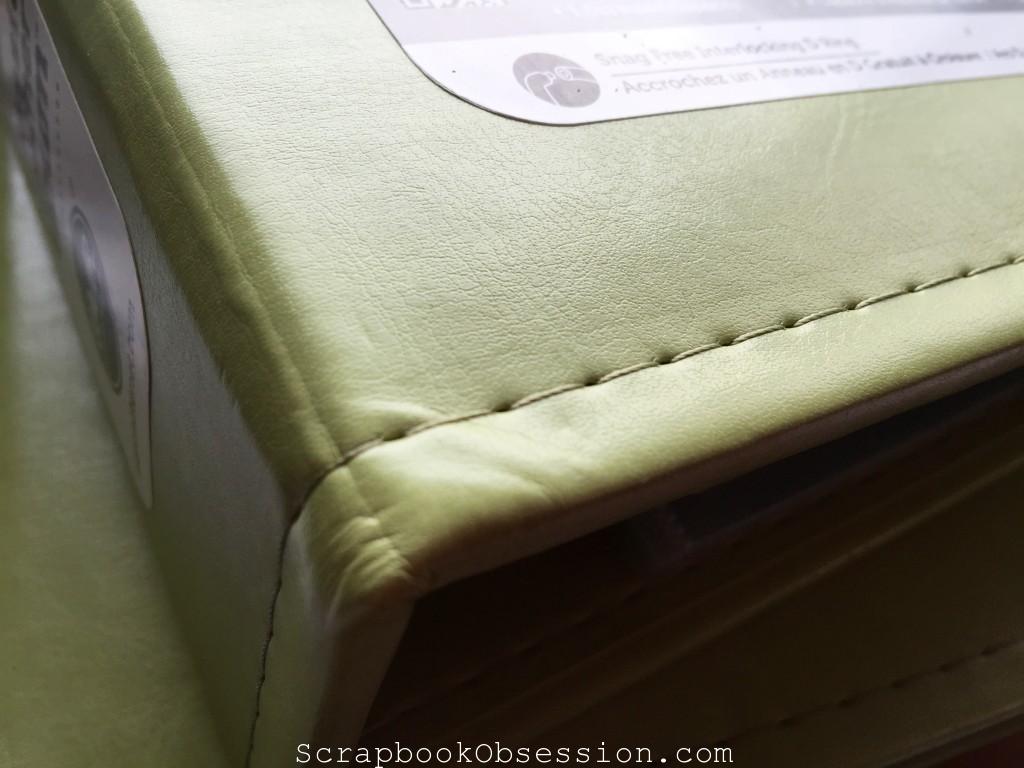
. . . and a bunged up corner.
Sigh.
I flippin’ HATE returning things. Contact Amazon, fill out the return, find a new box (in this particular case), haul it to the post office, etc. So I told myself if I could get the dirt off the albums, I’d just keep them. Luckily, I was able to with just baby wipes. That didn’t take care of the gouges and dings but whatever. I decided to just keep them. I will, however, be letting Amazon know about the horrible shipping practice on this box.
A day later, the other {4} WRMK Kiwi albums I ordered from Amazon also arrived.
Ahhhhh, much better!
Lots of air pillows!
Individually wrapped!
Now THAT is the Amazon I know and love. Thank goodness they restored my faith in them so quickly. I’ve ordered from Amazon probably 60-70 times by now and never, ever had a bad experience like this.
So I do still recommend them wholeheartedly. No one is perfect and everyone makes mistakes. I know that if I’d wanted to pursue a return, they would’ve accepted it, no problem.
I think the bottom line is that they should only let scrapbookers pack up their scrapbook supply orders. Any scrapper would know that you have to pack WRMK albums with care, right?
Have you had any crazy or bad Amazon experiences? Do tell.
I’m kind of a lapsed 12×12 scrapbooker at the moment (don’t shoot!). I’m just at the stage in life where time is at a premium (family time, work, kids’ activities, etc.) and I very rarely get time to scrapbook these days. So the majority of my scrapbooking right now is “pocket page scrapbooking” aka “Project Life type scrapbooking” aka “divided page protector scrapbooking.”
For me, scrapbooking is about memory keeping – and I have horrible long-term memory. So I really count on my scrapbooks to help me remember all those awesome (and not so awesome) moments in my life. I like the ability with pocket page scrapbooking to get photos in albums and get the memories down. It’s not always the fanciest or more artistic method but it accomplishes MY most important goal at the moment and I love it. I figure “someday” I can go back and do regular layouts and I’ll have the photos in one place and some journaling already done as a starting point.
With all this pocket page scrapping – and some regular 12×12 layouts thrown in – I really go through the regular and divided page protectors. I need a good way to organize them and have them handy; when I get time to scrap, I want to SCRAP! I’ve tried various methods, including:
– Keeping them in the boxes/packages they come in stored vertically on a bookshelf.
– Storing them on horizontal shelf cubes like the ones sold at MICHAELS.
– Leaning them in a large bin under my desk.
Well, they all seemed like good ideas at the time, LOL! But for various reasons, they didn’t work out for me (hard to access, got dusty, hard to find the type of protector I needed, etc.).
I finally found the method that works for me: Storing page protectors in 12×12 albums! If you’d like to give it a try as well, here are my tips:
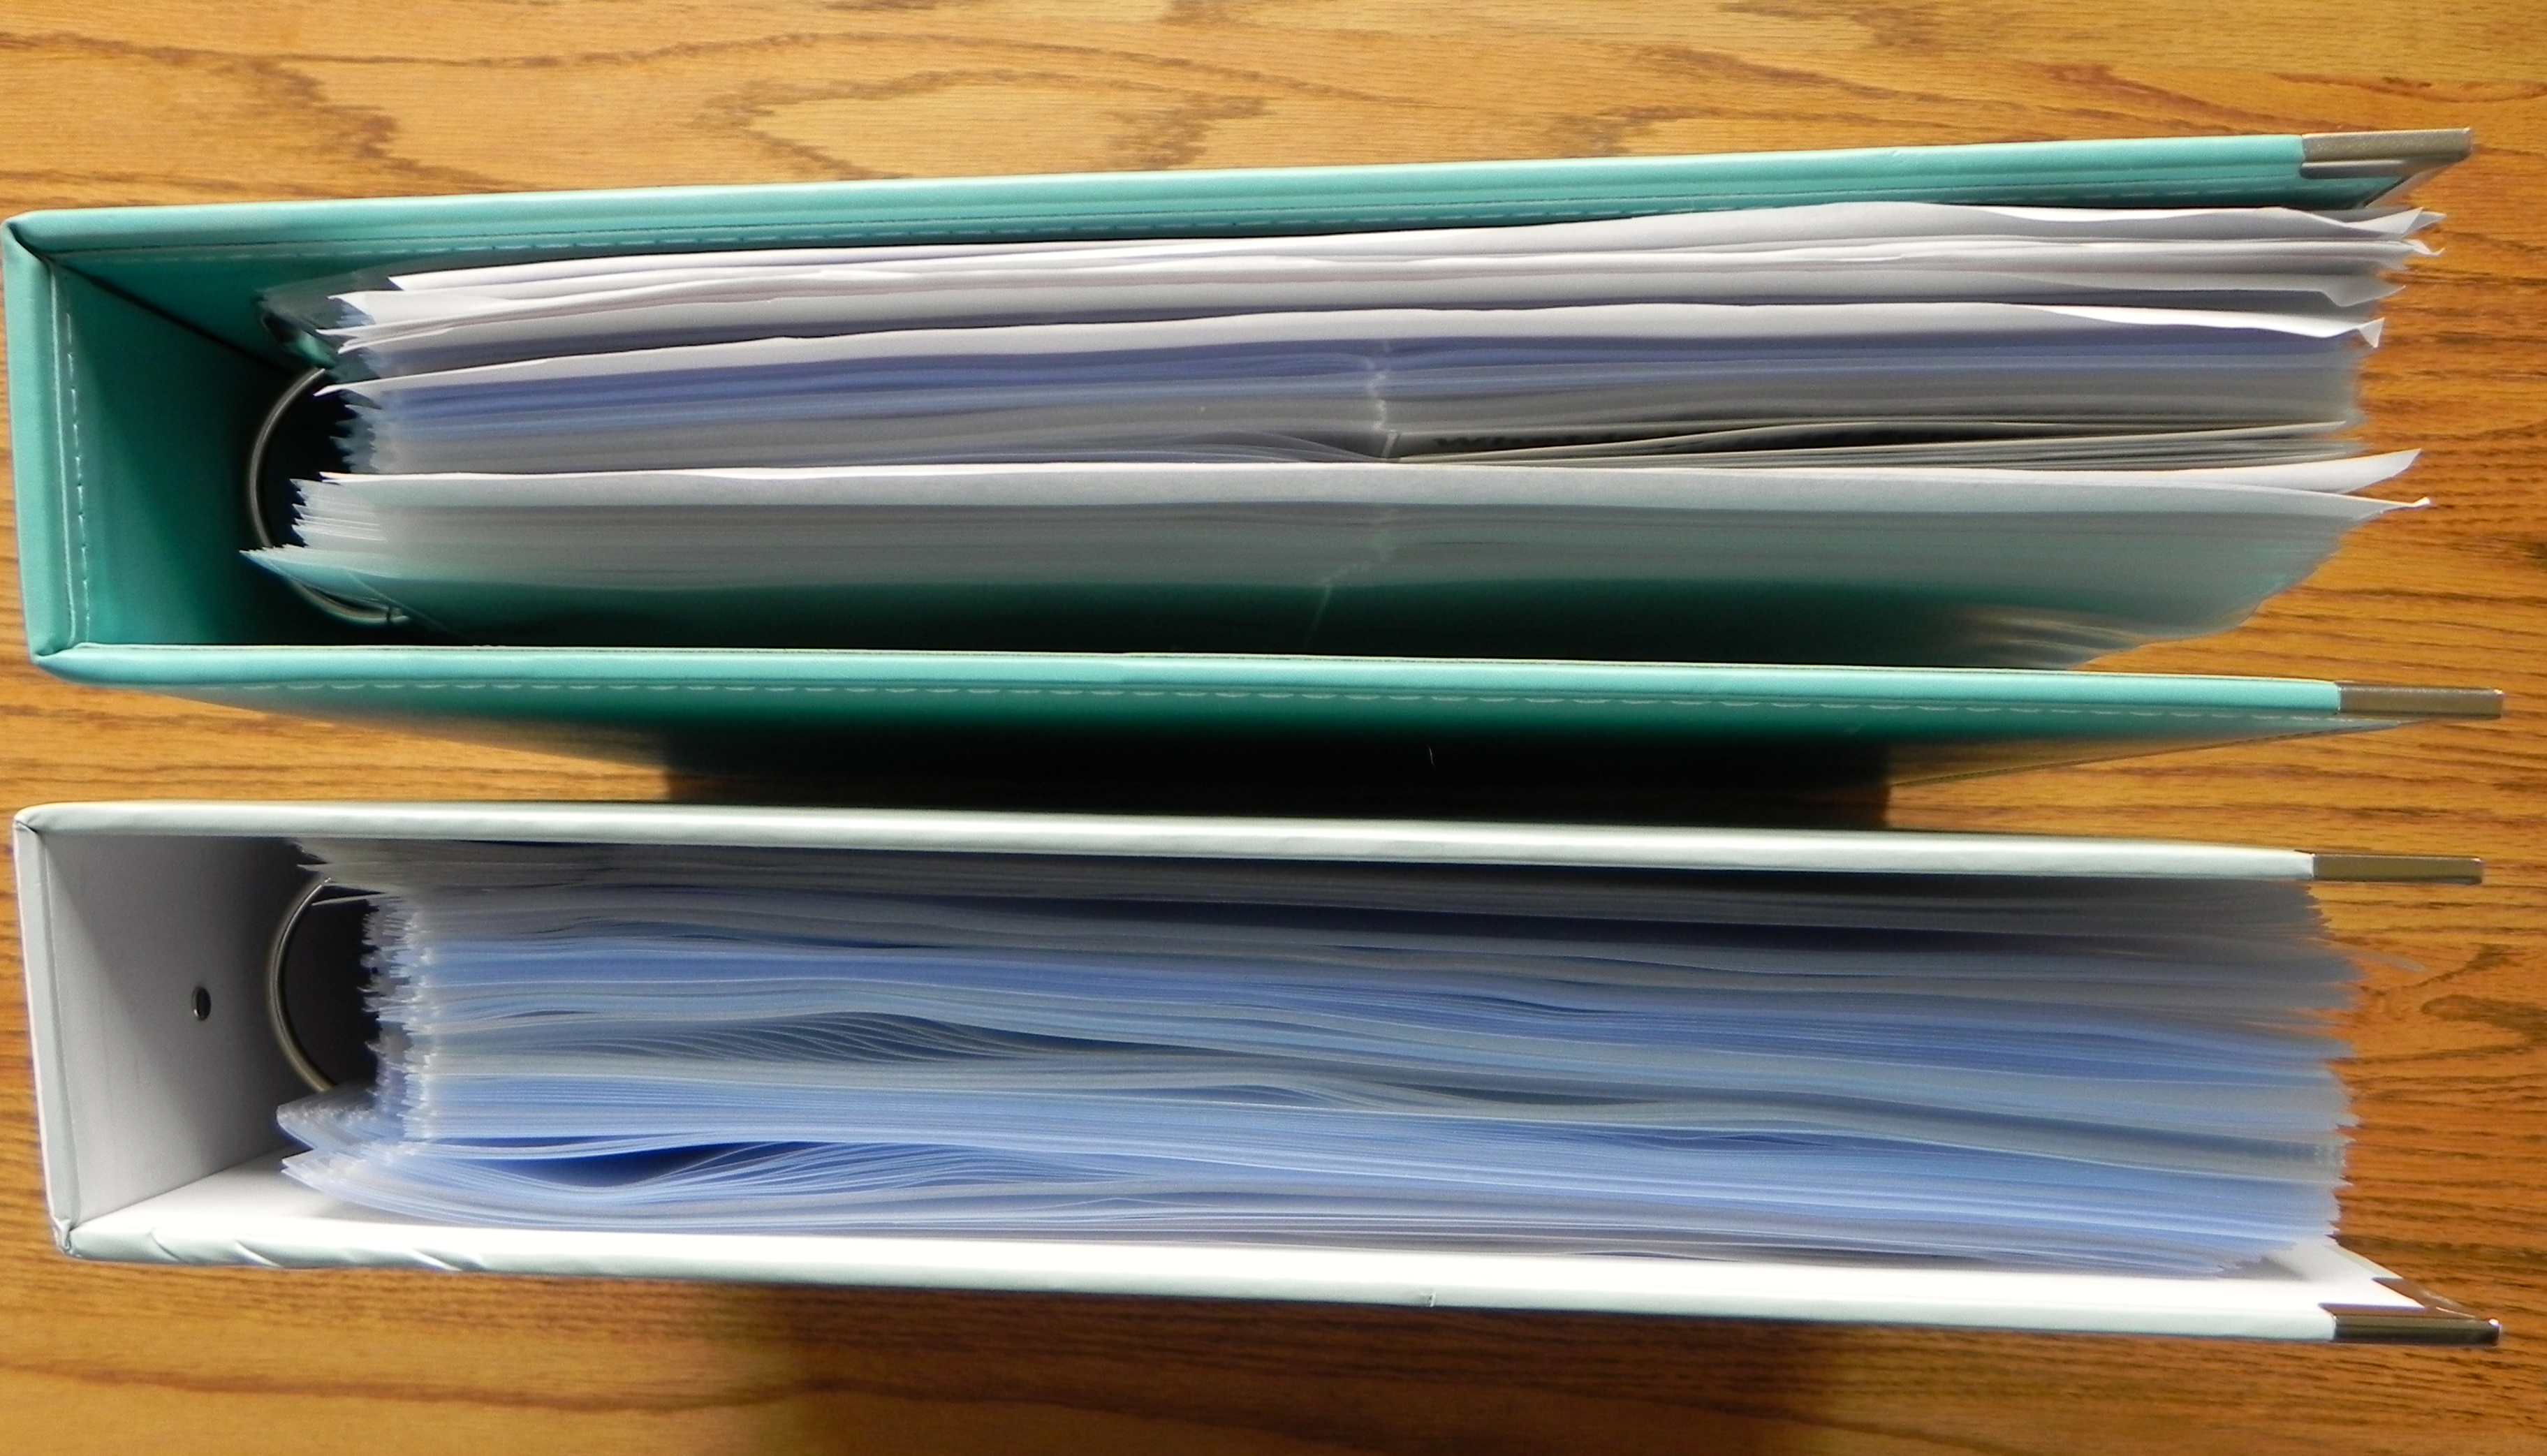
1. Choose a good sturdy 12×12 D-ring album to use.
For now, I’m using a turquoise Sn@p! album for my divided protectors and a light green Project Life album for my plain protectors; I had to separate them because I have so many to store! Eventually, I’ll need those albums for projects so I’ll get some others to replace them. I’m thinking of getting 2 or 3 of the 12×12 Project Life albums when they’re on sale at Michaels in a cute pattern to set them apart from my solid color WRMK albums that house scrapbook pages.
2. Gather all page protectors, take out of boxes and packages, and place into piles by type.
They’re very slippery and hard to deal with. Find a large space like your bed or an open table if you can.
3. For each type of page protector, straighten the pile so all the binder holes line up, and put a large binder clip along the right edge halfway down.
Don’t worry, this is temporary and won’t damage your page protectors if you remove it quickly.
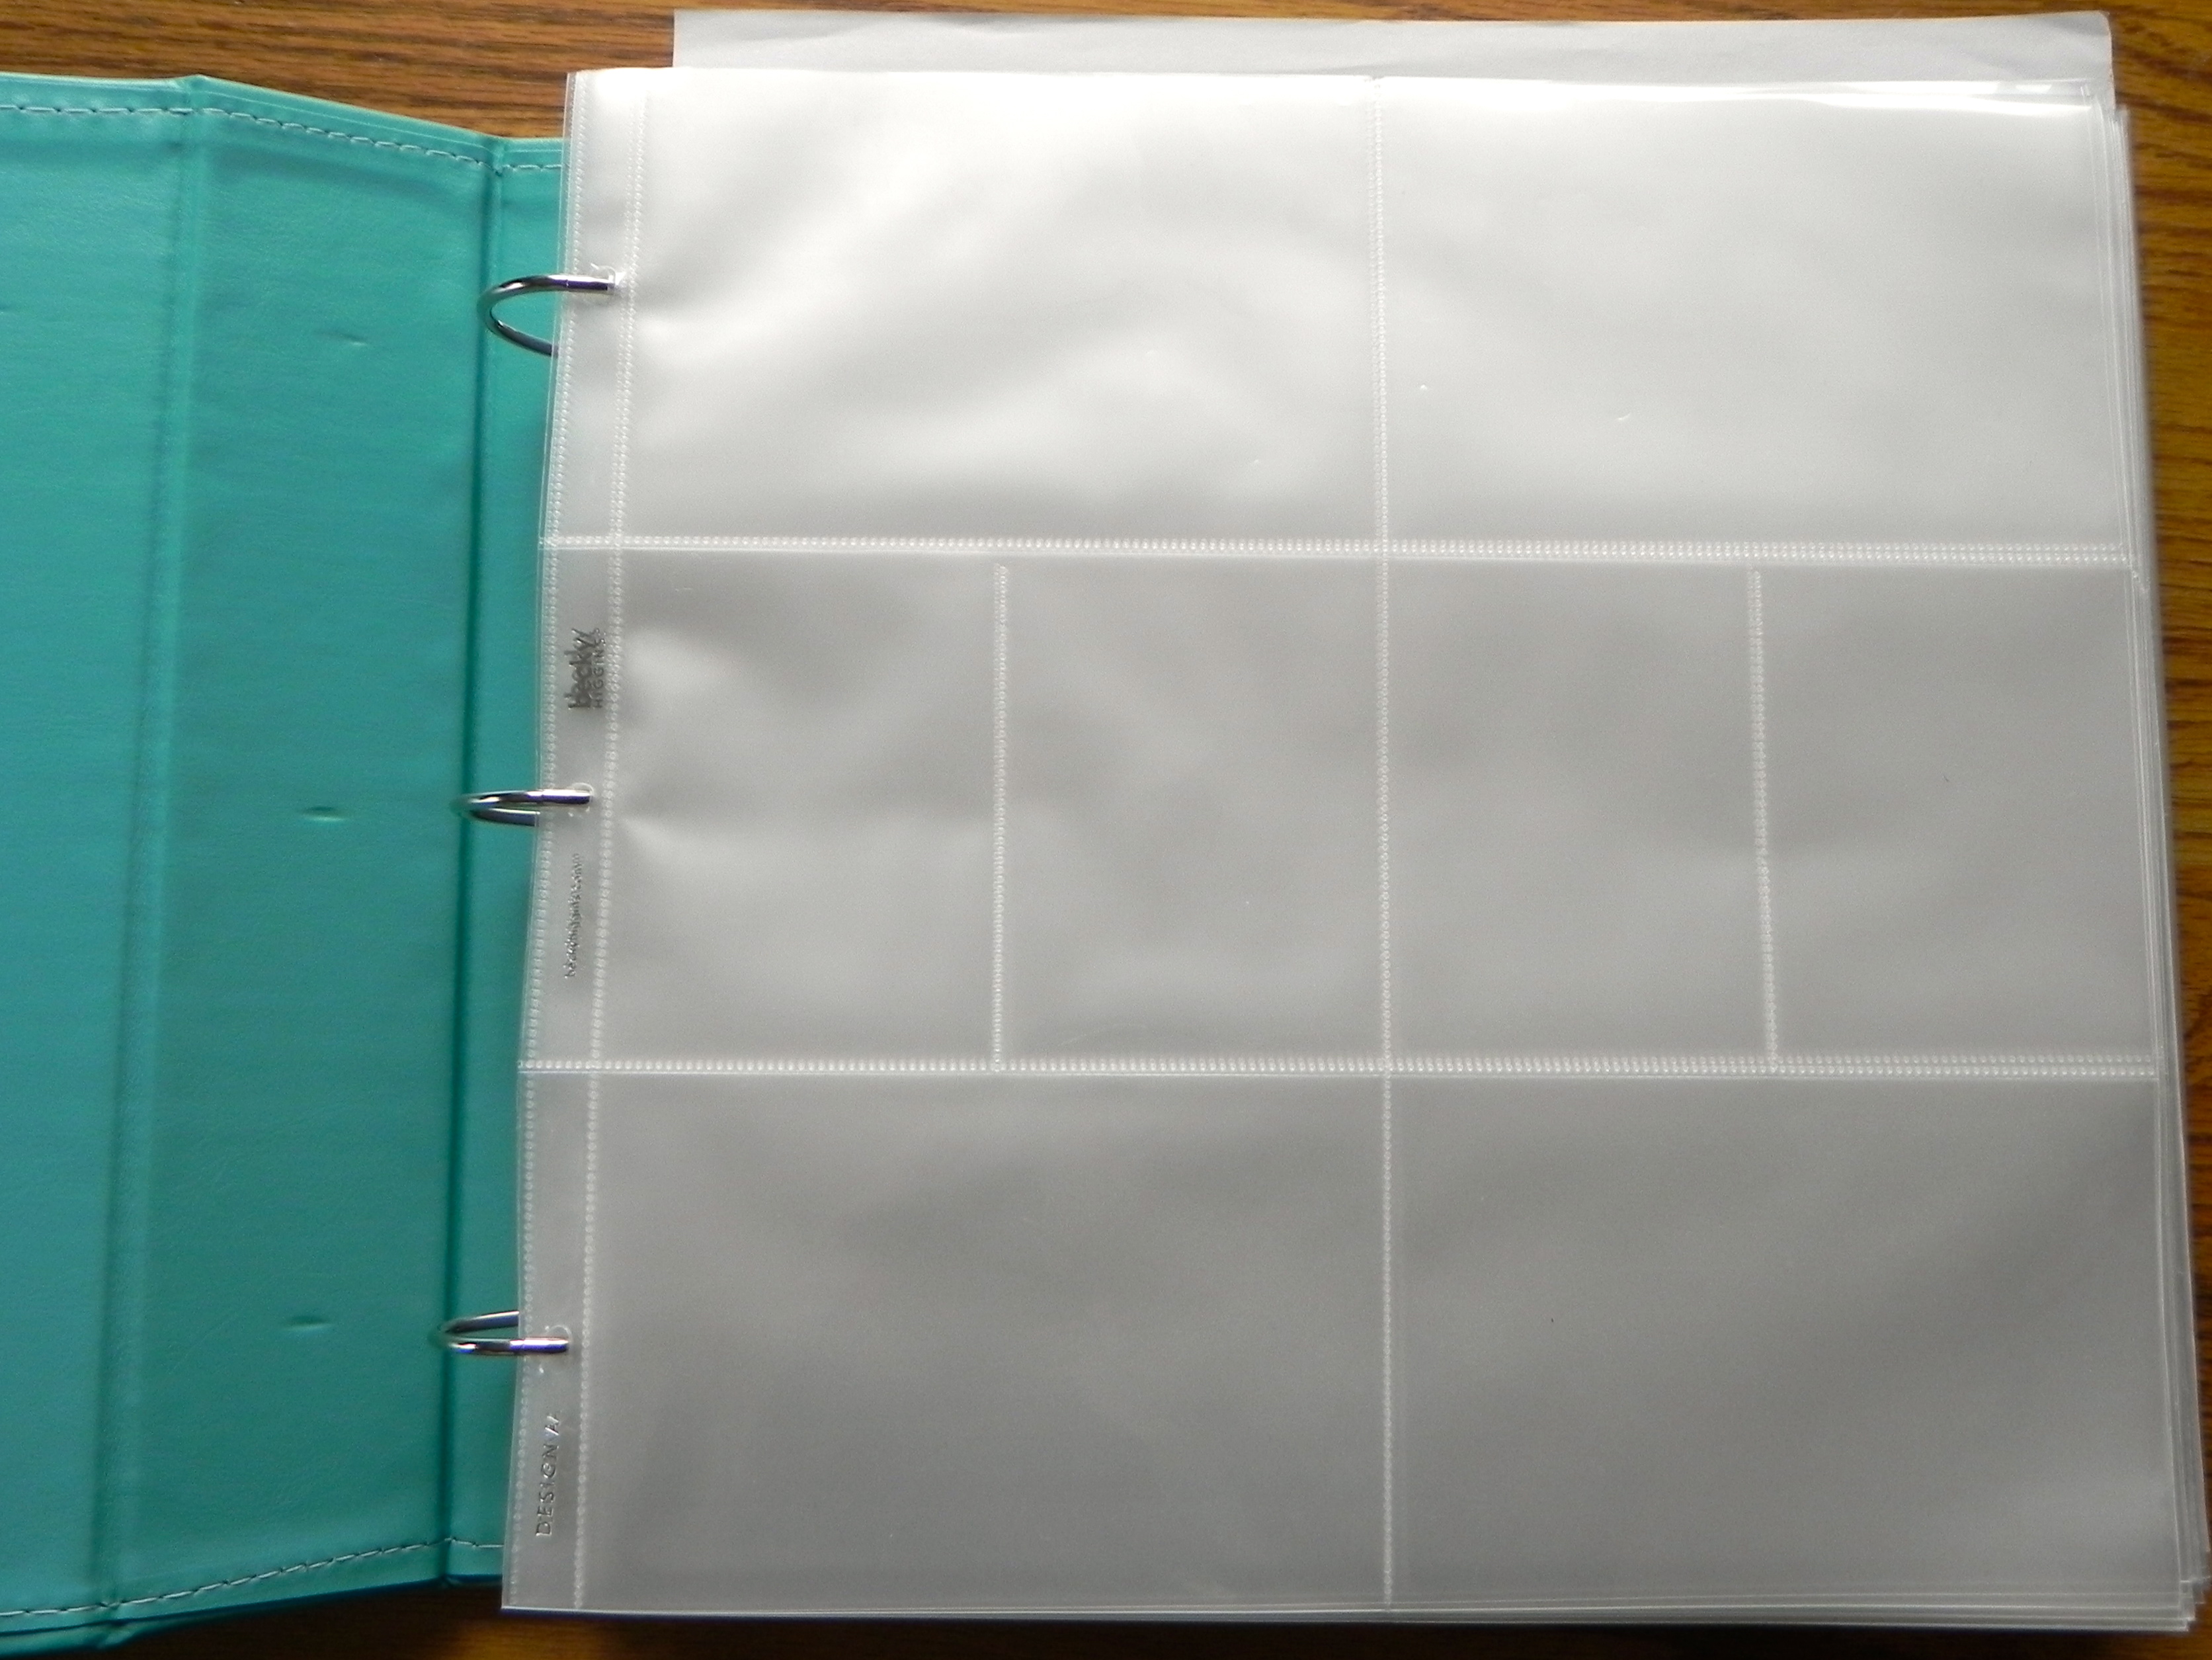
4. Start filling your album, with your mostly commonly used page protector types at the front.
I use mostly Becky Higgins Design A and BH/WRMK (6) horizontal 4×6’s so those go first.
Tip: Even though the page protectors are clipped together, they still will slide a bit and not line up perfectly. Try inserting the center binder hole first; once that’s lined up, the other 2 holes will line up and insert more easily.
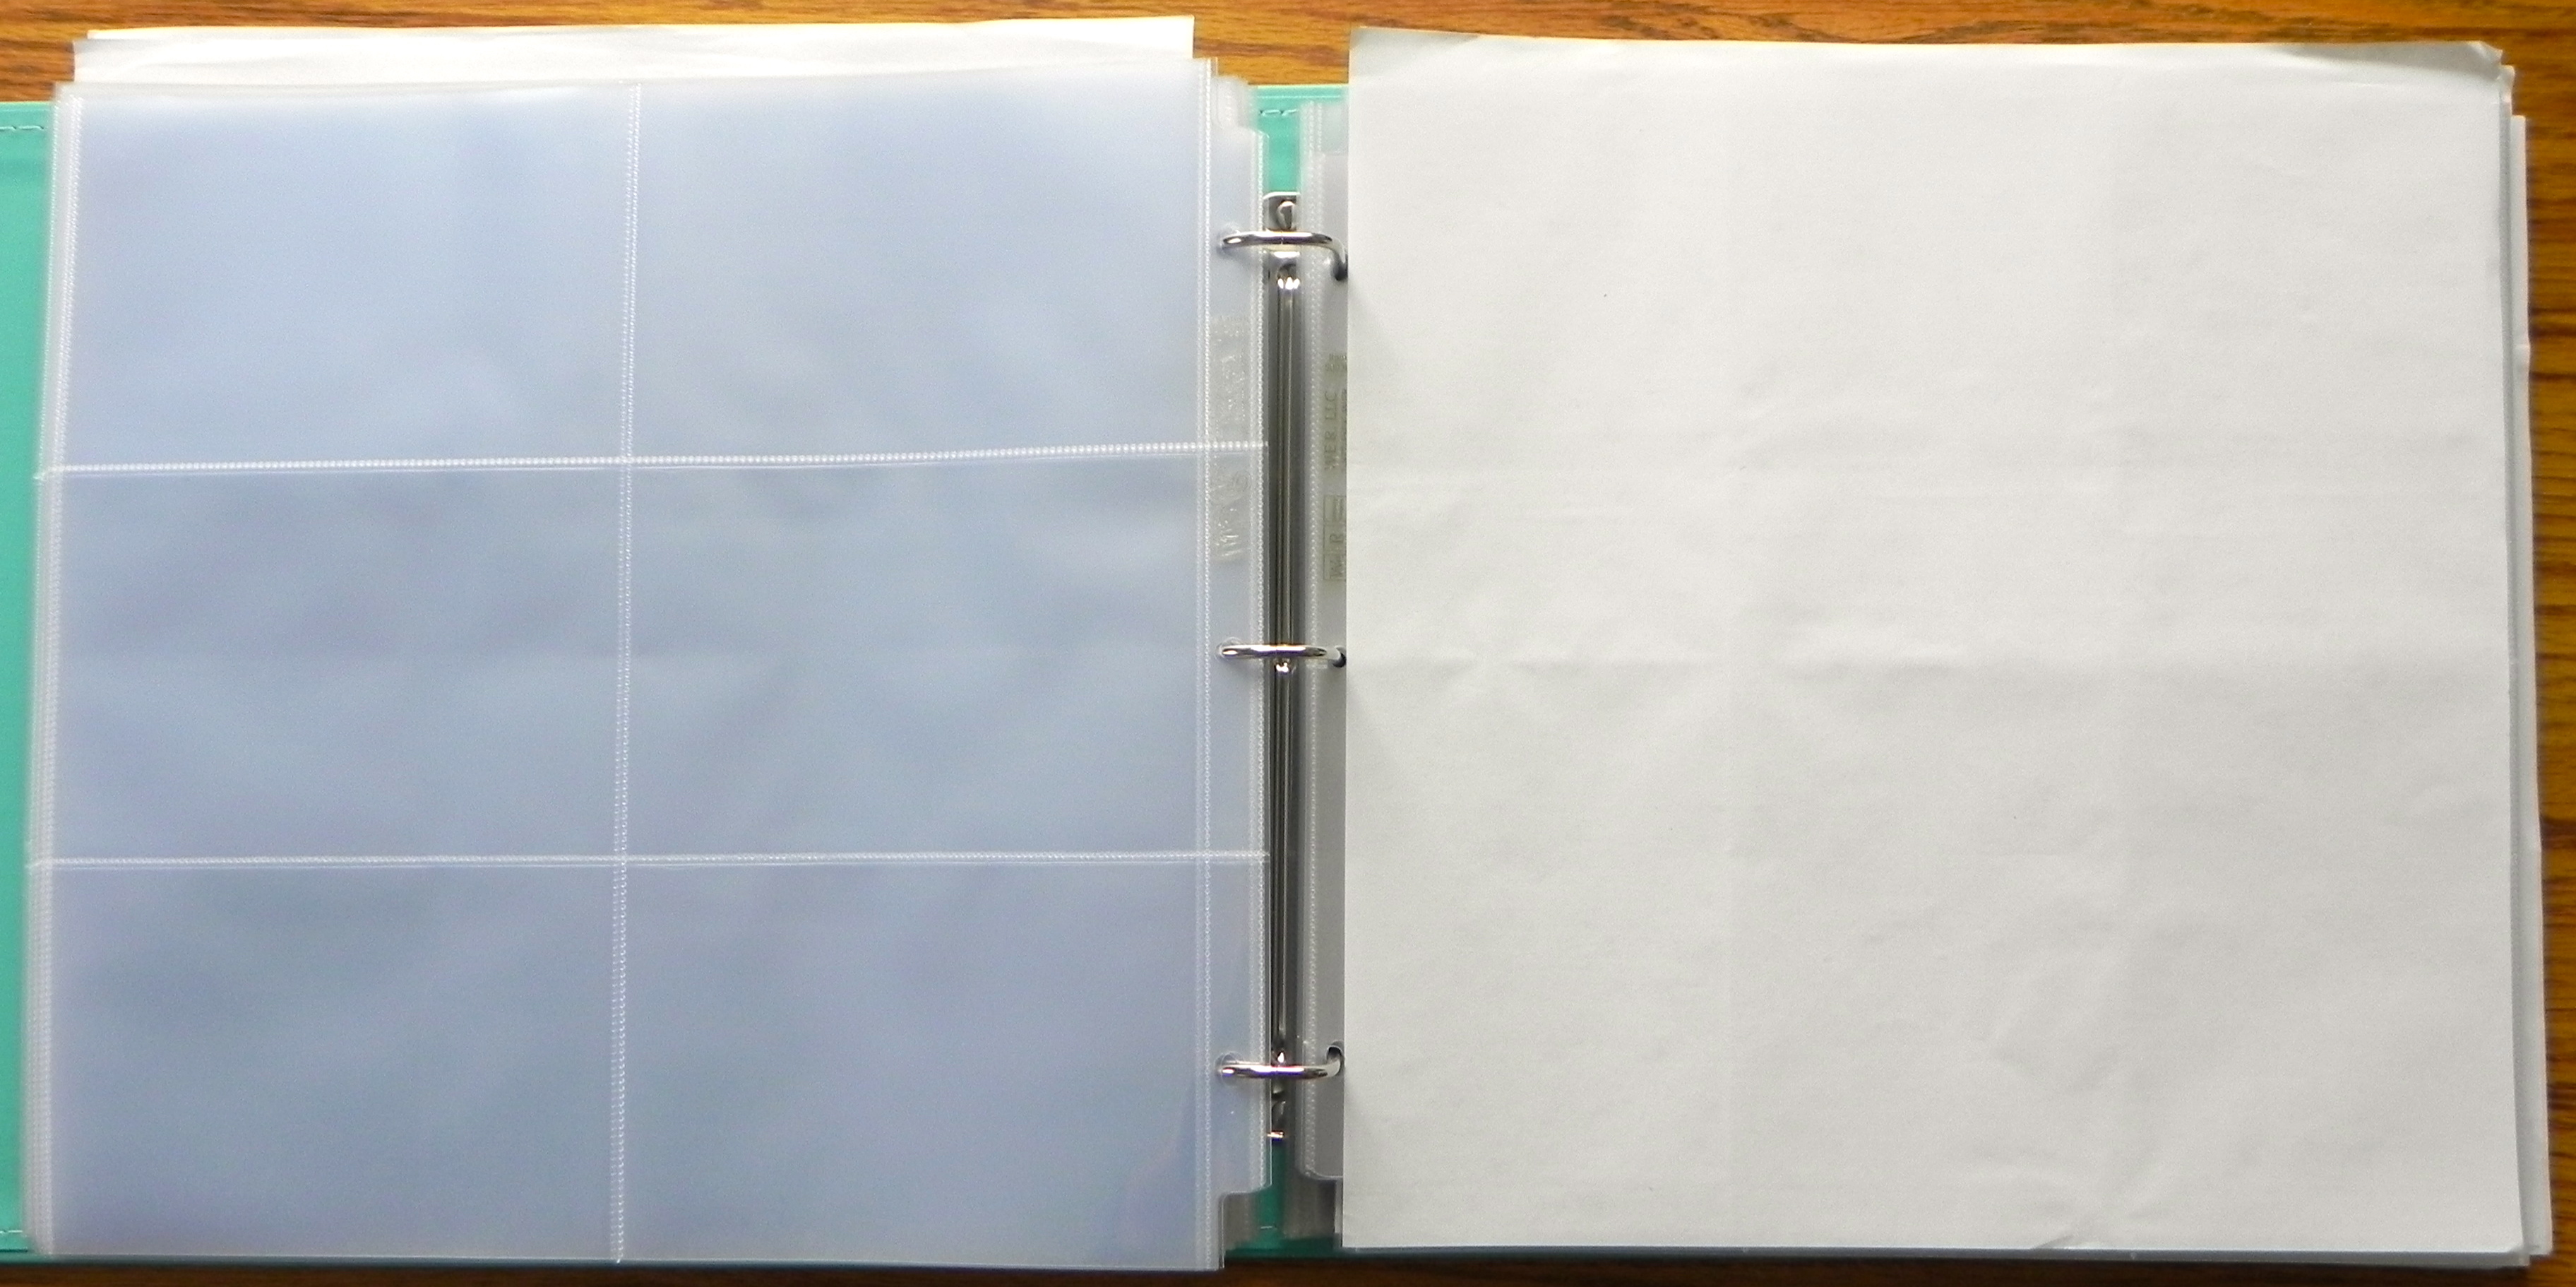
5. Separate page protector types within the album using your divider of choice.
I use sheets of 12×12 thin white paper to reduce bulk/weight of the album. You could also use Project Life Designer Dividers; a plain page protector with a sheet of cardstock, patterned paper, and/or a label; etc. Personally, I wouldn’t spend a lot of time or energy on the dividers. Once you start using this binder, you’ll get a great feel for where in the binder your desired page protector is and the dividers become kinda’ unnecessary :)
6. Remove the binder clips and let your page protectors be freeee! And you are DUNZO.
Now you can enjoy the ease of having all your various page protector configurations in one place and finding the exact type you need while you scrapbook.
The only downsides I’ve found to this method are:
– A 12×12 album full of page protectors is VERY heavy.
– You need a large space to have the binder open while you’re working, unless you don’t mind pulling it out and opening it each time you need a new type of protector.
Even with the downsides, I still think this is the best method for storing 12×12 page protectors. They’re so slippery and hard to deal with, I’ve found that having them secured into a D-ring album is the only way to consistently access them without going cray-cray.
If you found this helpful or have another page protector organization idea to share, please leave a Comment! Just click on the link under the title to this post :)
I know that most scrapbook consultants have parties as the main way they get their products “out there.” Well, you know me, I have to be different, LOL! In my 3 years as a MEMORY WORKS Consultant (just had my 3-year anniversary on 2-6-10, yeah!), I’ve never officially had an MW party. Instead I prefer to have crops, where my products are for sale and customers can browse/purchase at their leisure, and now I’m having my second Scrapbook Open House.
The way an Open House works (and this is my own definition; it’s not something that Memory Works promotes as an option, per se) is that you find a customer who would like to be the hostess (they get hostess credit), decide your hours, send out flyers to your customers, offer some incentives for them to come by … and then PRAY that they do, LOL!
The first open house I did was in November 2008. I had a fabulous make-n-take, a 12×12 2-page layout with MY MINDS EYE products, that was hugely popular. It was a class kit from Memory Works, so I didn’t even have to come up with the idea or put it together. The hostess provided cookies, hot cider, and such. Ladies stopped by, did the M&T while they chatted with scrappy friends and had a snack, or they just purchased the kit and took it home. It was a great success and lots of fun.
Now with a crop (which is what I do more often) you get reservations and payment ahead of time, so you know financially how you’re doing as you go along, how much food to provide, etc. But with an Open House, other than the few ladies who might RSVP on their own, you really don’t know how many will show up. So from my perspective as a consultant, that’s a wee bit aggravating … yet the nature of the beast, so that’s okay :)
For the customer, open houses are great because they are TOTALLY at your convenience. You can stop by when you have time, stay for as little or as long as you want, do a quick shop or relax and stay awhile, chat with your scrappy friends without having to lug all your stuff like you would to a crop, get to see new products, and touch base with your consultant.
And those are all the reasons I like to have an Open House once in a while. It’s truly a win-win-win, LOL. The hostess gets free stuff, customers have an easy event to attend, and I hopefully make my customers happy and sell some things. This time, I’m most excited about it because I get to show off SIMPLE STORIES in person. I’ve been selling lots of it online (thank you, my dear customers!), but this is the first time I’ll show it off in person.
I think my job will be pretty easy, as it really does sell itself. I do look forward to seeing that A-HA moment in ladies’ eyes when they see how easy and fast it is, how fun it is to work with, and what a solution it can be to some scrapping dilemmas they might be facing.
1. That feeling of being “behind” ~ We all have super busy periods in our lives, or you just lose your mojo to scrap. Then you feel like you’re so far behind. You’re still taking photos as you always have, but they’re stacking up (literally, or at least on your computer) and how will you ever catch up?
2. You took a family trip, remodeled your house, or had a new baby and the amount of photos you took is, well, kind of embarrassing really :) You want to show off all the amazing photos and not have to skip any of them, but if you do regular layouts for every photo, you’ll need at least 2 albums … and 2 weeks of home vacation just to have the time, LOL.
3. You’d like to do PROJECT 365, 52, or 12. You want to do a weekly GRATITUDE ALBUM. You’d like to do a Year in Review album with just the best pics from each month.
Yep, Simple Stories takes care of all of these Scrapper Issues :) I think that’s why so many people have purchased it and are excited about it. It’s just a bonus that the kit itself is so dang pretty and fun. Anyway, I look forward to seeing reactions in person and hope my IRL scrap friends like Simple Stories as much as I do (wait, is that even possible???).
My Scrapbook Open House tomorrow is being held at the clubhouse of a sweet scrappy friend. She hosts a group of friends for a monthly crop, which we love because it’s free, easy, and fun! You can actually go to the entire crop day without spending any money (nice when money is tight), if you bring your own munchies and drinks. And avoid the inevitable trips to Starbucks and Michaels, LOL.
Tomorrow happens to be the February date for our monthly ‘friends crop.’ Since she’ll have the clubhouse open anyway, she agreed to be the hostess for my Open House (LOVE her!). There are usually 4 to 6 of us cropping all day from 9am to 9pm; I’m not sure how many are expected this time. Then from 10am to 8pm, I’ll have my Memory Works area set up with products, some snacks/drinks, a quick make-n-take, and free gifts for those who stop by.
I’m kind of nervous that no one will come to the Open House. You just never know. I’ve stocked up on a bunch of Simple Stories PRODUCTS ~ kits, page protector packs, cardstock packs, and even an album.
I’ll have my album available to flip through and show samples of how you can use the kit, and the M&T is made from Simple Stories products. I have copies printed of the new SIMPLE STORIES IDEA GUIDE and CATALOG.
Please keep your fingers crossed that I make some sales Saturday!
I’m going to look on the bright side: Even if I don’t have many customers, I still get to scrapbook all day, right?