I’m kind of a lapsed 12×12 scrapbooker at the moment (don’t shoot!). I’m just at the stage in life where time is at a premium (family time, work, kids’ activities, etc.) and I very rarely get time to scrapbook these days. So the majority of my scrapbooking right now is “pocket page scrapbooking” aka “Project Life type scrapbooking” aka “divided page protector scrapbooking.”
For me, scrapbooking is about memory keeping – and I have horrible long-term memory. So I really count on my scrapbooks to help me remember all those awesome (and not so awesome) moments in my life. I like the ability with pocket page scrapbooking to get photos in albums and get the memories down. It’s not always the fanciest or more artistic method but it accomplishes MY most important goal at the moment and I love it. I figure “someday” I can go back and do regular layouts and I’ll have the photos in one place and some journaling already done as a starting point.
With all this pocket page scrapping – and some regular 12×12 layouts thrown in – I really go through the regular and divided page protectors. I need a good way to organize them and have them handy; when I get time to scrap, I want to SCRAP! I’ve tried various methods, including:
– Keeping them in the boxes/packages they come in stored vertically on a bookshelf.
– Storing them on horizontal shelf cubes like the ones sold at MICHAELS.
– Leaning them in a large bin under my desk.
Well, they all seemed like good ideas at the time, LOL! But for various reasons, they didn’t work out for me (hard to access, got dusty, hard to find the type of protector I needed, etc.).
I finally found the method that works for me: Storing page protectors in 12×12 albums! If you’d like to give it a try as well, here are my tips:
1. Choose a good sturdy 12×12 D-ring album to use.
For now, I’m using a turquoise Sn@p! album for my divided protectors and a light green Project Life album for my plain protectors; I had to separate them because I have so many to store! Eventually, I’ll need those albums for projects so I’ll get some others to replace them. I’m thinking of getting 2 or 3 of the 12×12 Project Life albums when they’re on sale at Michaels in a cute pattern to set them apart from my solid color WRMK albums that house scrapbook pages.
2. Gather all page protectors, take out of boxes and packages, and place into piles by type.
They’re very slippery and hard to deal with. Find a large space like your bed or an open table if you can.
3. For each type of page protector, straighten the pile so all the binder holes line up, and put a large binder clip along the right edge halfway down.
Don’t worry, this is temporary and won’t damage your page protectors if you remove it quickly.
4. Start filling your album, with your mostly commonly used page protector types at the front.
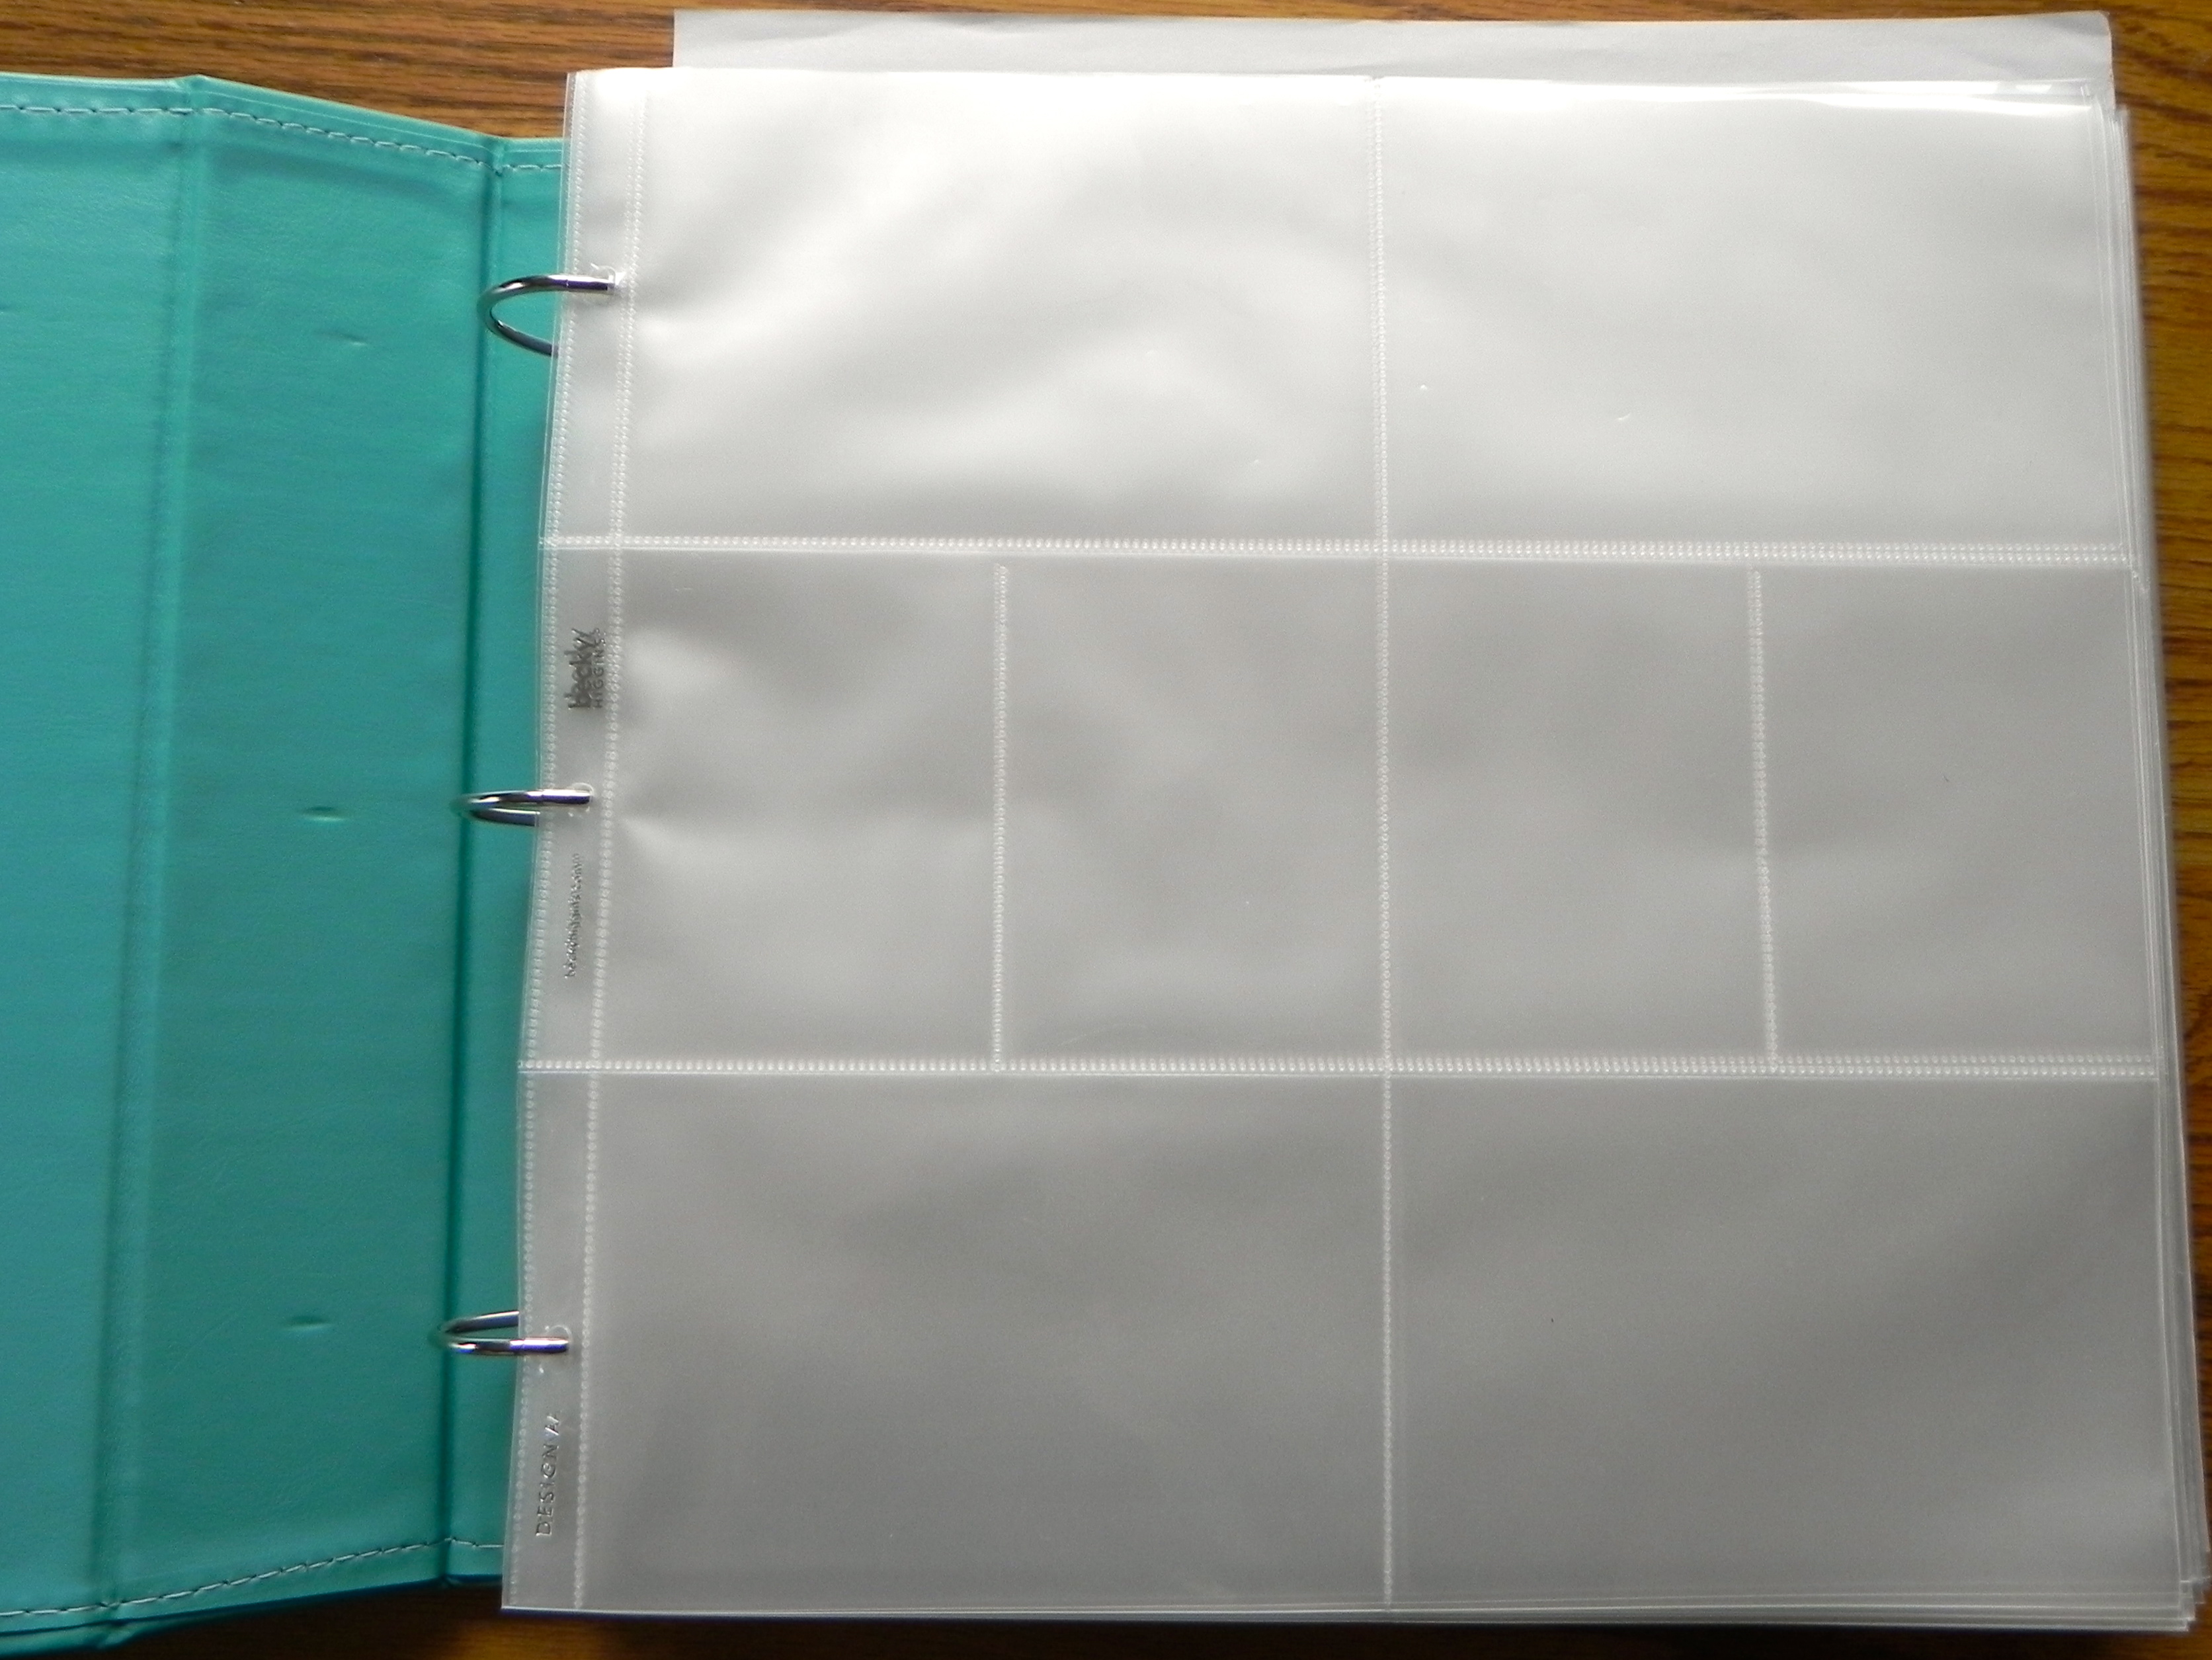
I use mostly Becky Higgins Design A and BH/WRMK (6) horizontal 4×6’s so those go first.
Tip: Even though the page protectors are clipped together, they still will slide a bit and not line up perfectly. Try inserting the center binder hole first; once that’s lined up, the other 2 holes will line up and insert more easily.
5. Separate page protector types within the album using your divider of choice.
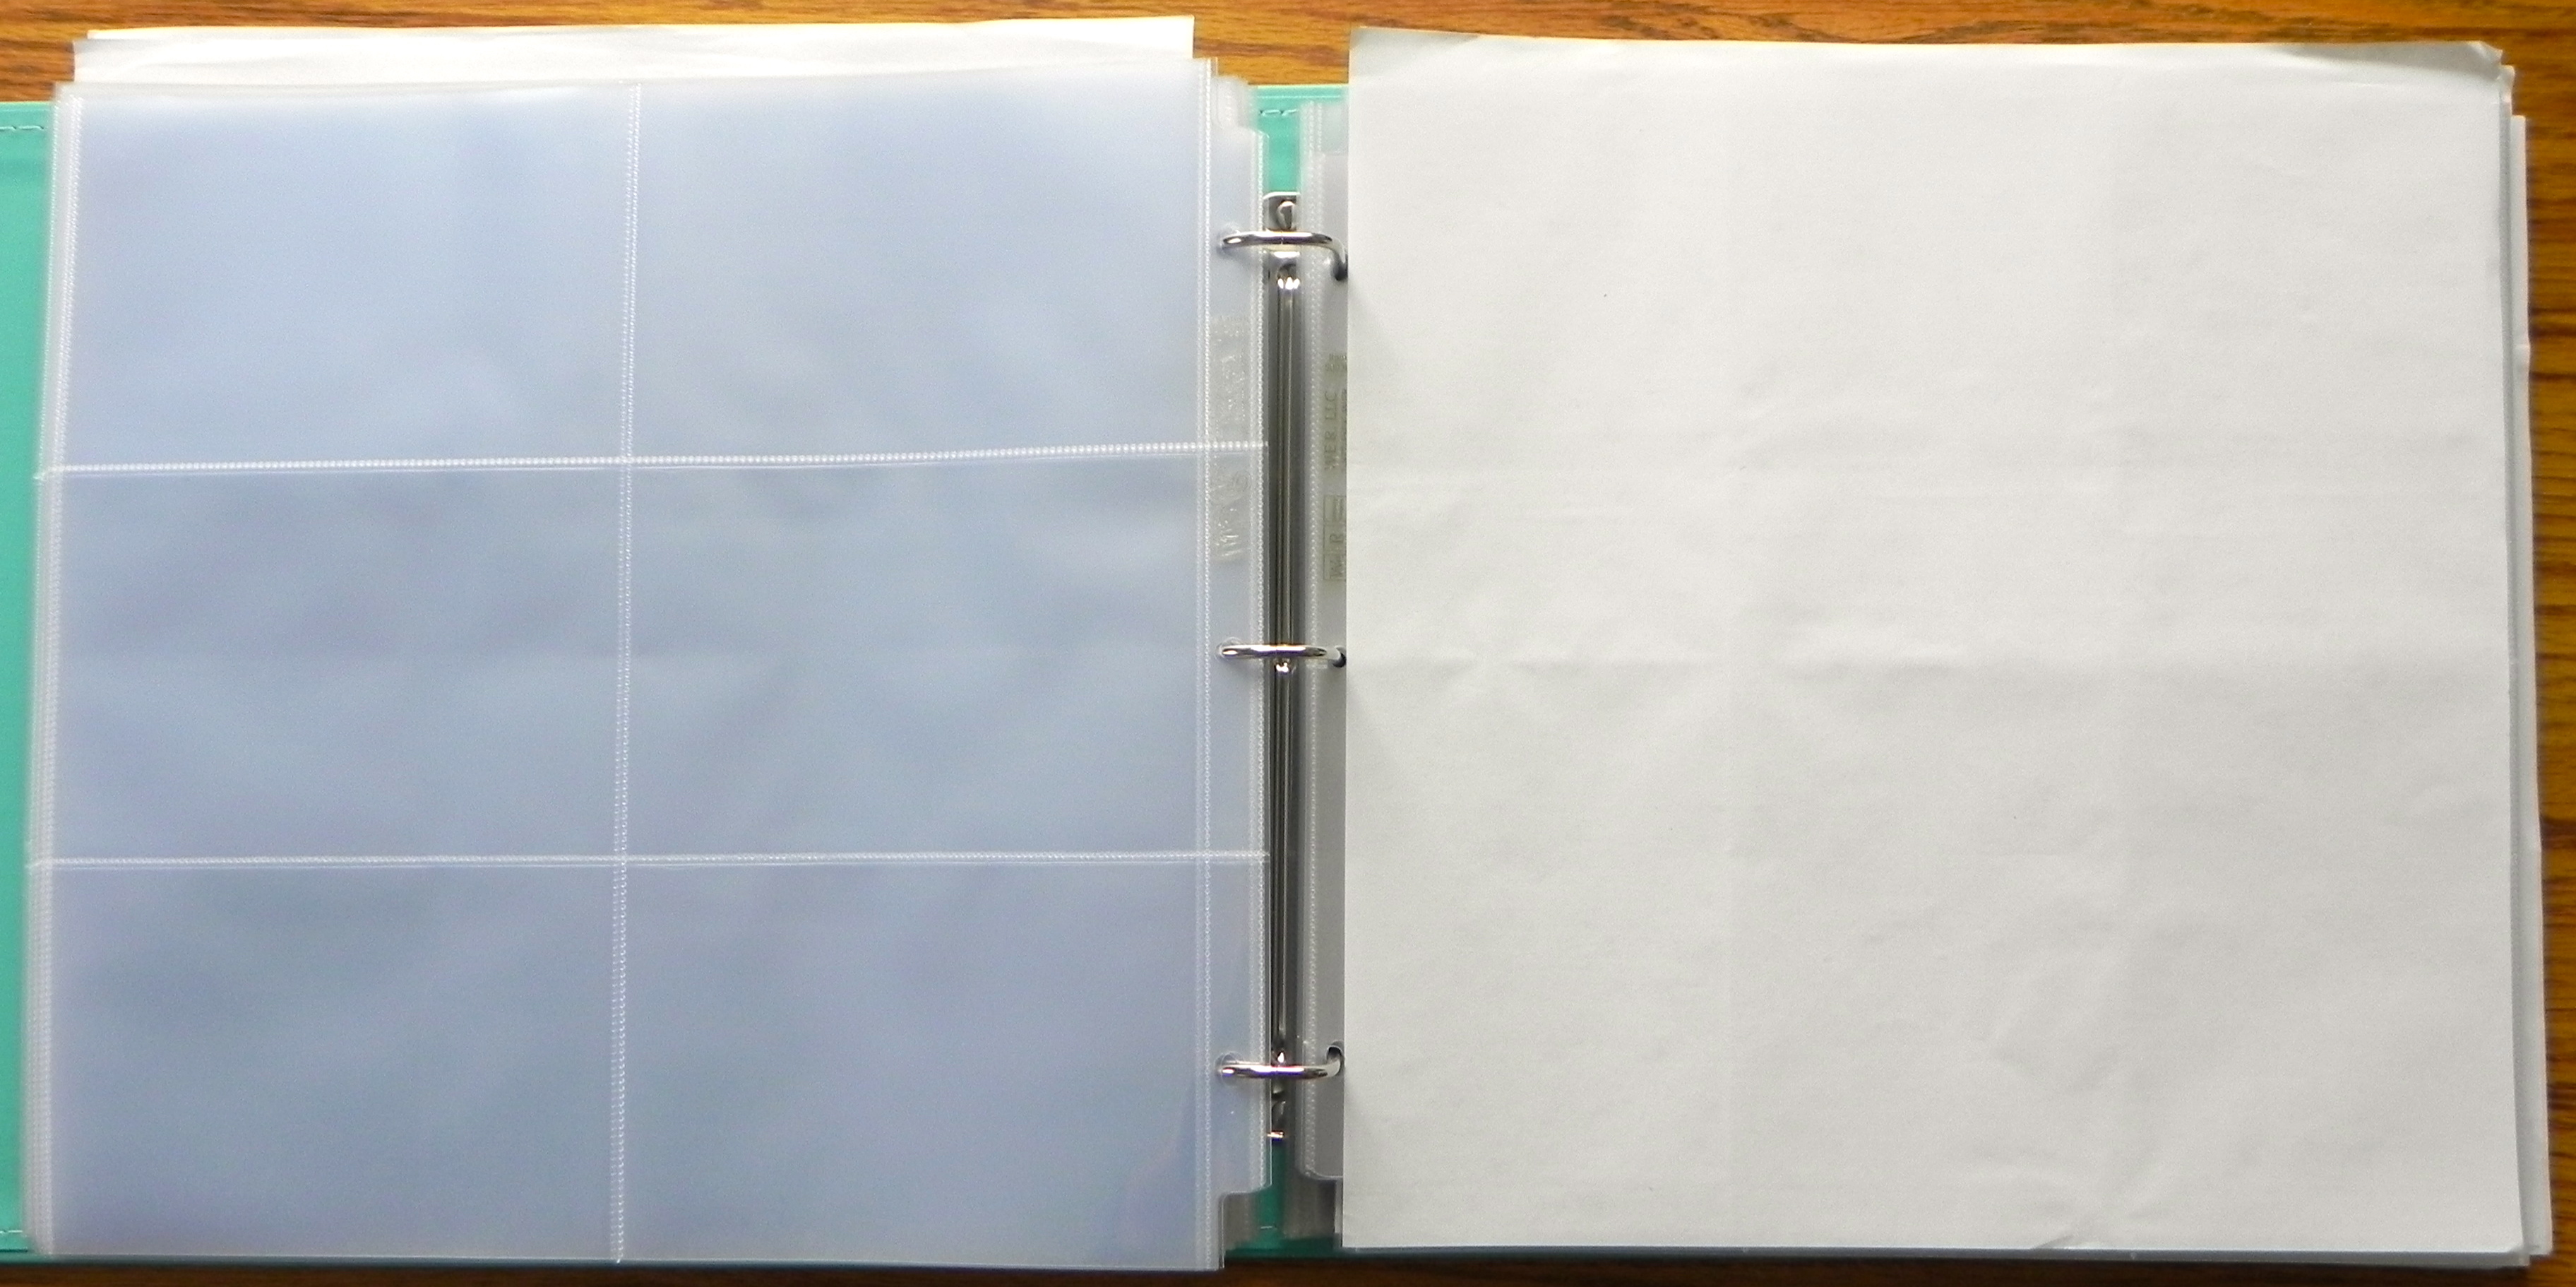
I use sheets of 12×12 thin white paper to reduce bulk/weight of the album. You could also use Project Life Designer Dividers; a plain page protector with a sheet of cardstock, patterned paper, and/or a label; etc. Personally, I wouldn’t spend a lot of time or energy on the dividers. Once you start using this binder, you’ll get a great feel for where in the binder your desired page protector is and the dividers become kinda’ unnecessary :)
6. Remove the binder clips and let your page protectors be freeee! And you are DUNZO.
Now you can enjoy the ease of having all your various page protector configurations in one place and finding the exact type you need while you scrapbook.
The only downsides I’ve found to this method are:
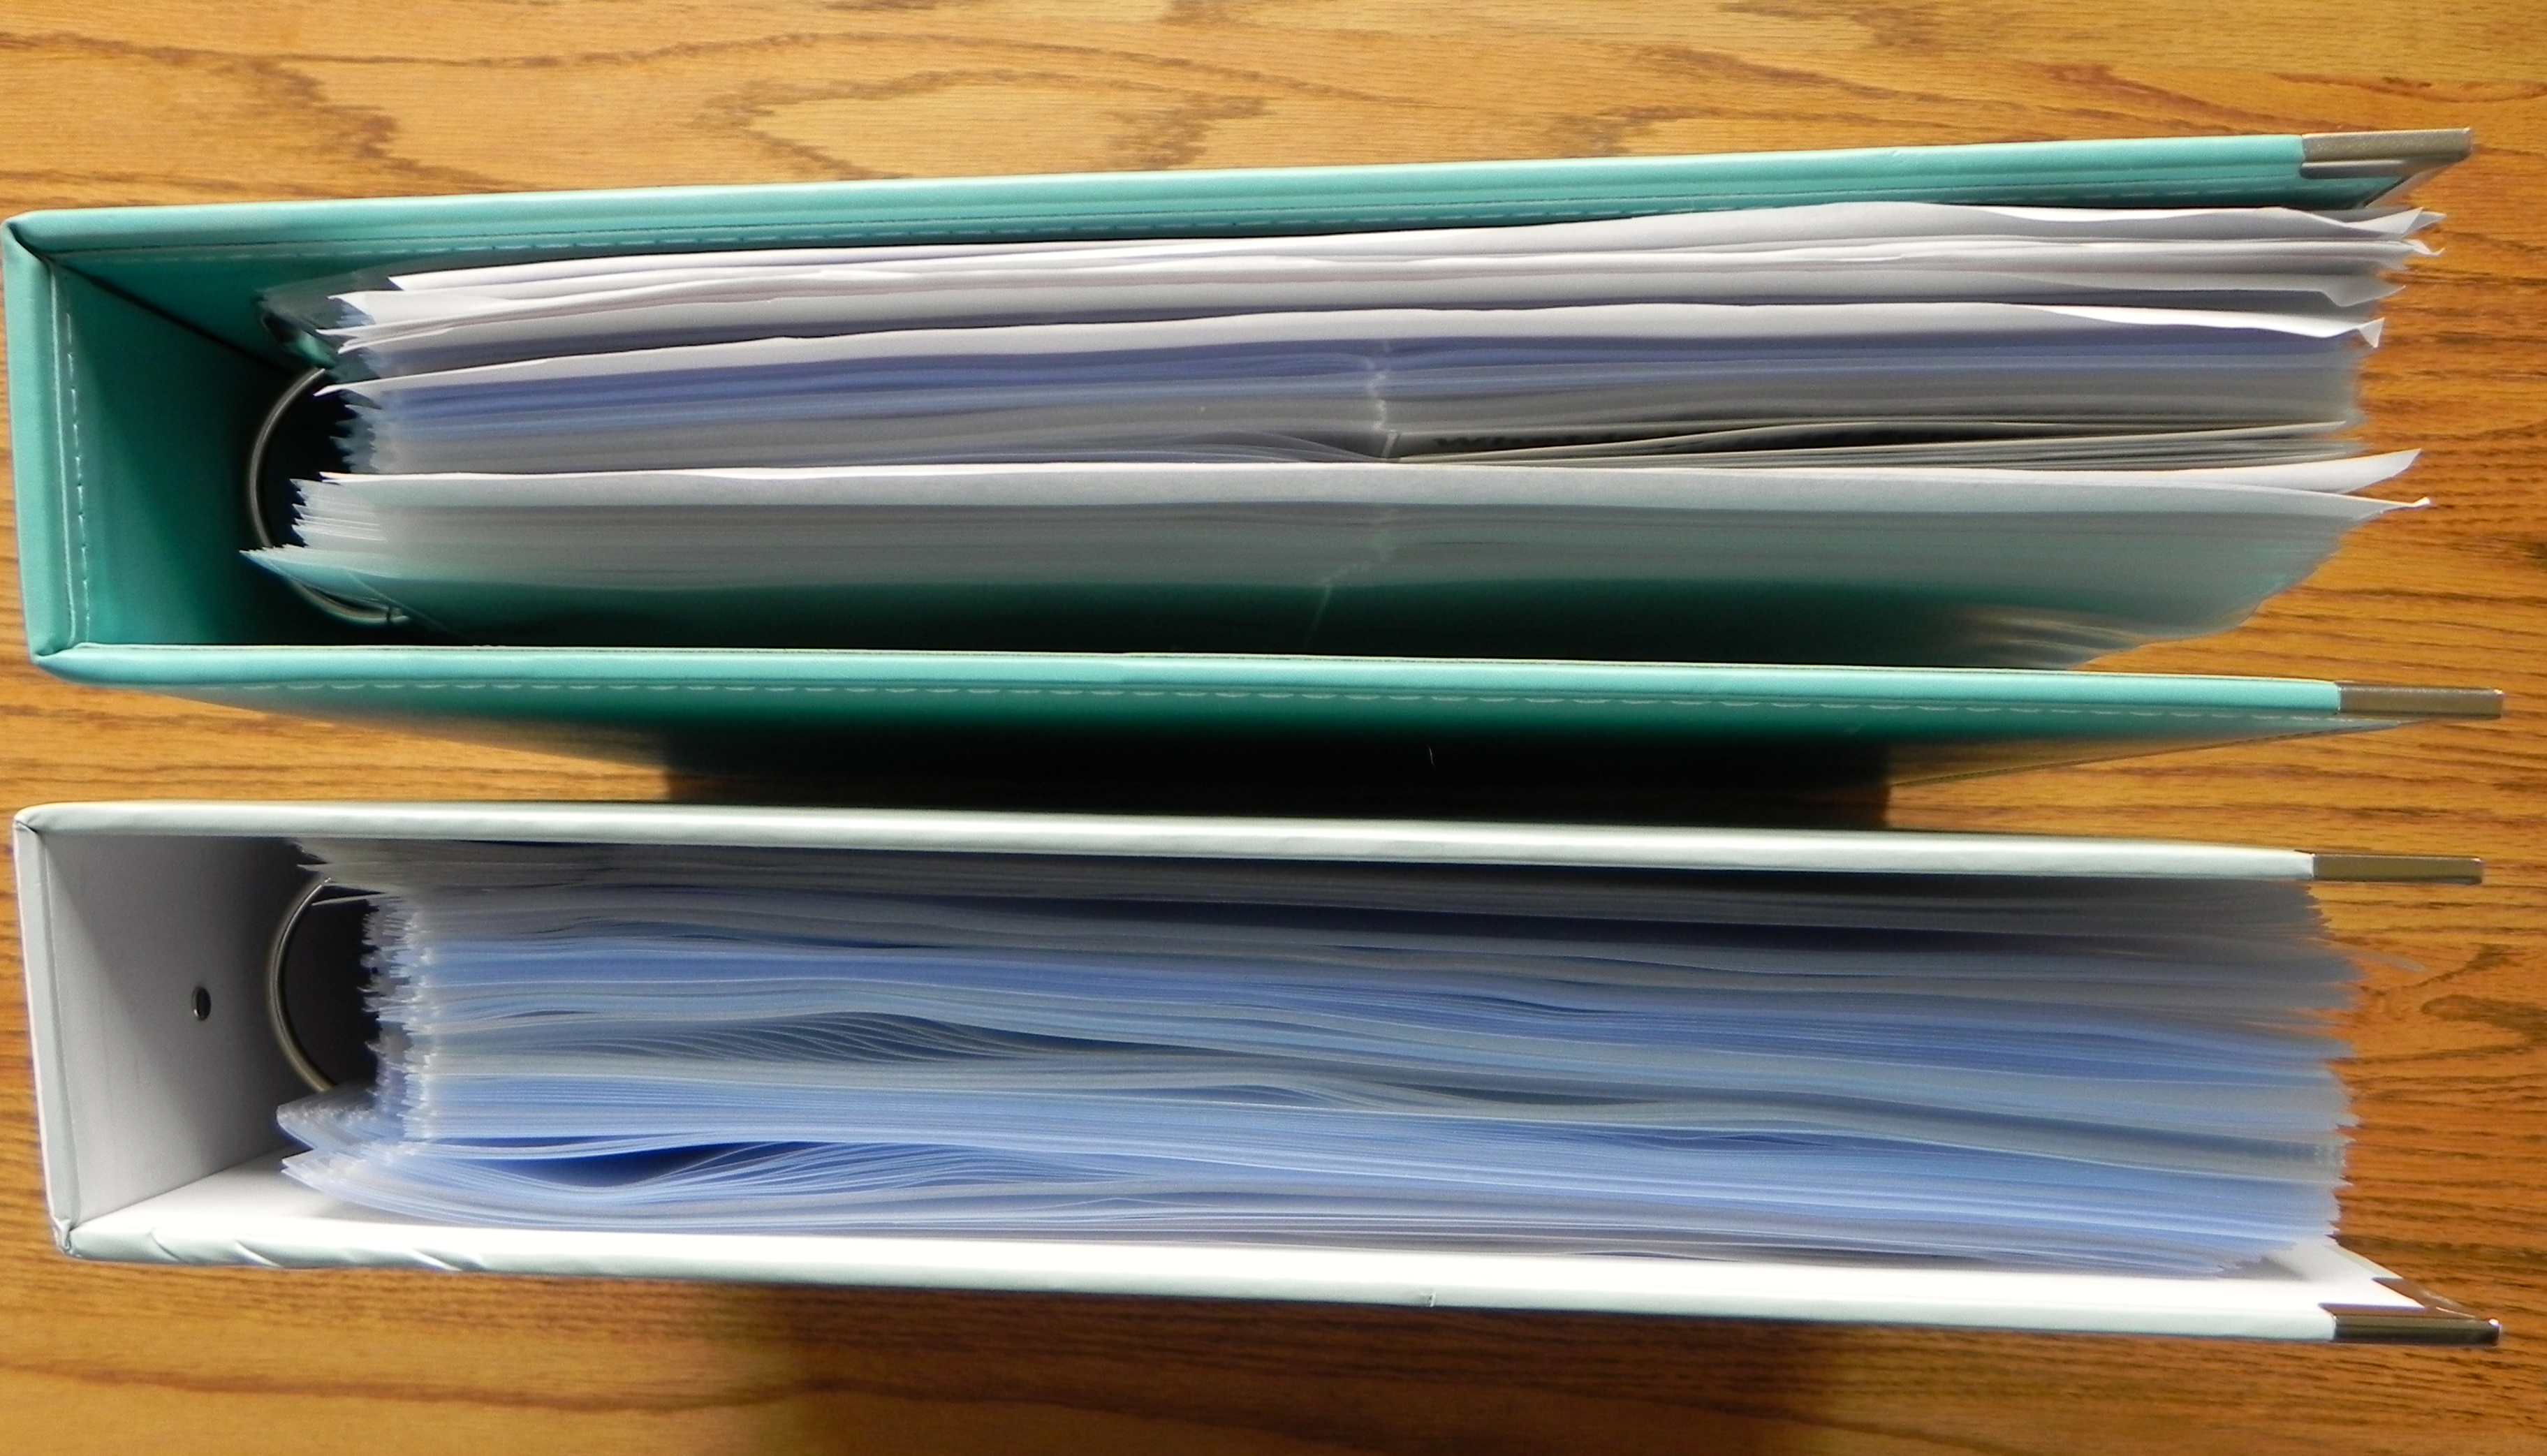
– A 12×12 album full of page protectors is VERY heavy.
– You need a large space to have the binder open while you’re working, unless you don’t mind pulling it out and opening it each time you need a new type of protector.
Even with the downsides, I still think this is the best method for storing 12×12 page protectors. They’re so slippery and hard to deal with, I’ve found that having them secured into a D-ring album is the only way to consistently access them without going cray-cray.
If you found this helpful or have another page protector organization idea to share, please leave a Comment! Just click on the link under the title to this post :)