Browse Tag For

scrapbook room organization

Showing: 1 - 7 of 7 Articles

Scrapbook Room Organization: Store in Style Cubes and Glass Jars

As I said in my LAST POST, now that the scrapbooking part of my office has been reorganized I’m going to do a series of blog posts showing the befores and afters and explaining how I organized.

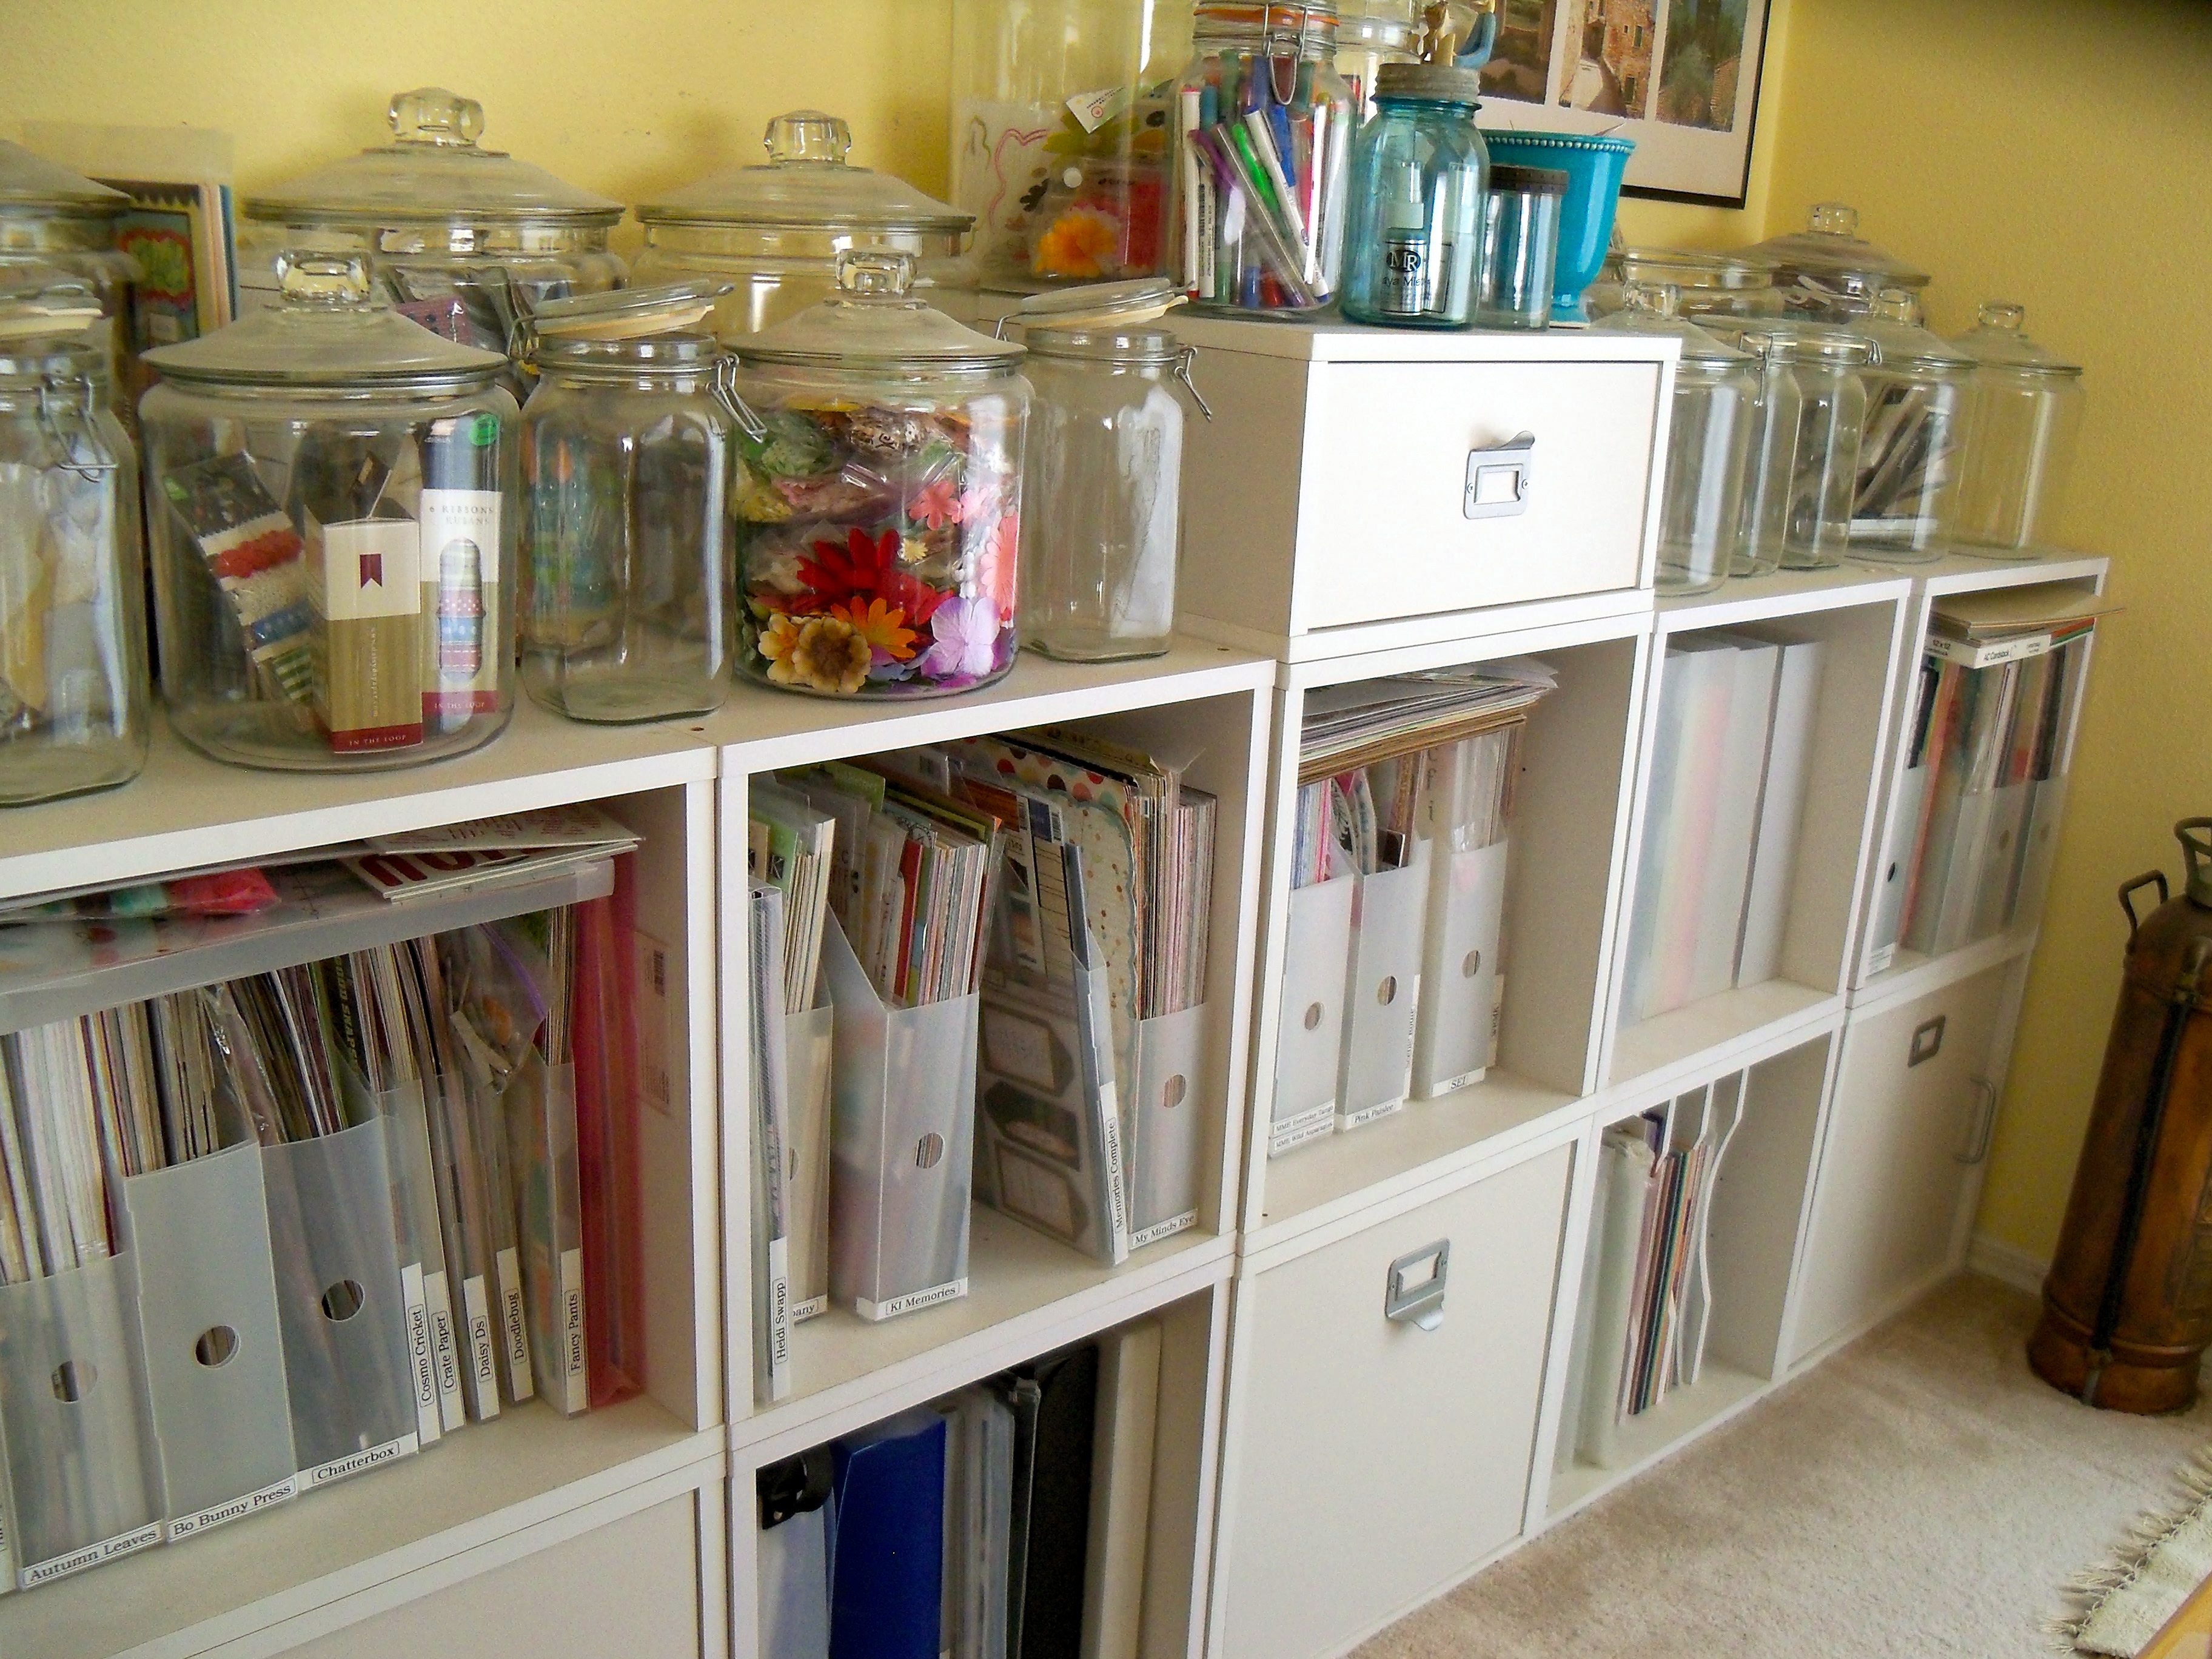
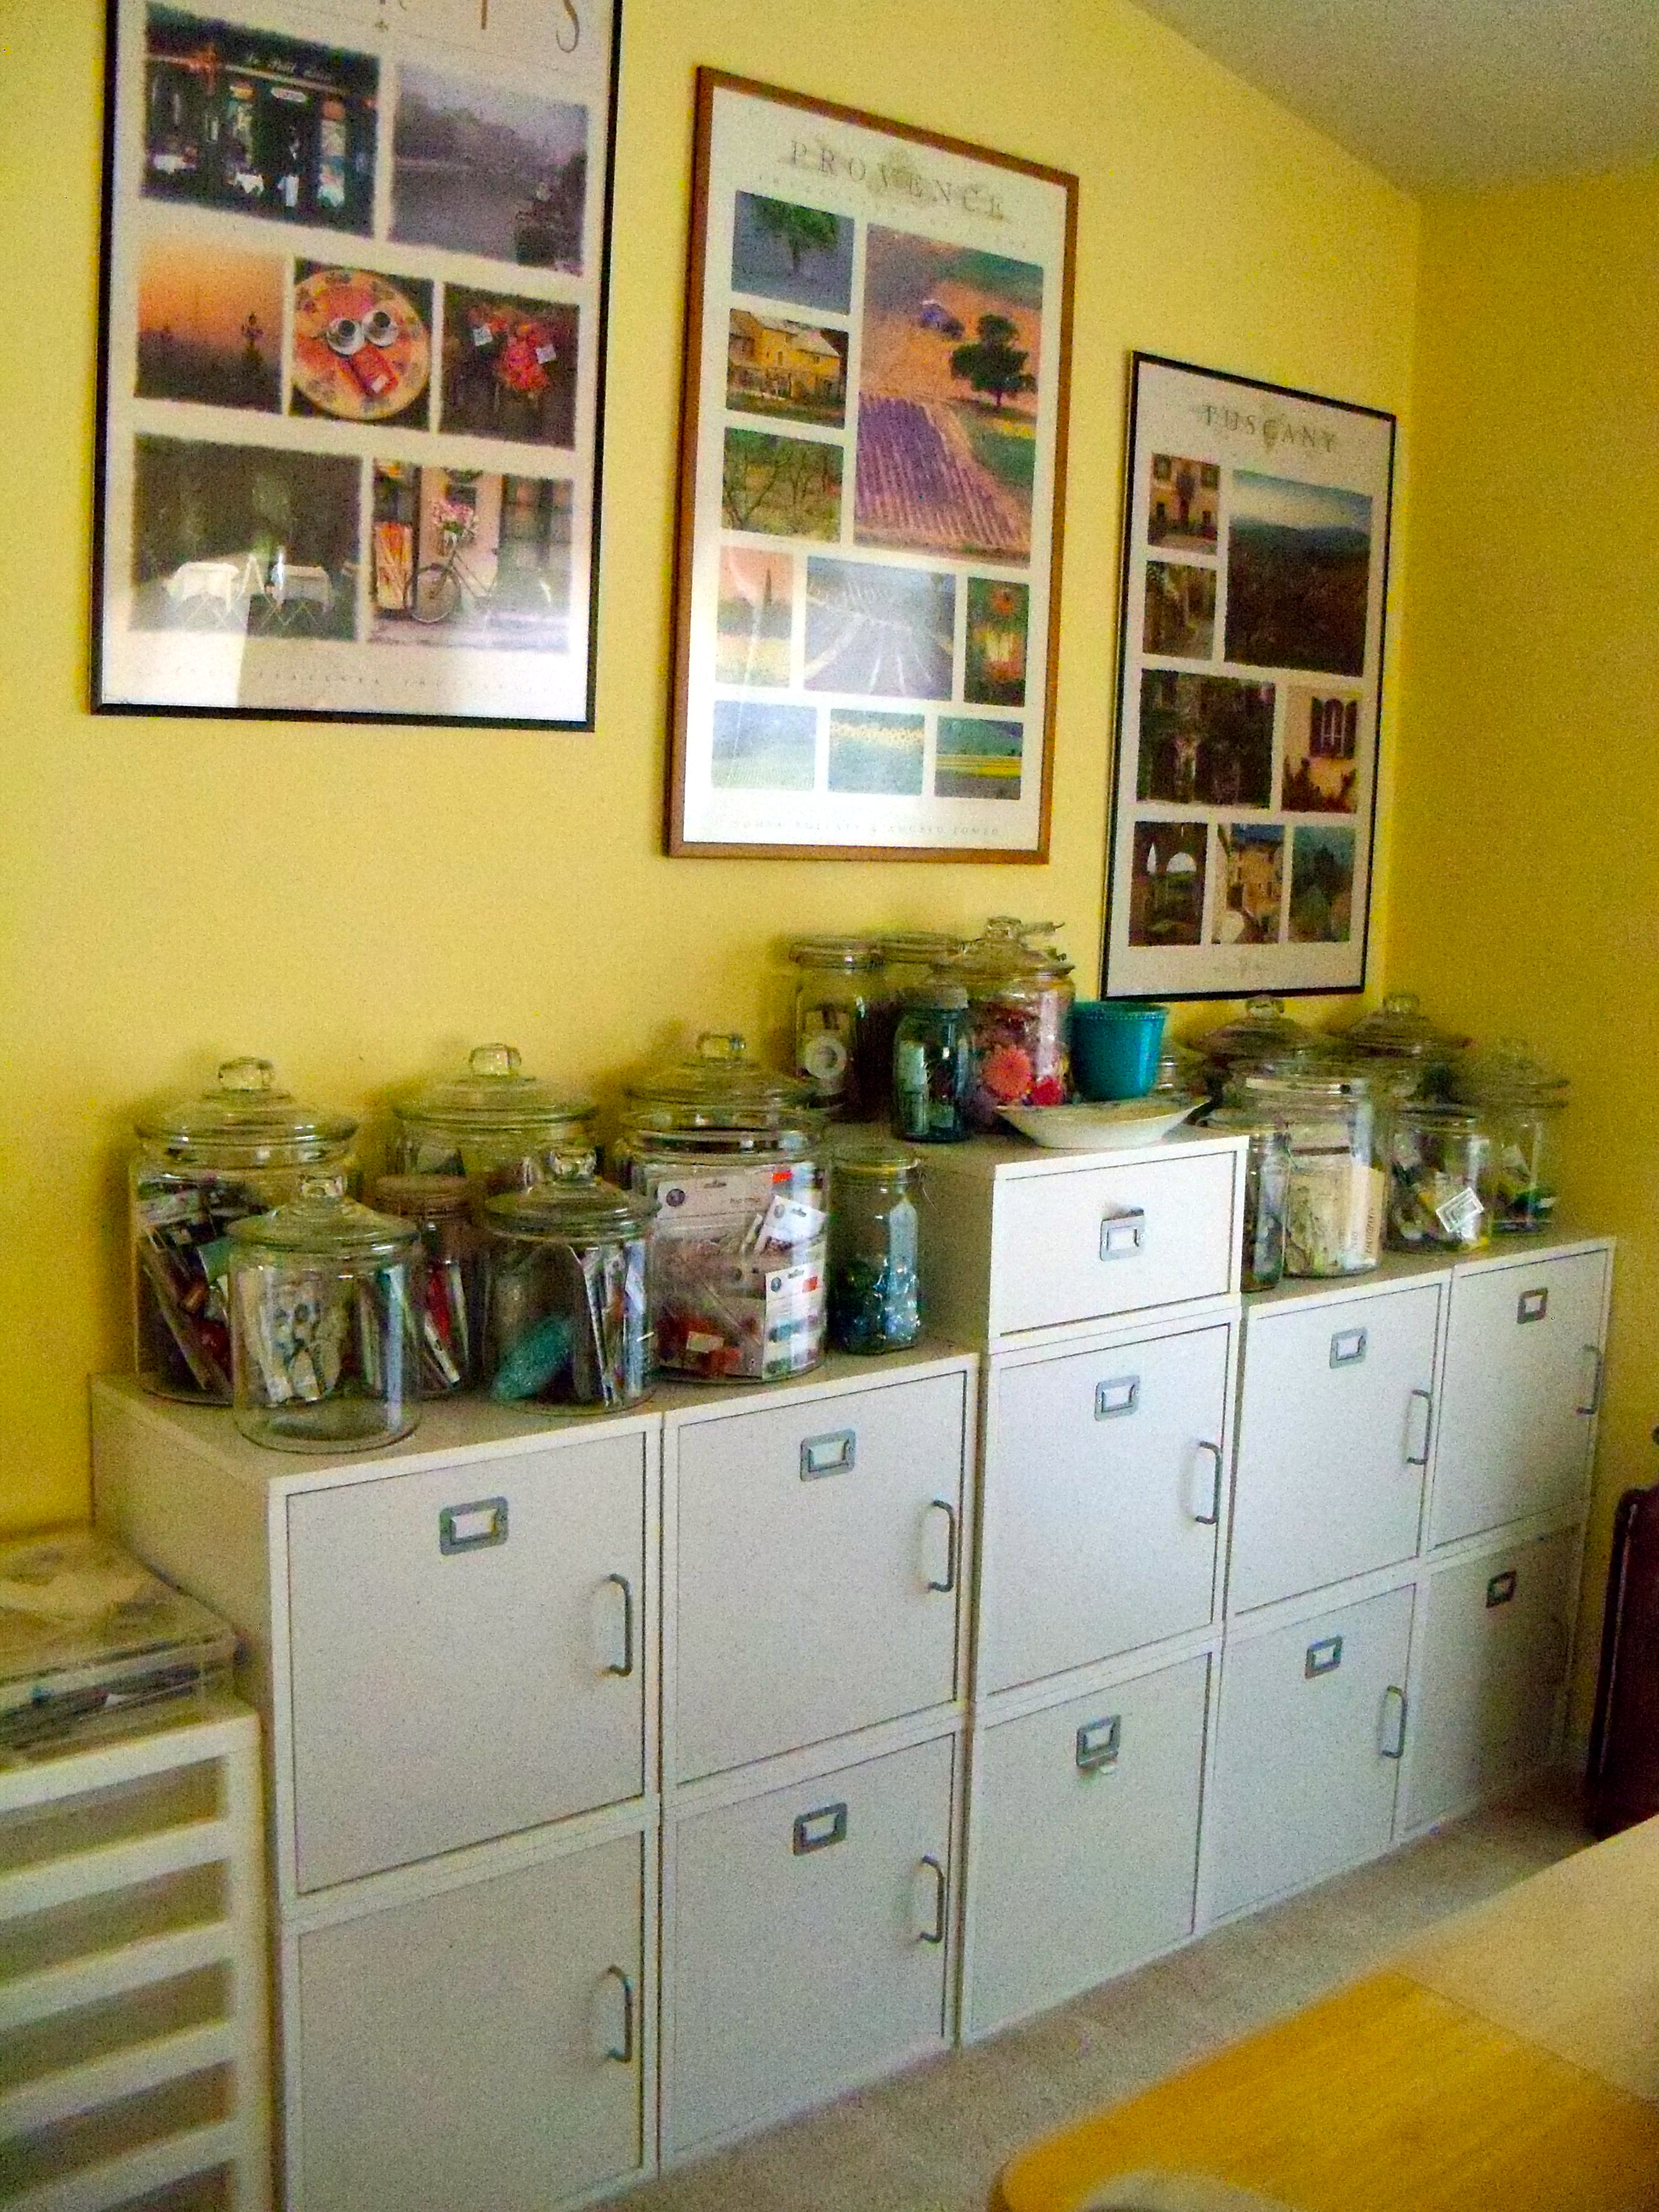
From the whole room photo in my last post, you couldn’t even see this but it’s probably my favorite part of the room. It’s the wall made up of STORE IN STYLE CUBES and a variety of jars.

Here’s how the setup looked before my latest reorg project.

BEFORE

And here is the new and much improved version.

AFTER

So back to how it looked before:
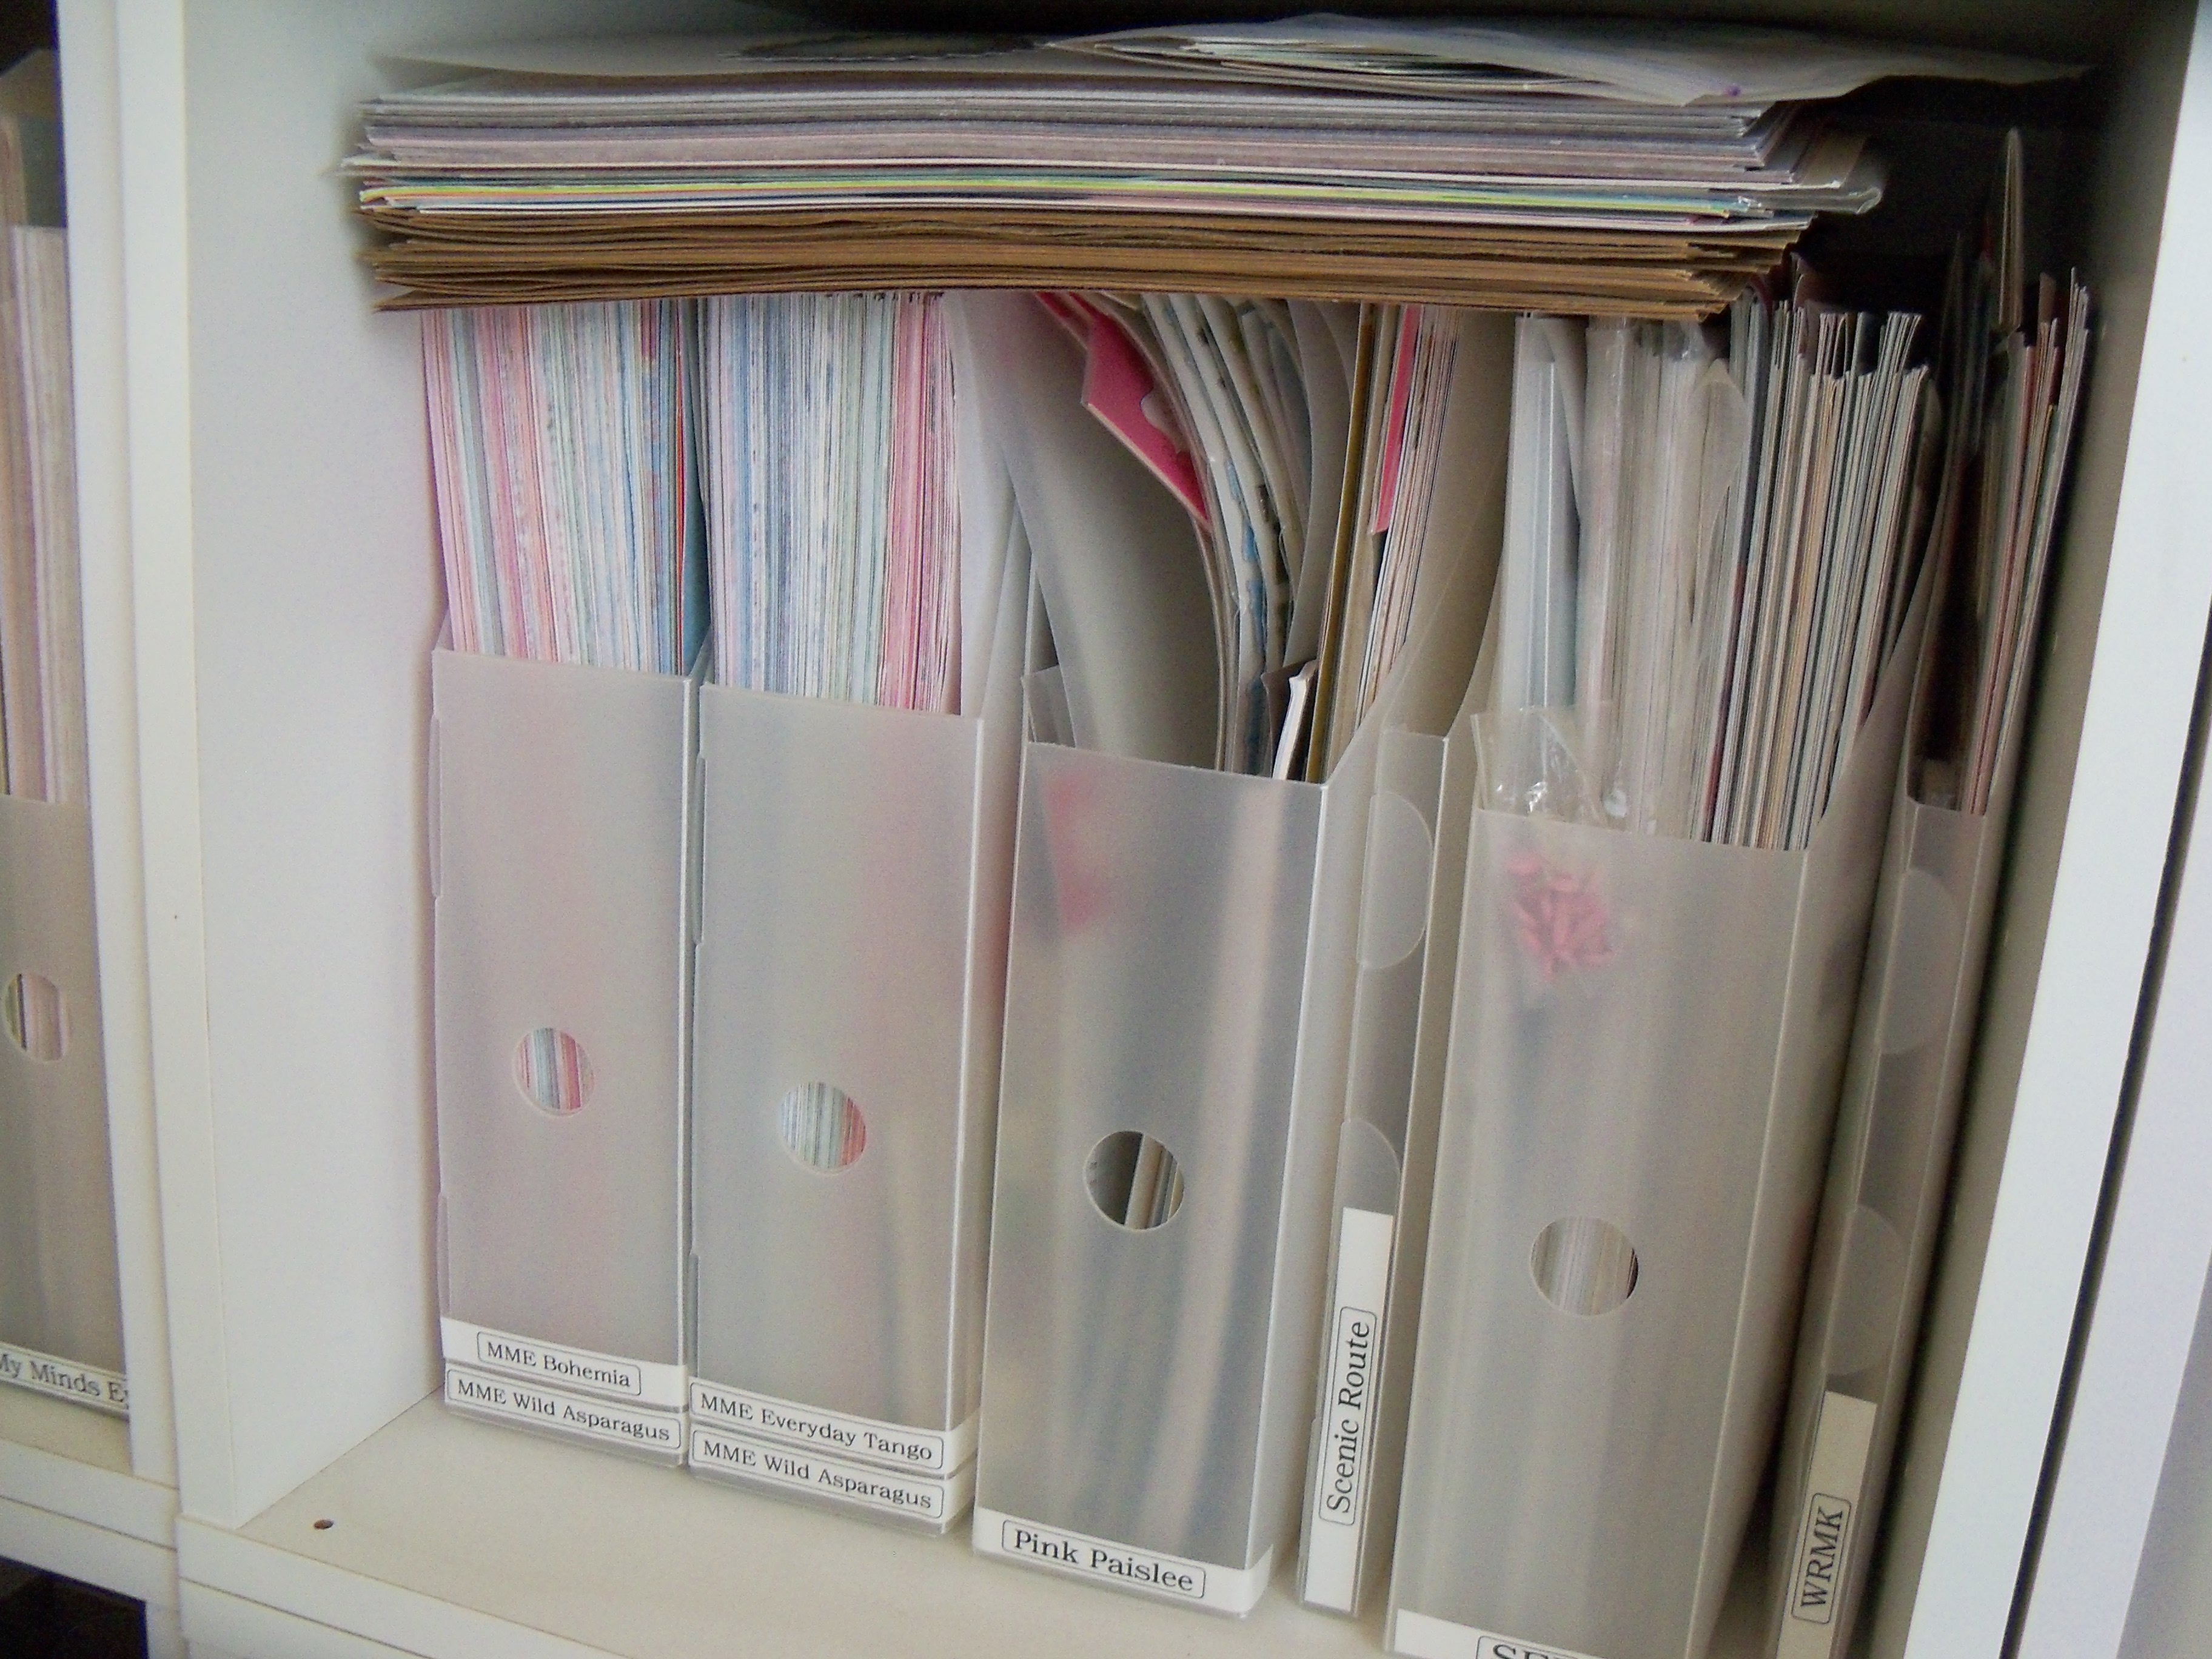

*Disclaimer: I own so much MME paper because I bought a few of those huge packs that they sold at Costco years ago. I used the papers for goody bags when I held crops, sold them open stock, etc. There’s no way I’m EVAH going to use all that MME paper. But I have no plausible excuse for the rest of it.

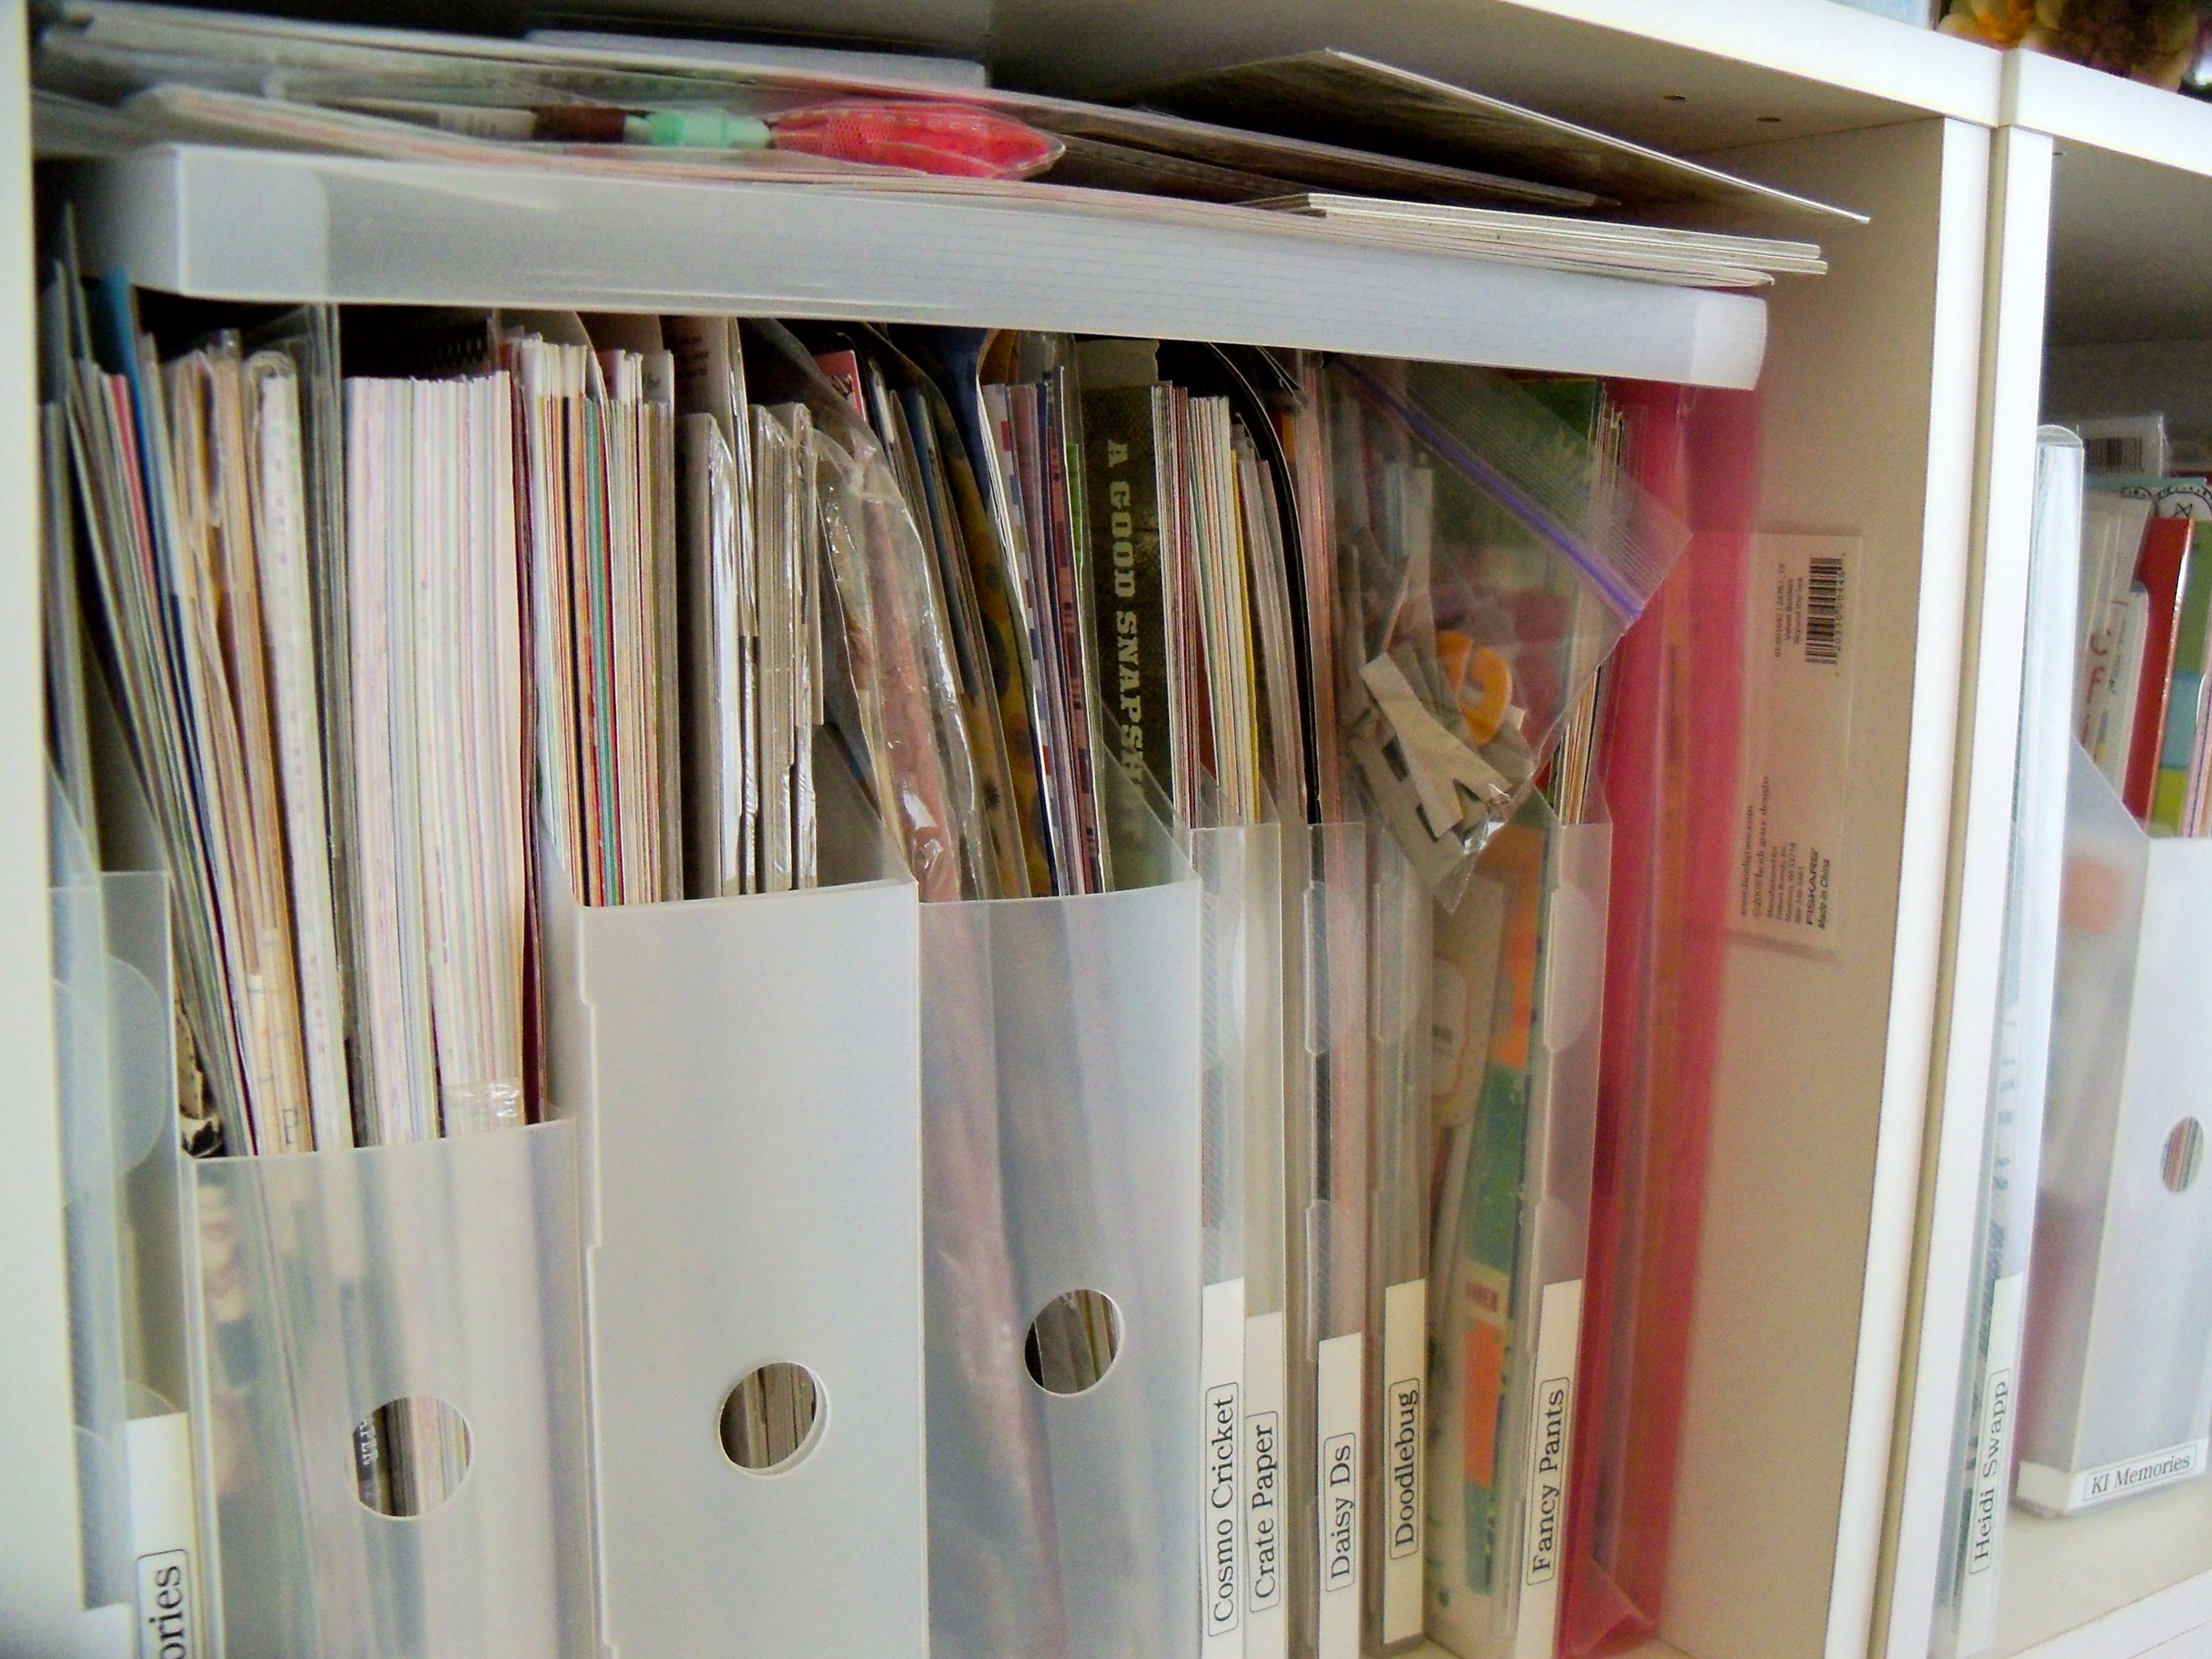
In the past, I’d bought these cubes, assembled them, and put them in a good configuration for the room. I didn’t want to stack them too high because I need to be able to get to the jars spread across the top. {Otherwise – I love these stinkin’ cubes so much, I totally would stack them to the ceiling, lol}. In the past, I had also started using the CROPPER HOPPER VERTICAL FILES to store my paper and embellies by brand name.

I used a label maker to label each file with the brand name, then put in 12×12 papers along with embellishments. I like to store a lot of my things by manufacturer because when I go to scrap, I pull out that whole file and pretty much everything matches. I don’t have to rack my brain going, “Now, did I buy the matching letter stickers to go with this?” or “What paper would look great with this one?” Everything I need is right there.

So that organizing scheme worked out well but, as you can see, as I bought more items, instead of taking the time to pull the vertical file out and put the new things in their proper place, I just kinda’ shoved them on top. Hey, at least I got them in the right cube! But yeah, not the most effective way to find things later on and it sure started to look messy.

As you may know, my original plan to reorganize my scrap room/home office was to take 3 days really focusing on it, emptying everything out of the room, then put things back in an organized way, purging unwanted things as I went. {Details are HERE}. Needless to say, it didn’t much go to plan after Day 3 :)

But this photo is from Day 1 when I cleared most of the cubes out and moved all the paper files and other things to the dining room and living room.

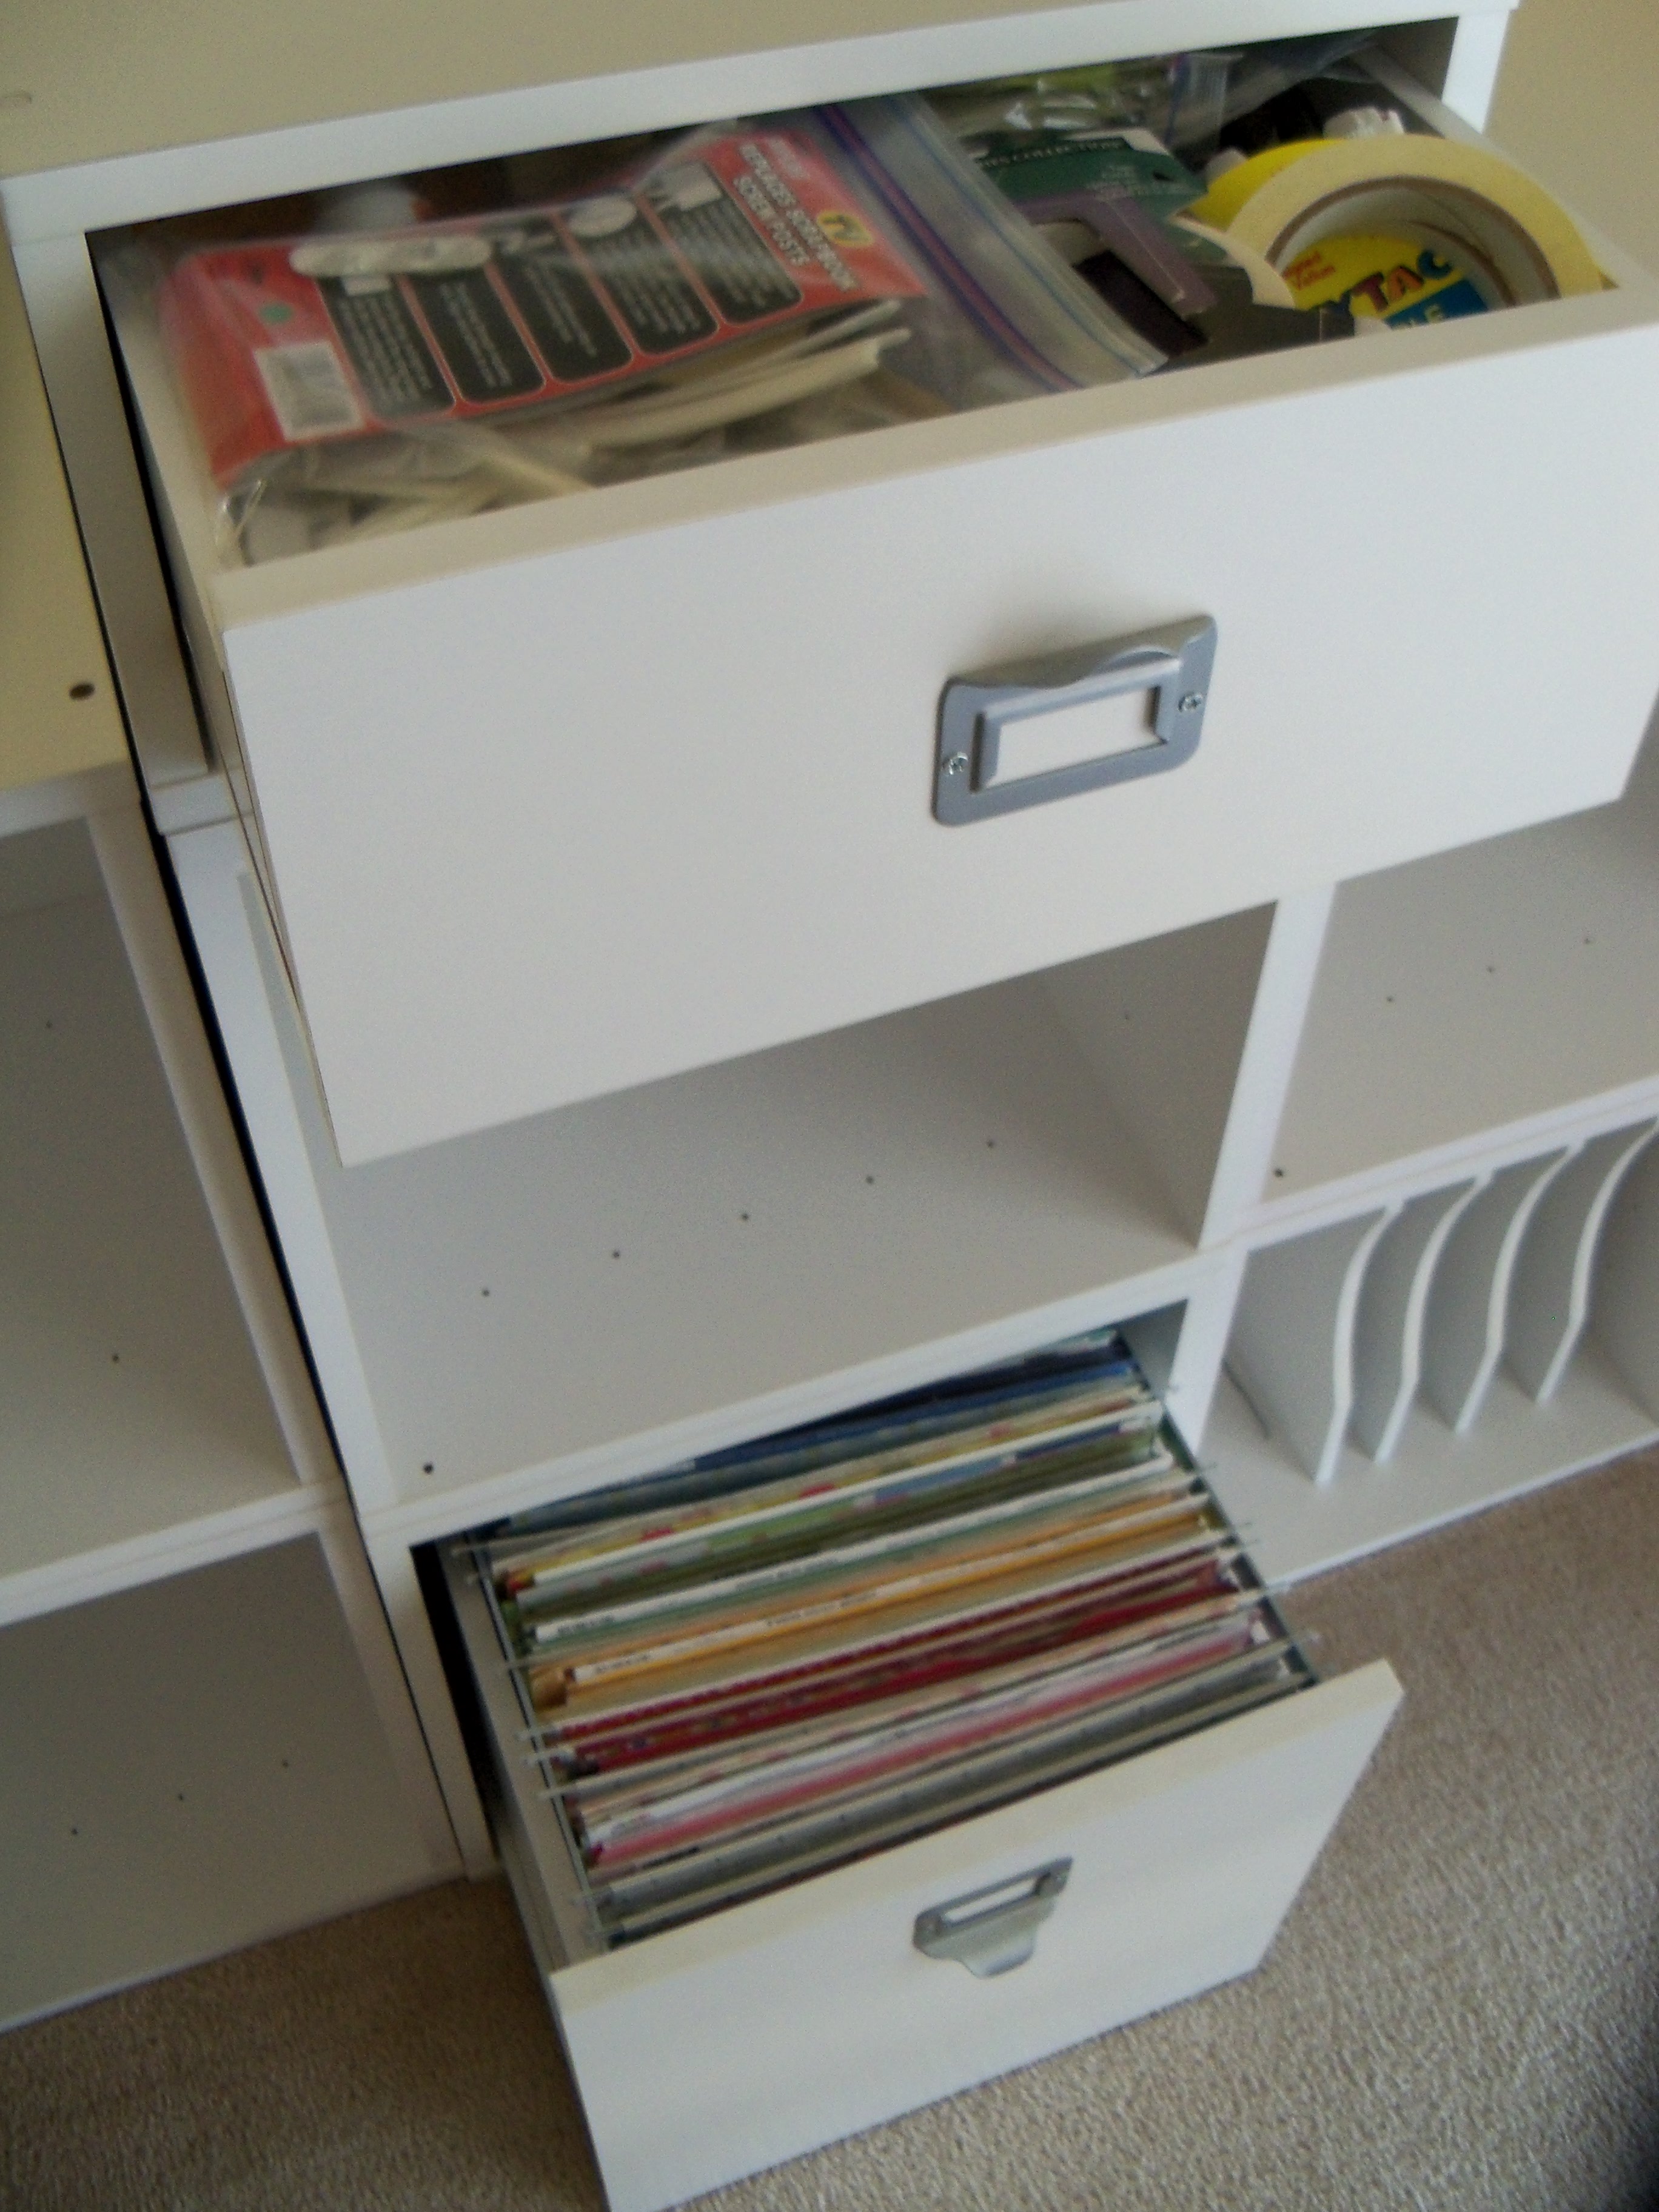
I decided to keep some things where they were because their organization wasn’t going to change. The drawer jam-packed with adhesives and SNAPLOAD packs was left alone, as was my filer cube which has generic patterned papers filed by color.

Then it was time to install the doors on cubes that were still open.

I’d bought the doors months {gulp – or maybe even a year} ago but they’d just been sitting in boxes in my scrap room since then. I ain’t gonna’ lie … I absolutely HATE putting stuff like this together, even when it’s something this easy. I’d rather, like, go to the dentist or watch paint dry than assemble something. But I finally did it.

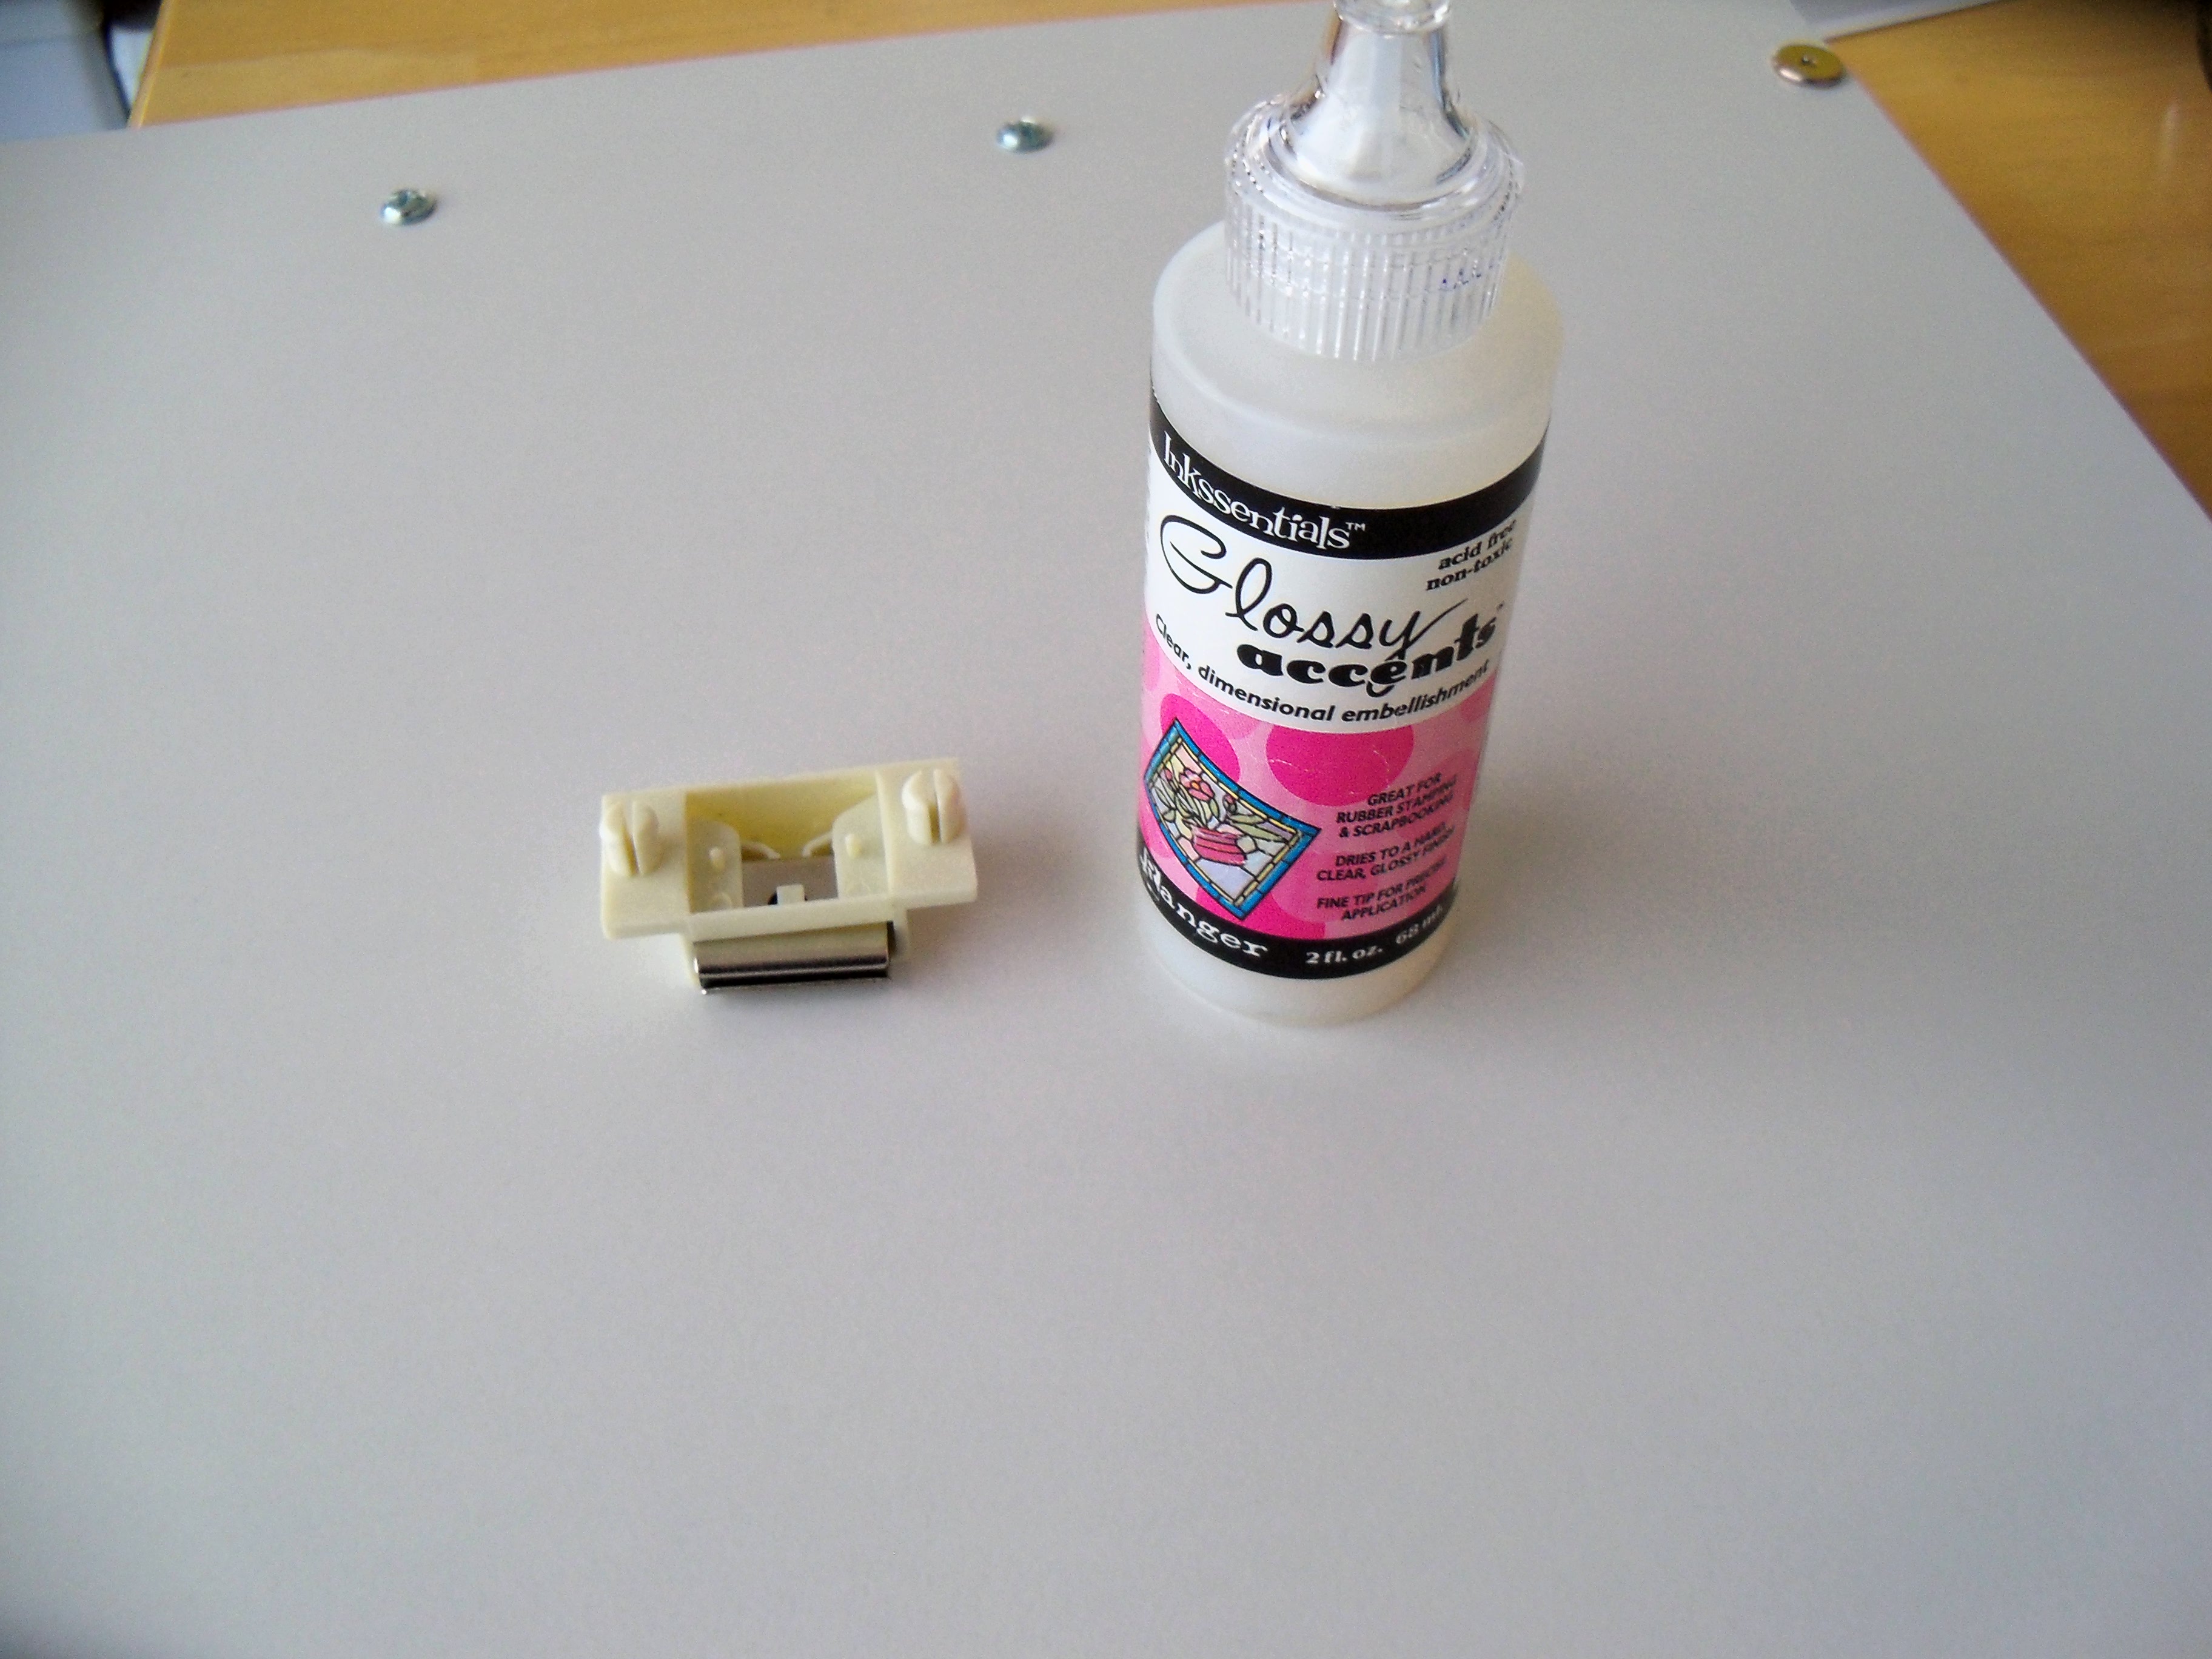
And leave it to a scrapbooker – when I couldn’t find any Elmer’s or white glue to install the magnets, I just used my trusty GLOSSY ACCENTS. Hey, same diff. It’s all sticky, right? And just think how glossy and shiny it is inside those tiny holes in the cubes. I bet they feel really special.

Okay, here’s some more things that didn’t get removed from the room because they were going to stay essentially the same.

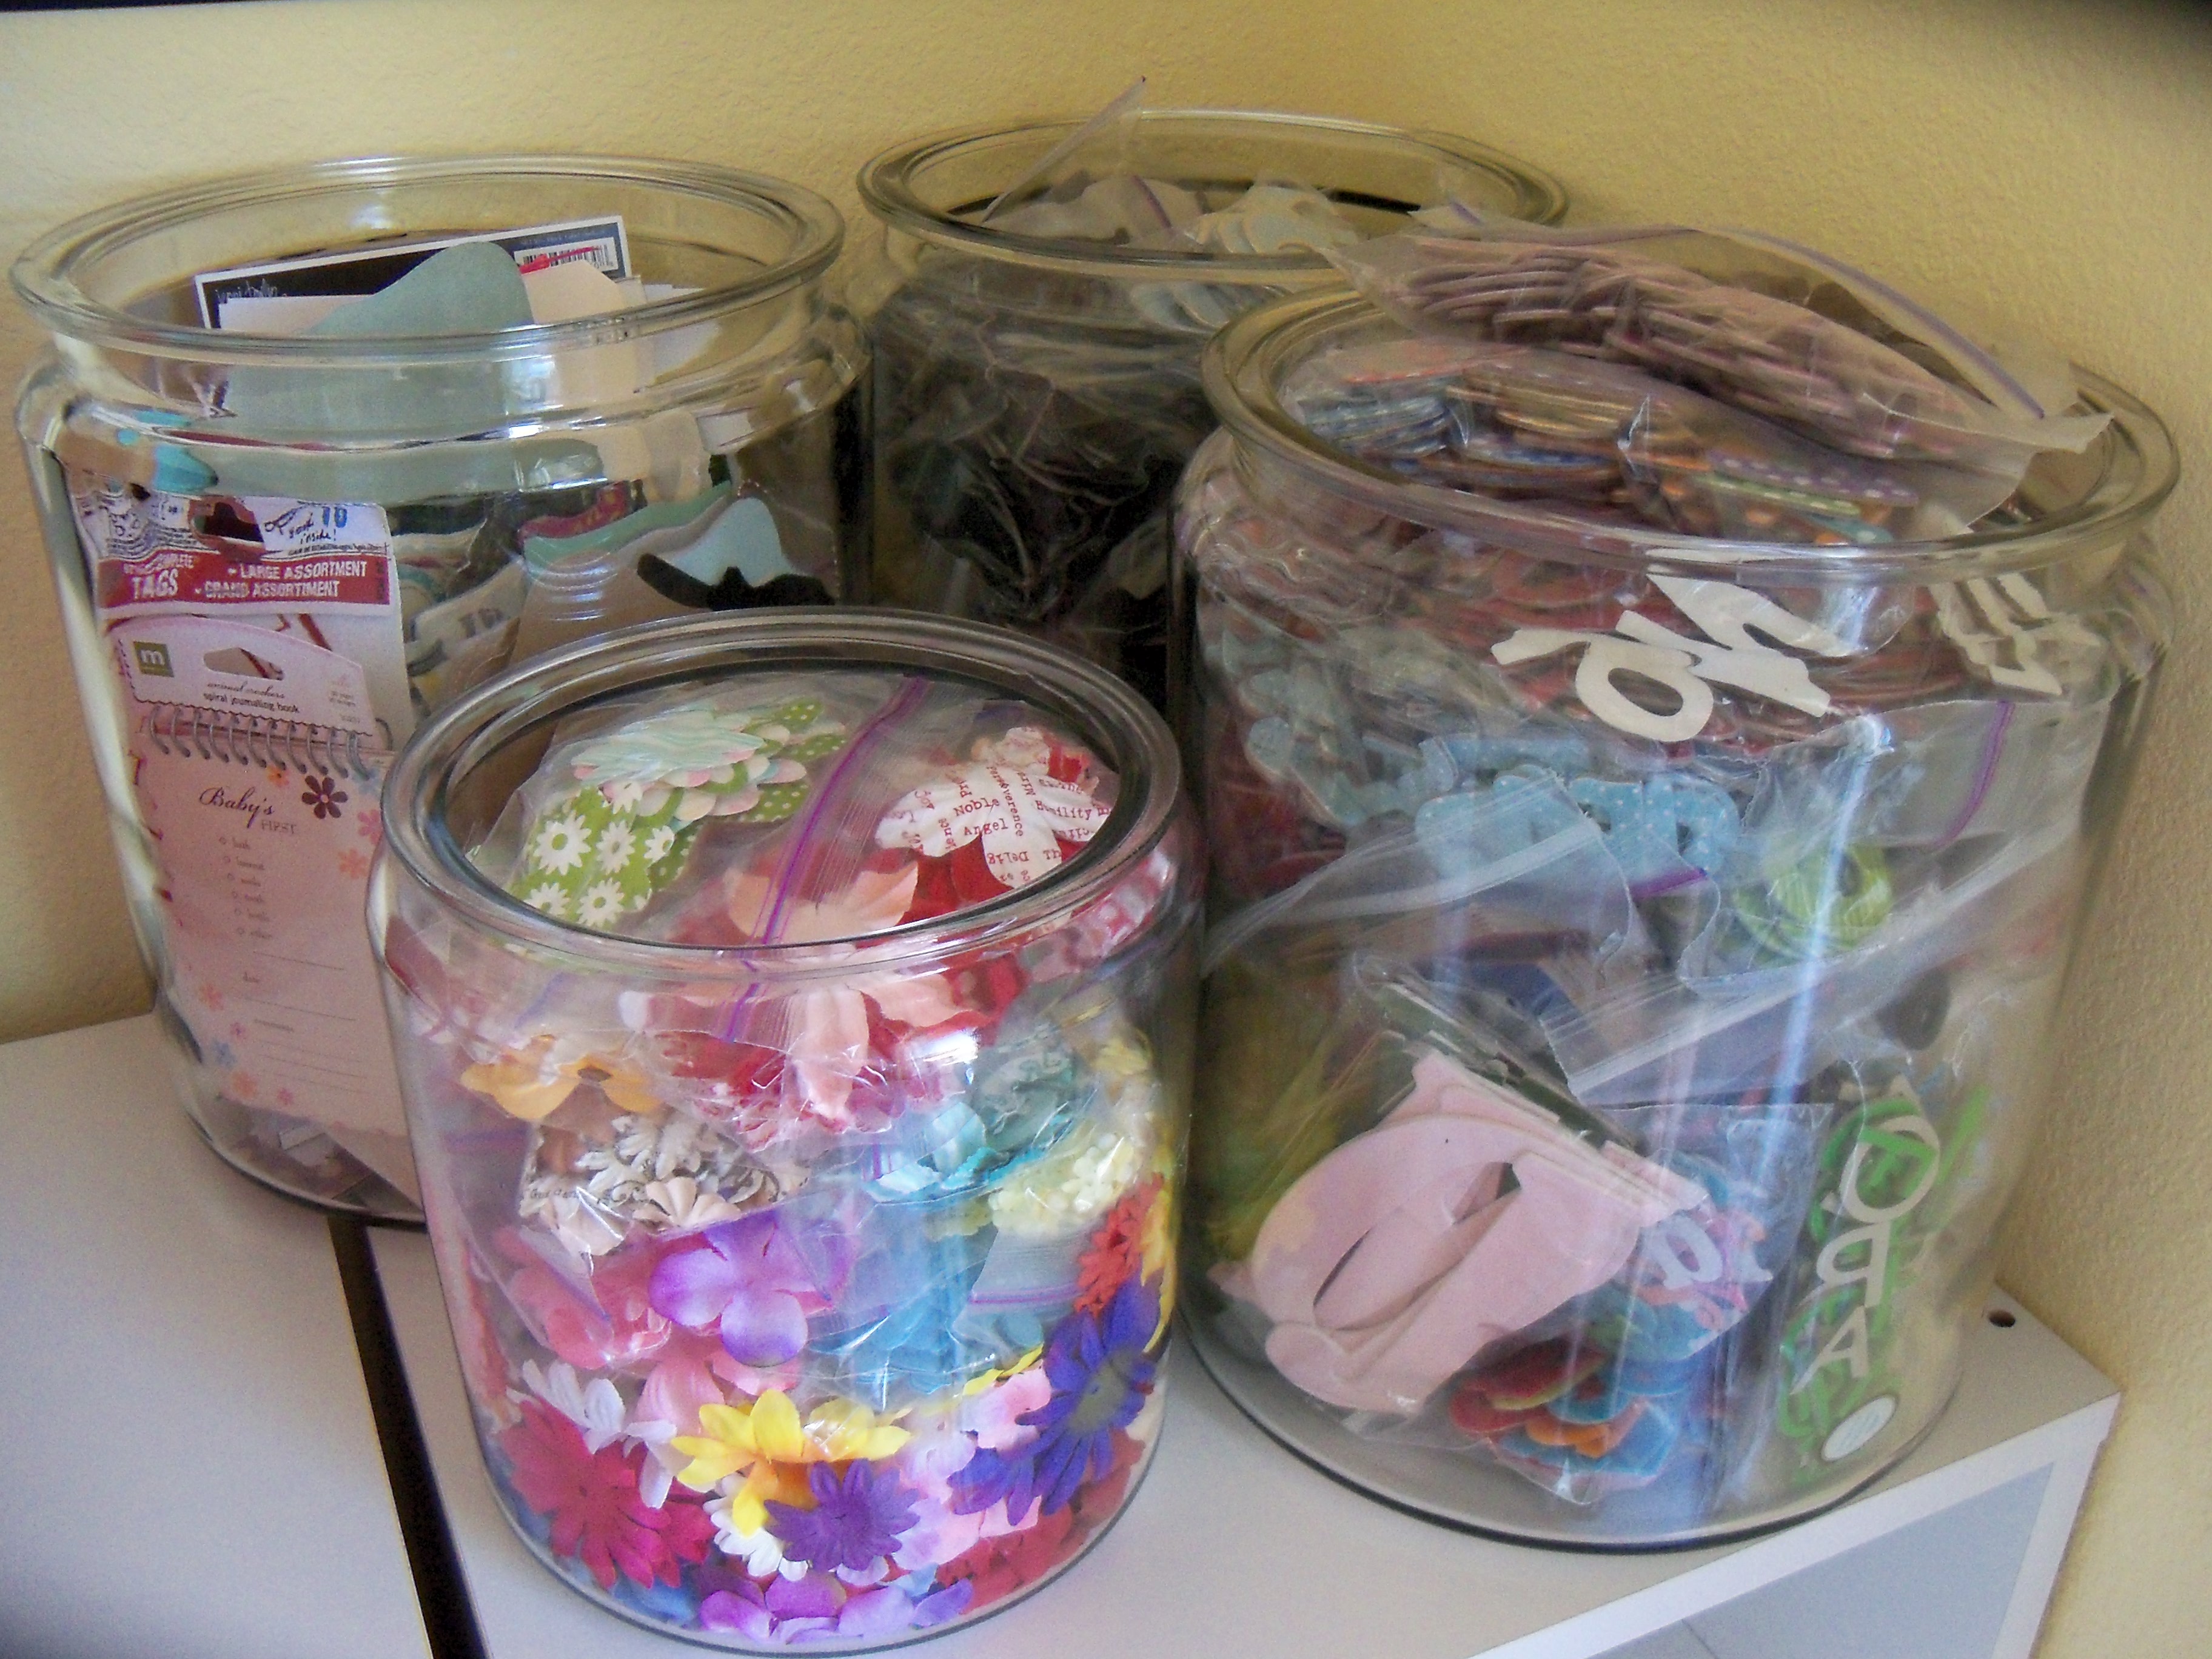
These 4 gingerbread jars were chock full and had been organized already (journaling spots, flowers, and chipboard letters sorted into baggies). They didn’t need anything but a quick wipedown with Windex to get rid of some dust.

Speaking of cleaning …

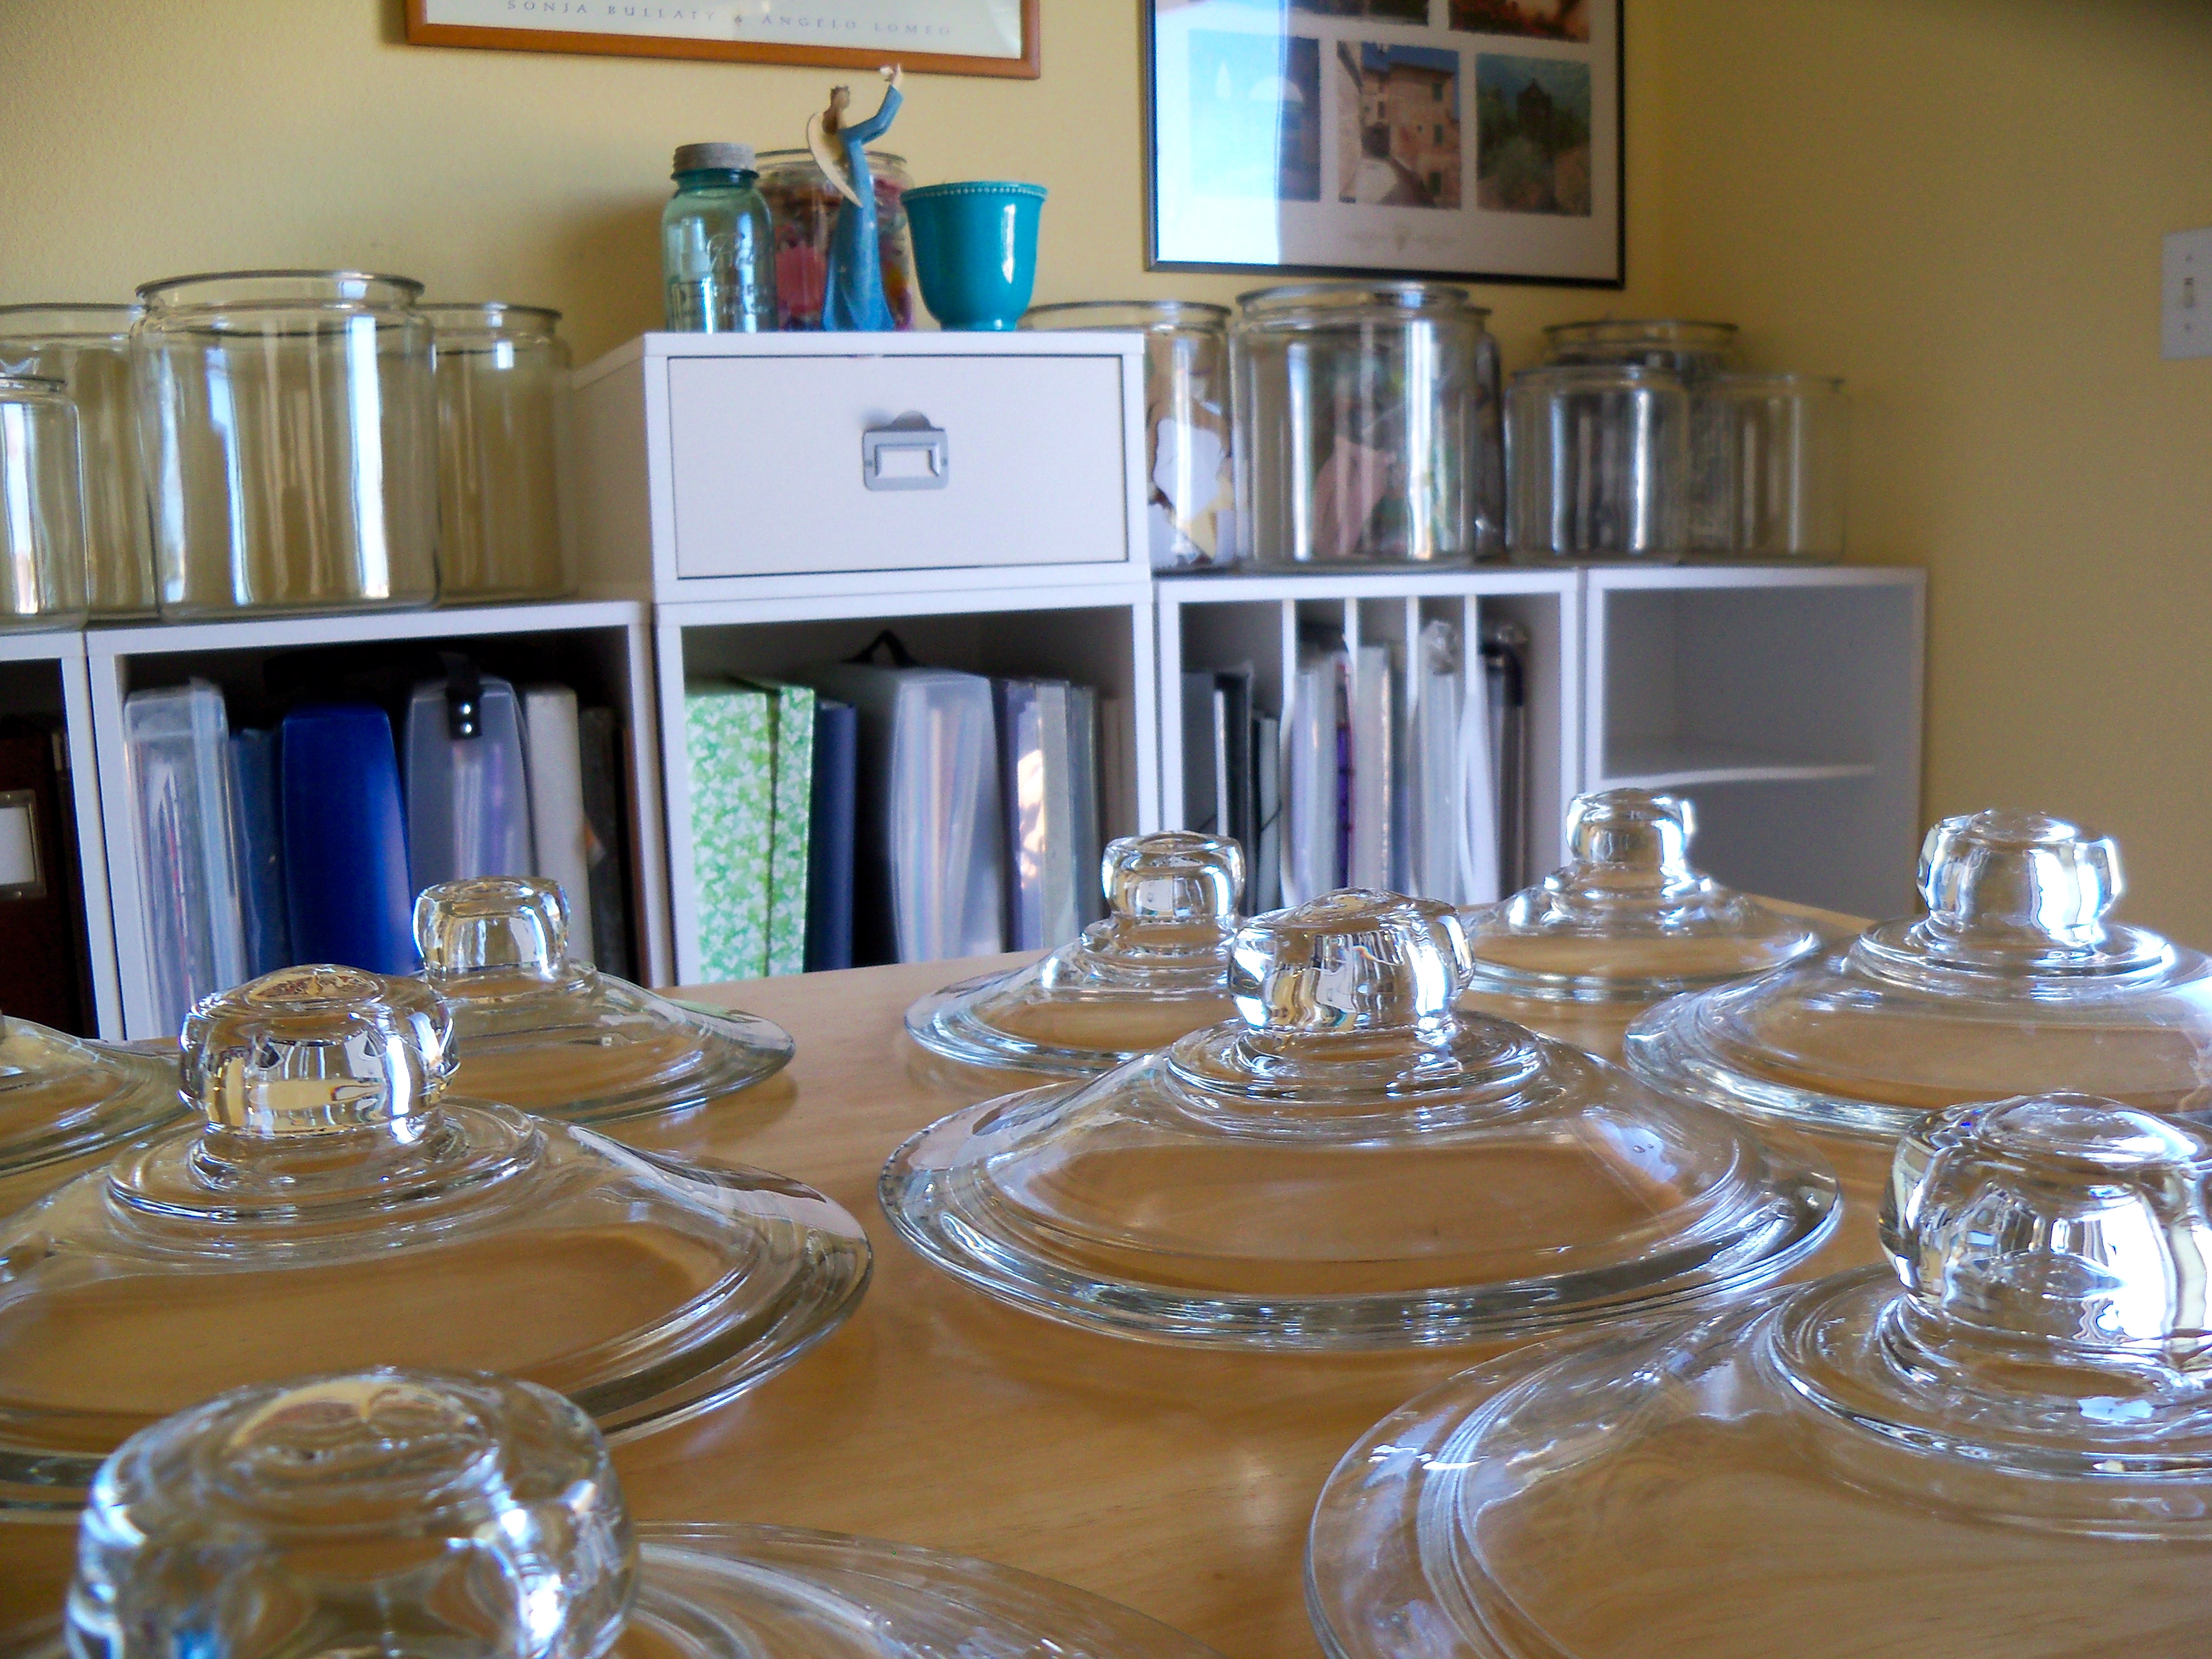
Here are all the lids of the gingerbread jars laid out on the homework table drying. Yep, I washed everything with soap and water because I wanted to start over sparkly clean.

In the background of the photo, you can also see where I started to fill in the cubes. I decided to move the Vertical Paper Holders to another part of the room. Part of the reason was to prevent fading of my papers. Can you see the lightswitch to the top right of the photo? To the right of that is a sliding glass door that gets full sun for half of the day. I noticed that the edges of some of my Beloved BAZZILL was fading :( I know, right? We CANNOT have THAT. So even though doors were going on those cubes, I thought it would be a good idea to move all my papers away from the sliding glass door.

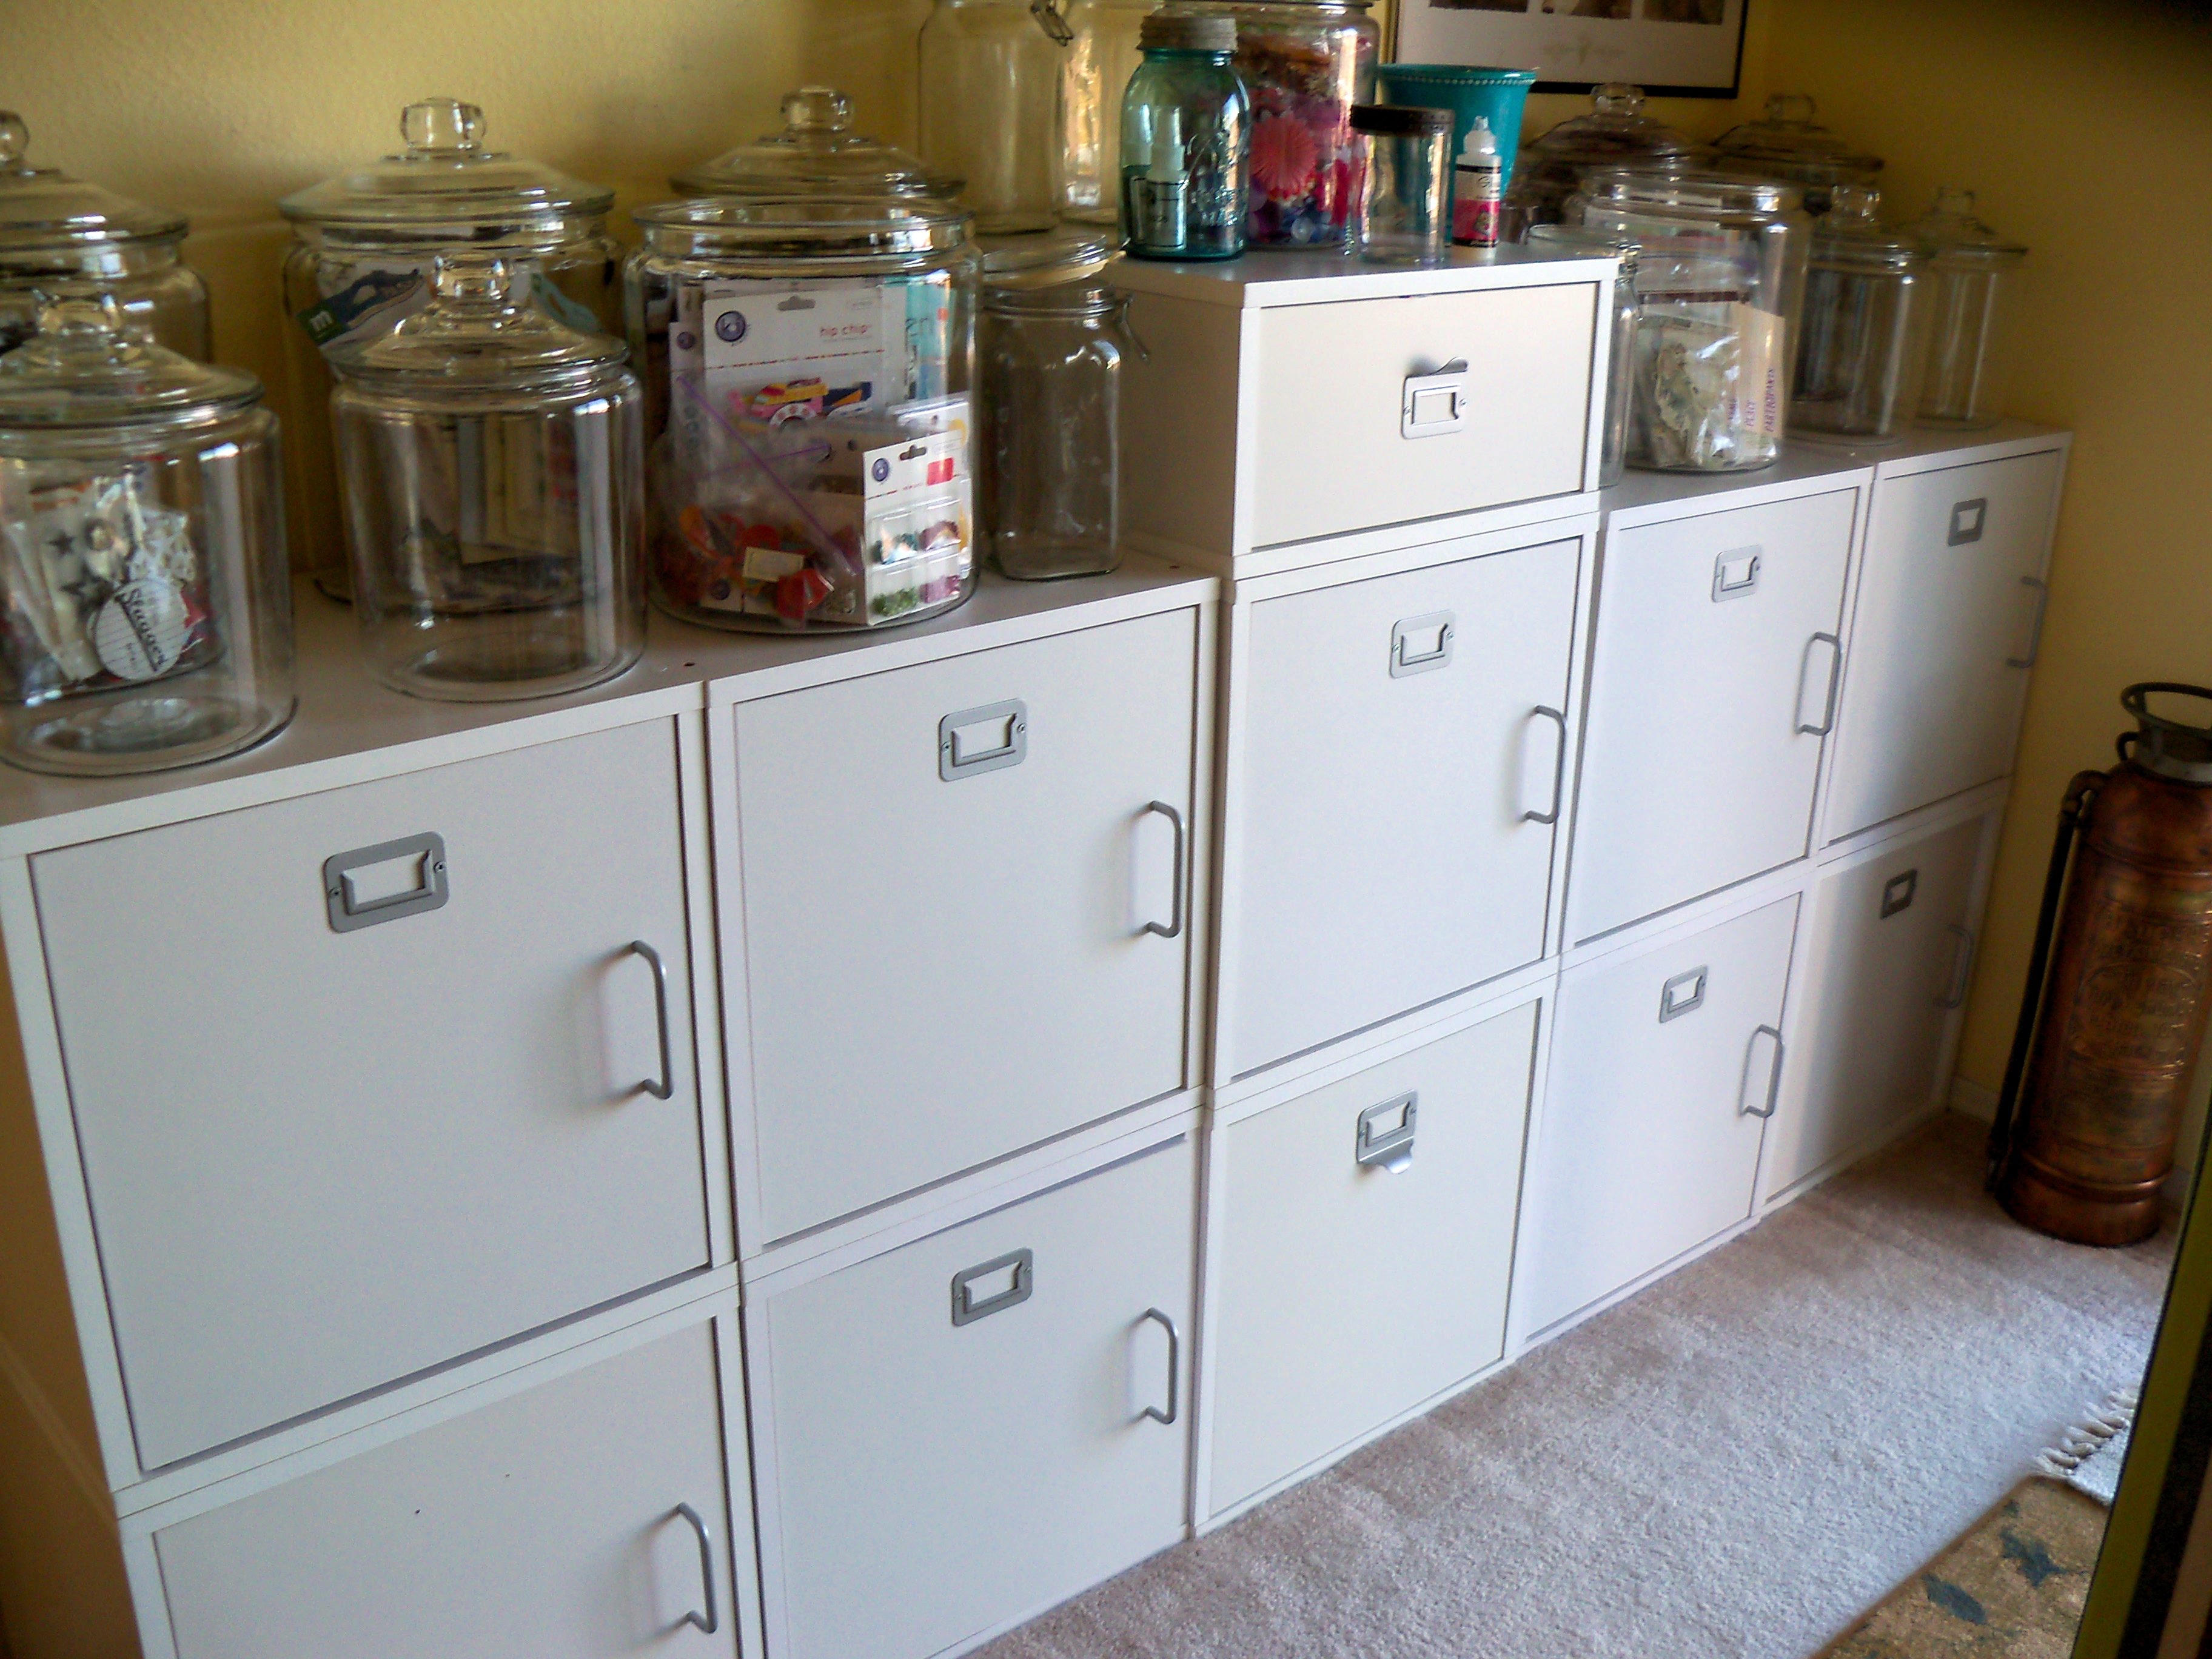
Here’s what the cubes looked like once I got all 7 doors installed.

It looks so much neater, doesn’t it? The Store in Style DOORS only cost $13 each which I think was a good investment for my space. Other than the fading issue, another important advantage is that now I can use the cubes to hide things I don’t feel are very attractive to look at: empty albums, pages/page protectors, projects, etc. Most of these items used to be kept on an open bookshelf and I just hated looking at them. They looked so sloppy not to mention uninspiring. Now they’re hidden {wink}.

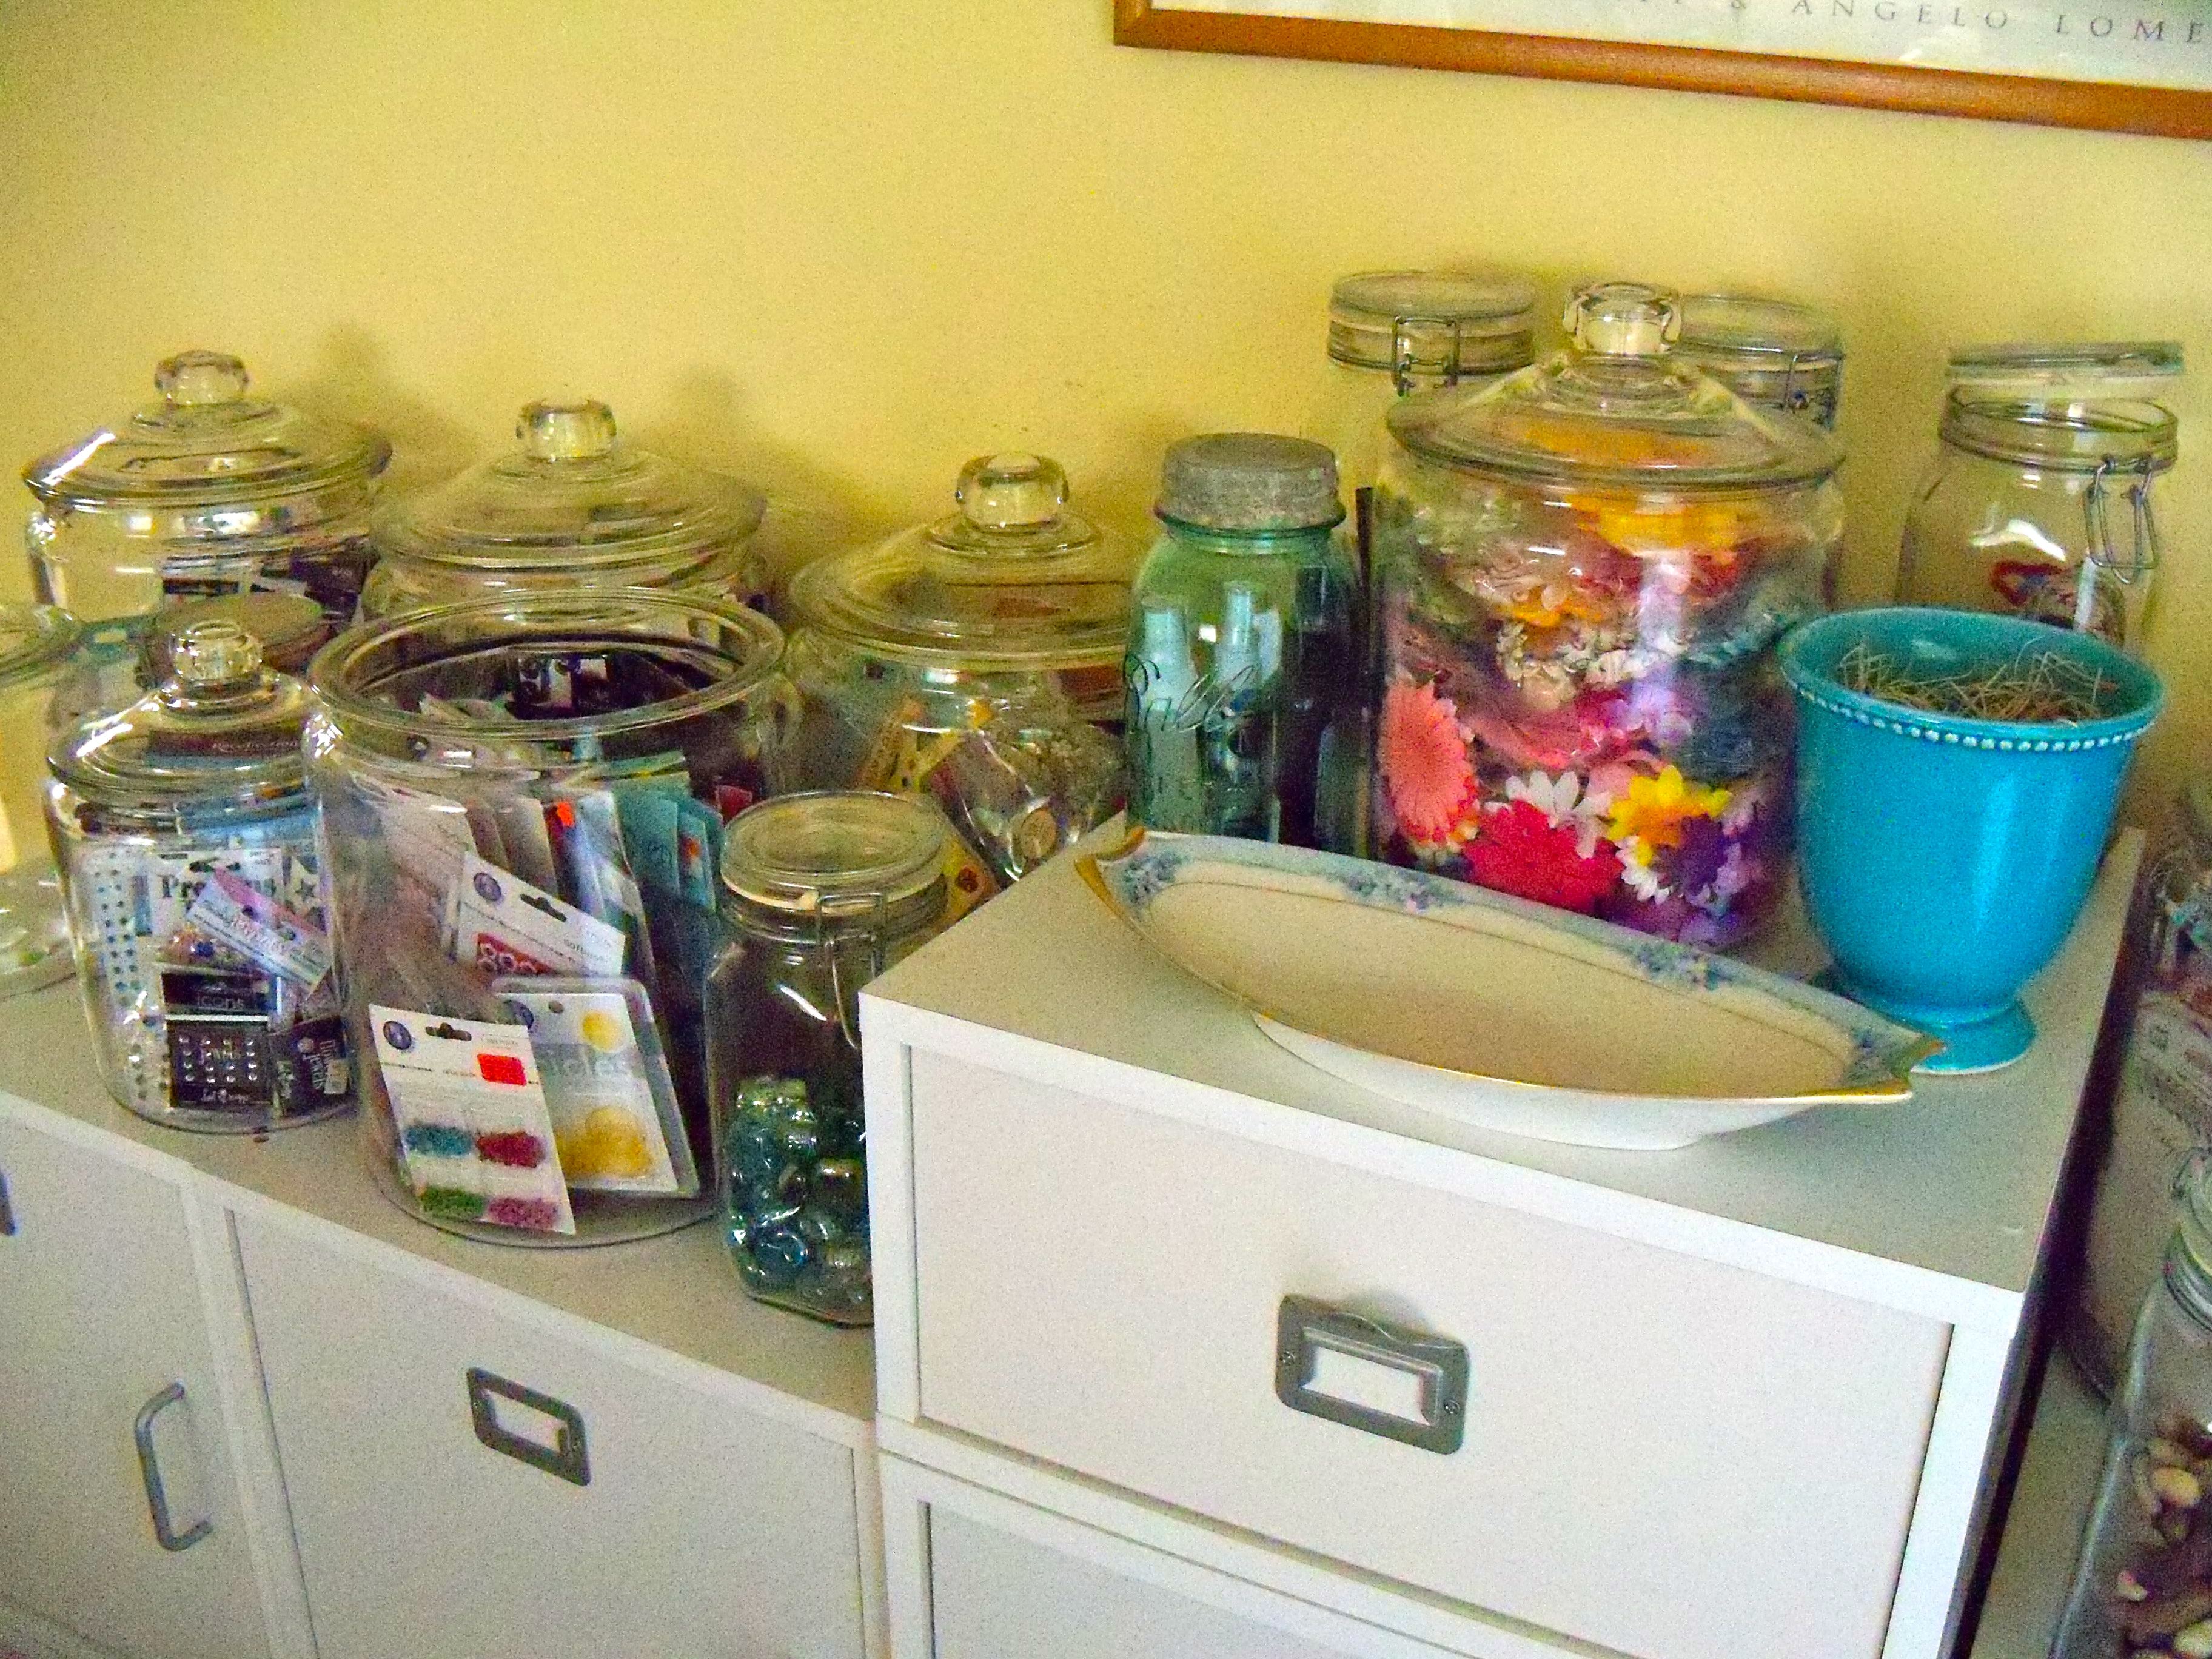
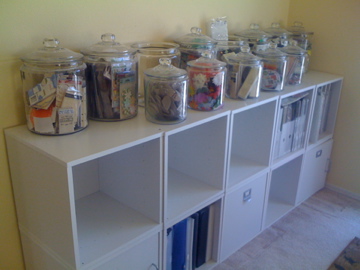
Here’s a closer photo of some of the things that are now kept on top of the white cubes.

Jar, jars, and more jars! There are also a few decorative things that I’m starting to collect that are in my favorite colors ~ turquoise, ocean green, robin’s egg blue, and white. These are colors that remind me of my favorite place in the world: the ocean. The Ball canning jar on the left I got from an antique store in Seattle last year. The pretty vase on the right is from a nursery near the beach house we stay at each summer. {I know I should put something cute inside it but I like that grassy straw stuff it came with for some reason, lol}. The dish is from my mom who is an expert at collectable china and often gives me pretty things. I’m thinking I can use it as a holding area for pretty embellies or flowers until I put them away in the proper jars.

Speaking of all those jars … I don’t have a good picture of them all put together, do I? But I’ll go across from left to right and tell you what I have stored in them:

– Sport embellishments
– Making Memories embellishments
– K & Company embellishments
– Ink pens
– Bling
– MAMBI/KI Memories embellishments
– Mists
– Flowers
– Chipboard
– Ribbon
– Twine and jute
– Photo corners
– Chipboard letters
– Journaling spots
– My Minds Eye embellishments
– Misc. embellishments (2)
– Decorative river rocks
– Decorative glass shells
– Empty (1)

Yes, I actually have a small ginger jar that is empty. It’s one of the jars without a lid so it’s harder to think of things to put in those. Maybe that will be an “embellies to file” jar or something :)

So back to the final product.

AFTER

You can also see my travel art hanging on the wall above the cubes. As I mentioned before, I wanted to add some personal touches that WEREN’T about scrapbooking this time around. I love to travel although I don’t get to do it much, so I dream through pictures of other countries and reading books about them. My first love is Italy but I dream of traveling all throughout Western Europe someday. For now, I can look up from my desk, see images of Paris, Provence, and Tuscany, sigh, and be content with dreaming.

With each of these entries, I’m going to put a list at the end of products I’ve used and where I got them, so here goes…

STORE IN STYLE CUBES: I collected these over time by using 40% or 50% off coupons at MICHAELS. You can also get them from Oriental Trading (the link is above).

GINGER JARS: I got these ones AND MORE for $40 from a local candy store via CRAIGSLIST. I’ve seen these at BED BATH & BEYOND which seem to be the same thing. THESE are sure cute from Pier One; you can label them with chalk.

MASON JARS: I’ve had these for ages but I got them at Pier One. I can’t find them on their website but THESE ONES from Amazon.com are sure cute.

Thank you for checking out my “cubes and jars” wall in my scrapbook space and please let me know if you have any questions!
Scrapbook Room Organization: Sneak Peek of the Finished Room

Well, the “three day project” that I talked about HERE, ended up taking slightly longer (okay, a month, sheez…) but I got it done. Well, done enough to show you an AFTER photo at least, LOL.

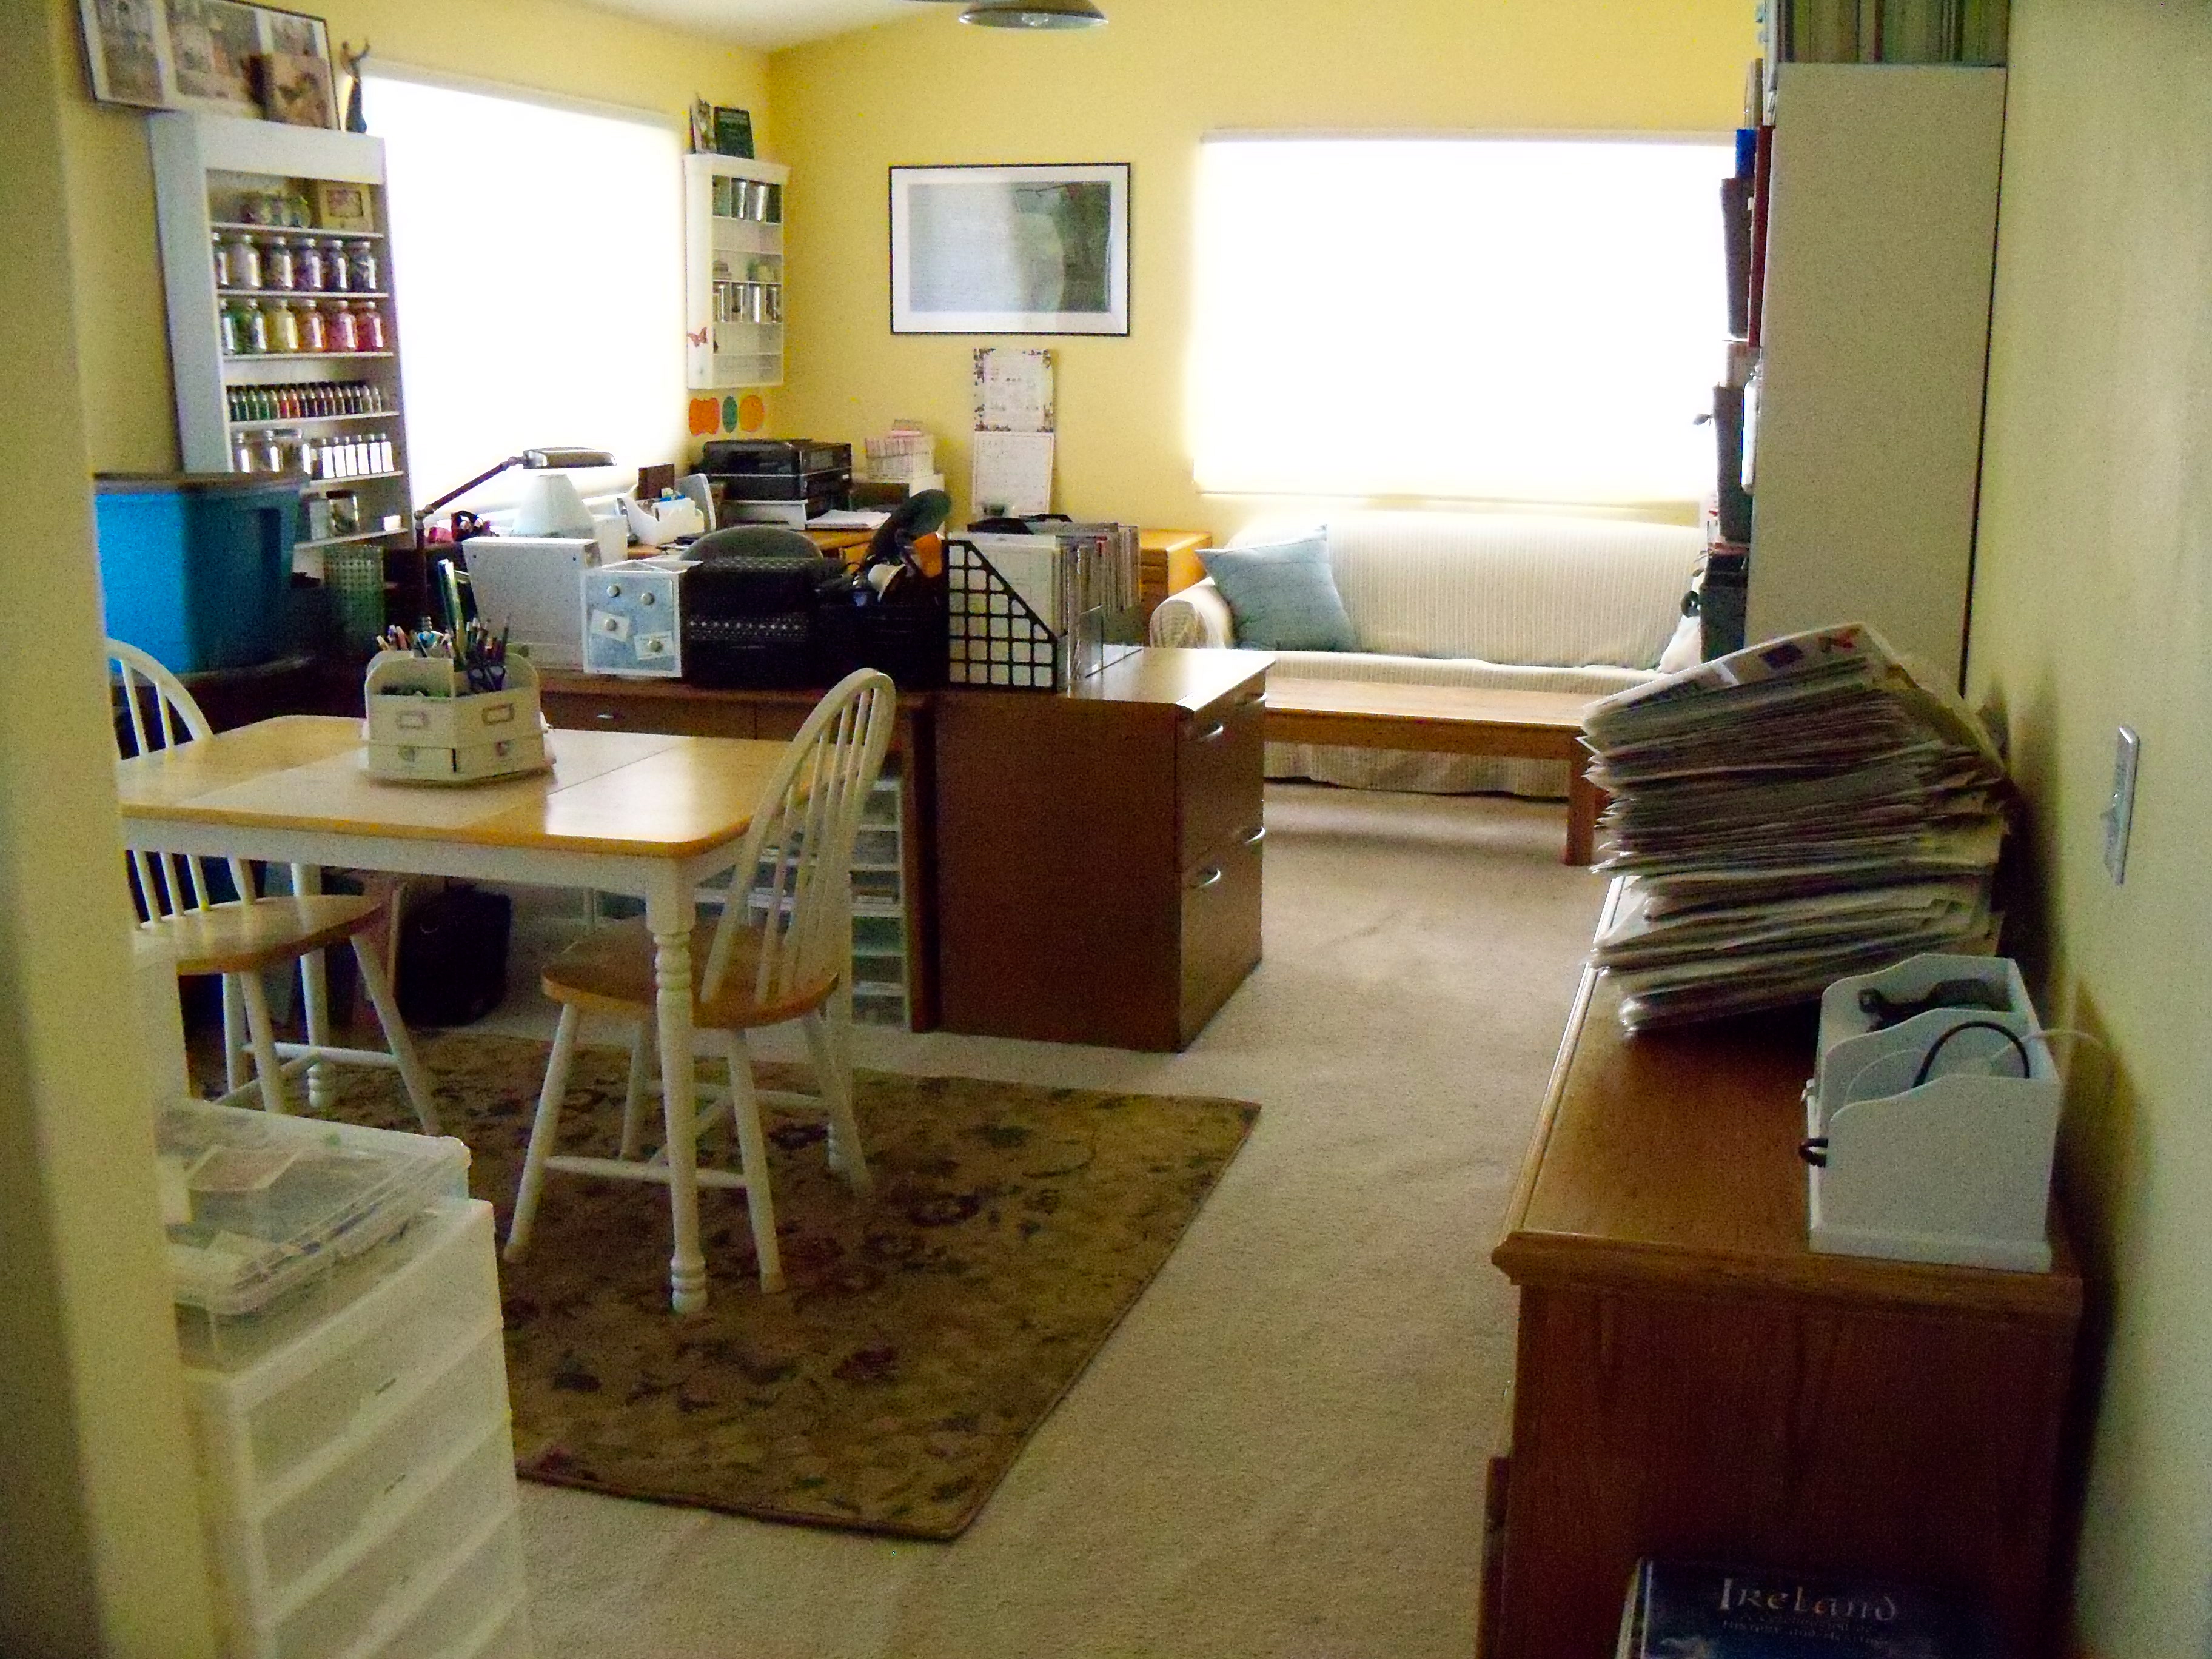
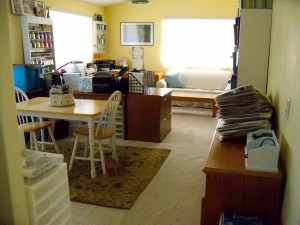
So here is the view of my scrapbook room/home office from the doorway (it’s right off the dining room):

When I see this photo, I’m wondering if – to you – it still seems very cluttered in here :) But believe me, for all the junk you see now, it was WAY worse! This is a huge improvement, fer shizzle.

I’ll be doing a series of blog posts with before and after pics of different sections of the room and what I did to organize things. But I wanted to start by showing the entire room that I’m very blessed to have, clutter and all…

Scrapbook Room Organization: Day 492

Okay, fine, that may be exaggerating a little bit but Geez Oh Pete, this is taking a long time!

Remember, I had planned to finish it in THREE DAYS. I know, right? What in holy hell was I thinking? Maybe for a normal person who is not a SCRAPBOOKER HOARDER that would’ve been puh-lenty of time. But not for me. No sirree bob.

If I count every day since I started minus the days I worked out of the home all day or was out of town – I’m really on Day 12. I’ve just been plugging away, doing little things when I have a few minutes and bigger projects when I have chunks of time. Here are some of the things I’ve accomplished:

– Assembled a 3-drawer cube; I own 3 of the JETMAX STORAGE CUBES from Michaels and there is still 1 left in the box. Ugh. Dreading putting that last one together, although it WILL be glorious to be done and to have that extra storage.

– Added doors to all of my STORE IN STYLE CUBES that didn’t have them already; I think I added 6 doors. GREAT addition. Makes it look so much cleaner and I can hide more. Oh, shite, did I say that in my “out loud” voice?

– Emptied all my glass ginger jars, rinsed and dried them, and re-did what I stored in most of them. Yes, you will have to wait until the Great Reveal to see for yourself :P

*This is from an old blog post – one of the many times I’ve posted about working on my scrapbook room. You can see the cubes I talked about above, before they had doors :)

– Cleaned out the piles of stuff under my large, L-shaped desk. It’s really great at hiding things. But it’s nice to have some legroom back, I tell ya’.

– I am labeling like crazy, girlfriend! Love my good ol’ label maker. I would marry it if I could. Well, wait, I’m in California. Maybe it IS legal? Hrm, have to look into that.

– Started and labeled IRIS clamshell cases for “Projects,” “Incomplete Layouts,” and “Put in Albums.”

– Purged boo koo (yes, I do know that’s not the real way to spell it but I did anyway, ha!) scrapbook magazines and catalogs.

– Got my magazine holder full of 8.5×11 cardstock arranged in ROYGBIV color order.

– Purged and cleaned the kids’ homework and craft area. Of course, it’ll be a hot mess again in 3.2 days but at least it was pretty for a while.

– Pulled everything out of my computer/electronics/office supply cabinet, cleaned, and re-arranged.

Okay, I can stop now, right? I’ve given you enough of a list that you can see I’m cereal about this, right? I am NOT Joshing you. I really truly am working on my scrap space. Not that you’ve ever known me to lie, but still.

{Well, there was that one little white lie when I said I would NEH-VUR buy another stack of any sort from Michaels again. But really, who can keep a promise like that? Can you? Yeah, that’s what I thought}.

So that’s what I’ve been up to. How about you? Anyone else on this “fun” little journey of scrapbook room reorganization? Tell us about it. Or just tell me how awesome I am. Whatever.

And in the finest seque seen in a super duper long time … Speaking of JOURNEY (my favorite band EVAH!), my bestie scrapbook friend sent this to me. Go ahead, laugh your ass off. I did. Toodles.

Scrapbook Organization: Going for Broke, Day 1, 10:00 am

I’m going to keep a blog diary as I go along for the next 3 days.

I was up early today … anxious to get started! I even dreamt about organizing my room, lol. I had to do some paperwork first but it’s 10 am and I’m off and running. I’m going to move stuff mostly to the dining room next door.

Things that are going to take some time to go through before they come back into my space will go to the garage (my memorabilia and some old photos are a huge mess right now, for one thing). I’m hoping most of what I put in the dining room can be back in the scrap room by the end of today. I hate leaving a mess in other parts of the house but we’ll see …

Here’s what I’ve accomplished so far:

– Folded up boxes from recent purchases of printer, laptop, and foot pedal (for my transcription business). This printer is giving me fits and I might return it so the box is in the garage for now. Other boxes to the recycle as I’m happy with my laptop and pedal.

– Found 2 new baskets for my {extensive, embarrassing, but oh so loved} Thickers collection. One basket had my “recently purchased/inspiration stuff” that I keep on my desk. Now that’s all sitting in a pile on my desk. Must find another home for it. Well, better yet, by the end of the 3 days, all that stuff will be put away and I’ll have an empty basket other than a few things I want to use soon. The basket that my Thickers were in also included all my other letter stickers, sorted by color in manila folders, standing up in the basket. Now that basket is 1/2 empty and, since I don’t see myself buying many more non-Thickers letters in the future, I should probably downsize that storage and free up the large basket for something else. The good thing is I have lots of empty baskets and bins to choose from :)

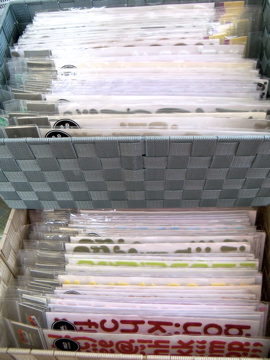
MY EMBARRASSING THICKERS COLLECTION(there are also faux-Thickers in there by Miss Elizabeth’s from the Dollar Tree)

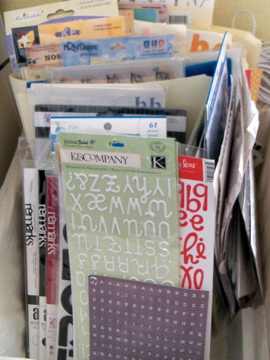
MY SAD “OTHER THAN THICKERS” LETTER STICKERS (Yes, I used to have almost all of those Thicker packs jammed in this basket, too. Yike)

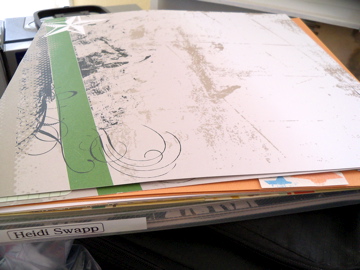
– Put my Heidi Swapp paper folder back together and on the shelf. I took it to a recent crop, so all the papers were pulled out and a mess.

– Also from the recent crop, my crop bags were strewn everywhere. I had managed to get them unpacked but not put away. I collapse the smaller bags down into the huge one for storage. So, got that done.

– For now, I’m going to take all office-related stuff to the guest room. That’s a whole NOTHER issue! Taming the paper tiger. I need to get a handle on that for sure. But for today, I’m only going to worry about the scrapbook portion of the room.

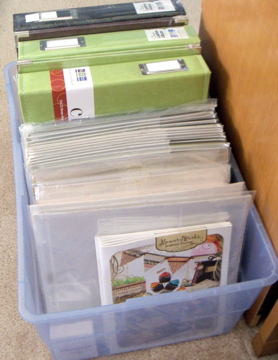
– Took a big bin of MEMORY WORKS stock and catalogs to the dining room. There’s not much I can do about this bin. It’s big but it’s organized and necessary. Same goes for a tote full of MW stock. My MW things have always just sat on the floor. I wish there was somewhere I could put them away. Maybe as the room progresses, I’ll find some free space. Hey, a girl can dream.

BIN OF MEMORY WORKS STOCK

Okay, I’ll check in again later today with a progress report! I’ll post some photos then, too.

ETA 8/10/11 10:45 pm: Added photos that go with this post :)

Scrapbook Room Organization: “Going for Broke”

Hey peeps, long time, no talk. Well, I hope you’re fittin’ to get sick of me because I’m about to take on ~ and blog about ~ a big project. I’m writing it down here so I don’t back out AGAIN with the “I’m too busy” or “I don’t have time” or “I don’t have the space” excuses.

I AM GOING TO ORGANIZE MY SCRAPBOOK ROOM-SLASH-HOME OFFICE.

Can I get a witness!?!?!

HOLLAH!

This is a WAY long time coming. OMG, just WAIT until you see the before photos! You’re going to fuh-reak when you see what a pigsty I’ve been working in. And by “work” I mean do bills, play on the computer, and do my home transcription biz.

I do NOT, however, mean scrapbooking. Because that particular activity hasn’t taken place here in quite a damn while. {When you see the BEFORE pictures, you’ll see why}.

Did you know it’s impossible to scrap on top of piles? Yeppers, I’m a “piler.” That means that instead of putting things away right when I get them, I just pile them on my desk, the floor, the couch, whatever blank spot I can find. It’s like I think the Pile Clearing Fairies are going to come when I’m sleeping and put it all away for me. {Hey, if there’s a Scrap Santa, I don’t see why there can’t be Pile Clearing Fairies!}.

Here are the things that tend to end up on piles in my scrapbook room/home office:

New scrapbook supplies – because who am I kidding? that goes at the top of the list
Memorabilia – because apparently I have to save every. stinkin. thing.
School and work papers – “until I have time to go through them” … um, yeah, right …
Scrapbook magazines and catalogs
Receipts – because you *know* as soon as I trash a receipt, I’ll need to return one of the items on it

Like I said, I’ve wanted/planned to do this for a long time but HERE is the 2peas thread that’s motivating me to finally do it. Well, that thread plus the fact that I’m tired of stubbing my toes in my scrap room and I’m REALLY tired of not being able to scrapbook at home (crops are the only things that have kept me sane).

According to the scrapbook-organizing Peas, you can either attack your room’s “hot spots” or you can “go for broke.” Going for broke means emptying most everything out of your scrap space, getting it sorted and purged, and only putting back what you’ll use. I’ve been doing the Hot Spot deal for years and, honey pie, it ain’t workin’. Time to Go For Broke, I say.

I have three days off from work starting today ~ although I have some transcription work to do, plus all the “mom” stuff like entertaining kids on summer break, making meals, laundry, etc. Oh, I have a question: How many frozen pizzas do you think a family can (be forced to) eat before they stop speaking to you? Hmmm … then again, if it’s quiet around here, I can get this done faster ;)

So wish me luck, I’M GOIN’ IN!

A Truthful Look at Scrapbook Room Organization

I was reading THIS post on 2peas about acrylic stamps by STEPHANIE BARNARD. I sought out her blog ~ which has some awesome stamps, btw ~ and found THIS entry about her organizational “system” for small embellishments.

I had never heard of Stephanie (sorry, Home Girl!) nor been to her blog, so I was expecting the usual, “I’m so perfect. Don’t you wish you were me and had a perfectly perfect organized studio?” kind of thing. Which always serves to make me feel inferior and wishing I were a more perfectly perfect person. As if seeing photos of Jennifer Aniston all over the magazines hasn’t already damaged my self-esteem beyond repair. (She and I are somewhat the same age, yet she looks 25 and I look 55 … and fat).

Anyway, back to Stephanie’s video … She turned out the be quite the hoot! Very funny and self-deprecating and honest about the way she organizes. She said she has a sign in her office that says, “Organized People are Just Too Lazy to Look for It.” Hoo-rah and hallelujah!

(Found a similar one HERE and may just have to get it, LOL!)

So she has 2 sets of the fabulous 4×4 cube EXPEDIT shelves that I’ve been wanting since I was 10 (Oh shut UP! That wasn’t THAT long ago!). Mah girl Steph even has her tiny embellishments like brads and paperclips sorted into plastic cannisters, divided containters, and a cute set of spice jars. But don’t hate her … she’s NOT perfect!

Unlike her friend, her spice jars are not decorated. Her supplies aren’t organized the way she really wants them, as she still has to kind of search for the exact item she needs. Stephanie says in the video that she needs someone who lives near her in SoCal to come over and organize things even better, admitting that her system isn’t the be all and end all.

{PSSST! Stephanie! Hey, over here! I’m in California, not too very far north of you, and I would love to make a road trip to play in … erm, I mean … help further organize your studio. Not that I’m any expert and my own space is always a work in progress. But I take direction really well and I LURVE to sort and organize things. So … just sayin’ … }.

{“‘Cuz Ima pothole … Kayyyy …” Don’t know why that commercial just came to mind, but it did, LOL}.

So check out Stephanie’s fun video HERE. I’m pretty sure you’re going to like her. She is “one of us.” Then come back and tell me what you think, K?